Categories
Machine Knitting Sewing / Fashion / Costume

Machine-Knit Multi-lace Infinity Scarf

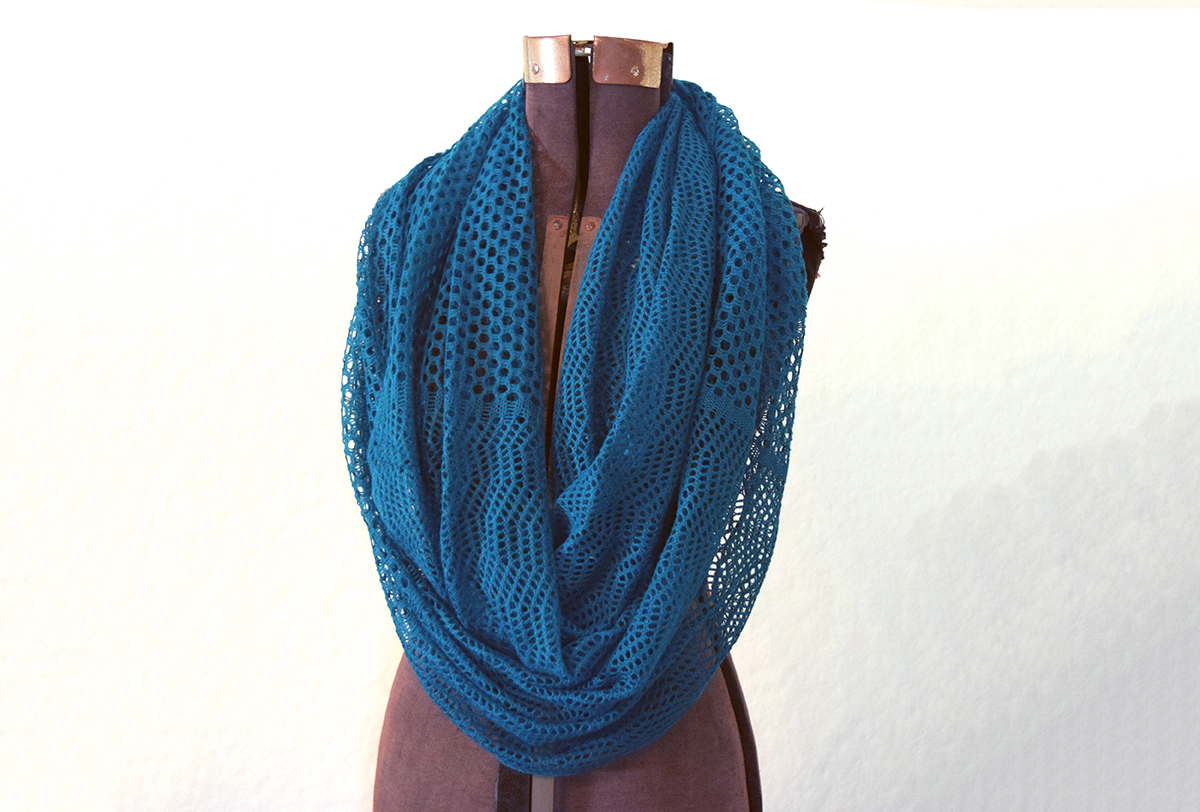
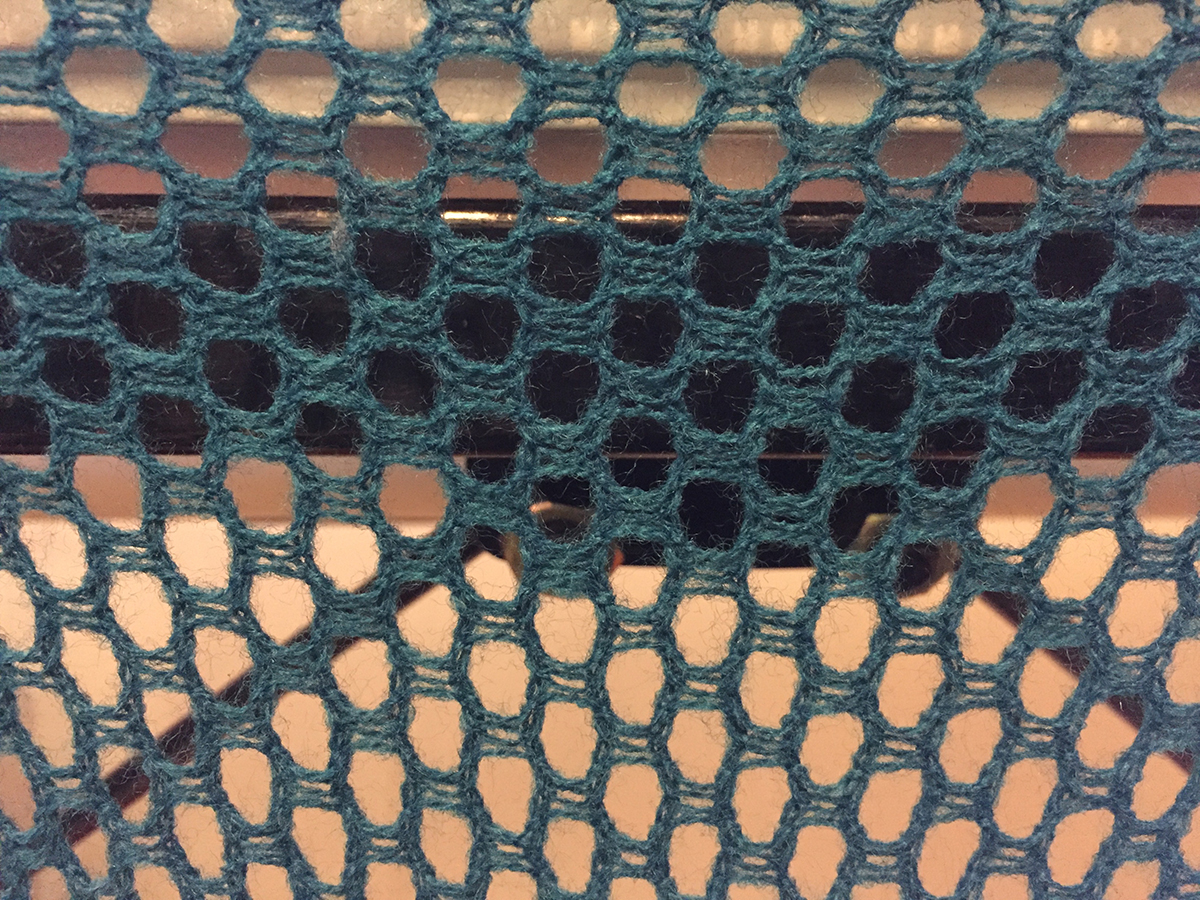
This scarf was knit on my Knitking Compuknit V (Brother KH-965) computerized knitting machine using Brother Stitchworld patterns #104 and #105. I used a extremely fine, laceweight yarn from National Spinning Co. in dark teal Uybran acrylic at tension number “3”. It blocks nicely when steam ironed, and the resulting fabric has no edge curl.

Here’s how to create your own:

1. Cast on 90 needles (needles 45 to 45). I used a closed, crochet, or chain, cast on, it makes the seaming easy when it’s time to join the scarf edges.

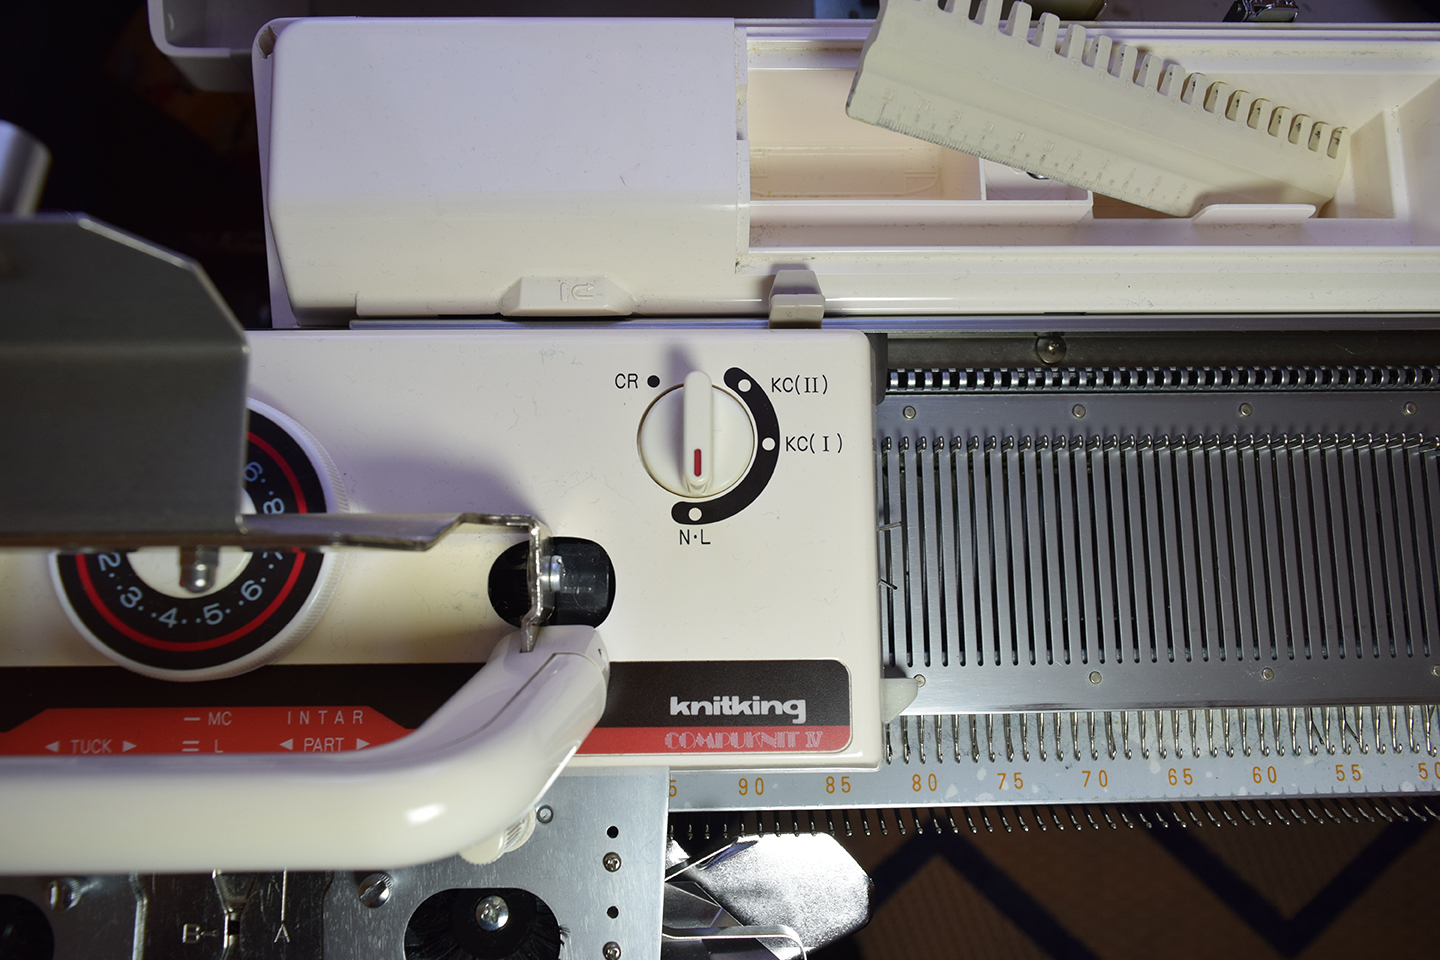
2. With the K carriage knob set at “NL” for plain knitting, knit 6 rows in stockinette.


3. Program pattern #104 into your machine.

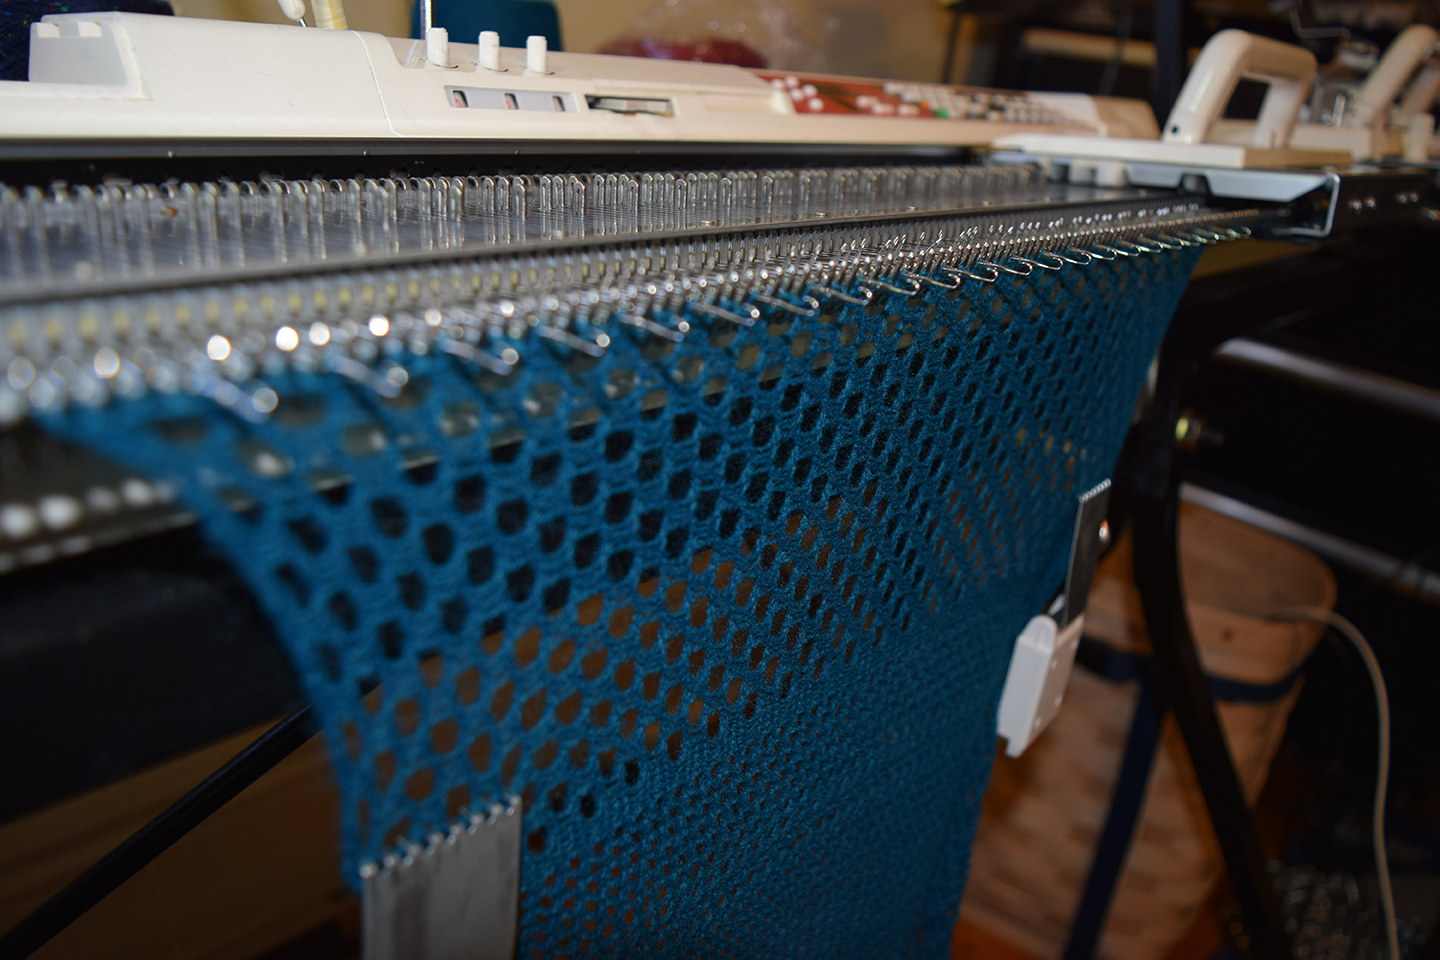
4. Knit with the lace carriage for 120 K carriage rows.

NOTE: It’s tricky to describe how many rows to knit when using a lace carriage because the pattern can call for different numbers of lace carriage passes between K-carriage passes, and there is no row counter for the lace carriage. So, I’ll use the number of rows the K carriage moves back and forth.


TIP: If you’ve never machine-knit lace before, you move the lace carriage from left to right, past the turn mark (just like regular knitting with the K carriage), across the needles until no needles are selected.The lace carriage always makes at least two passes across the bed, one from left to right, then back to the left side of the machine. Then the K carriage makes two passes, knitting two rows each time between lace passes.

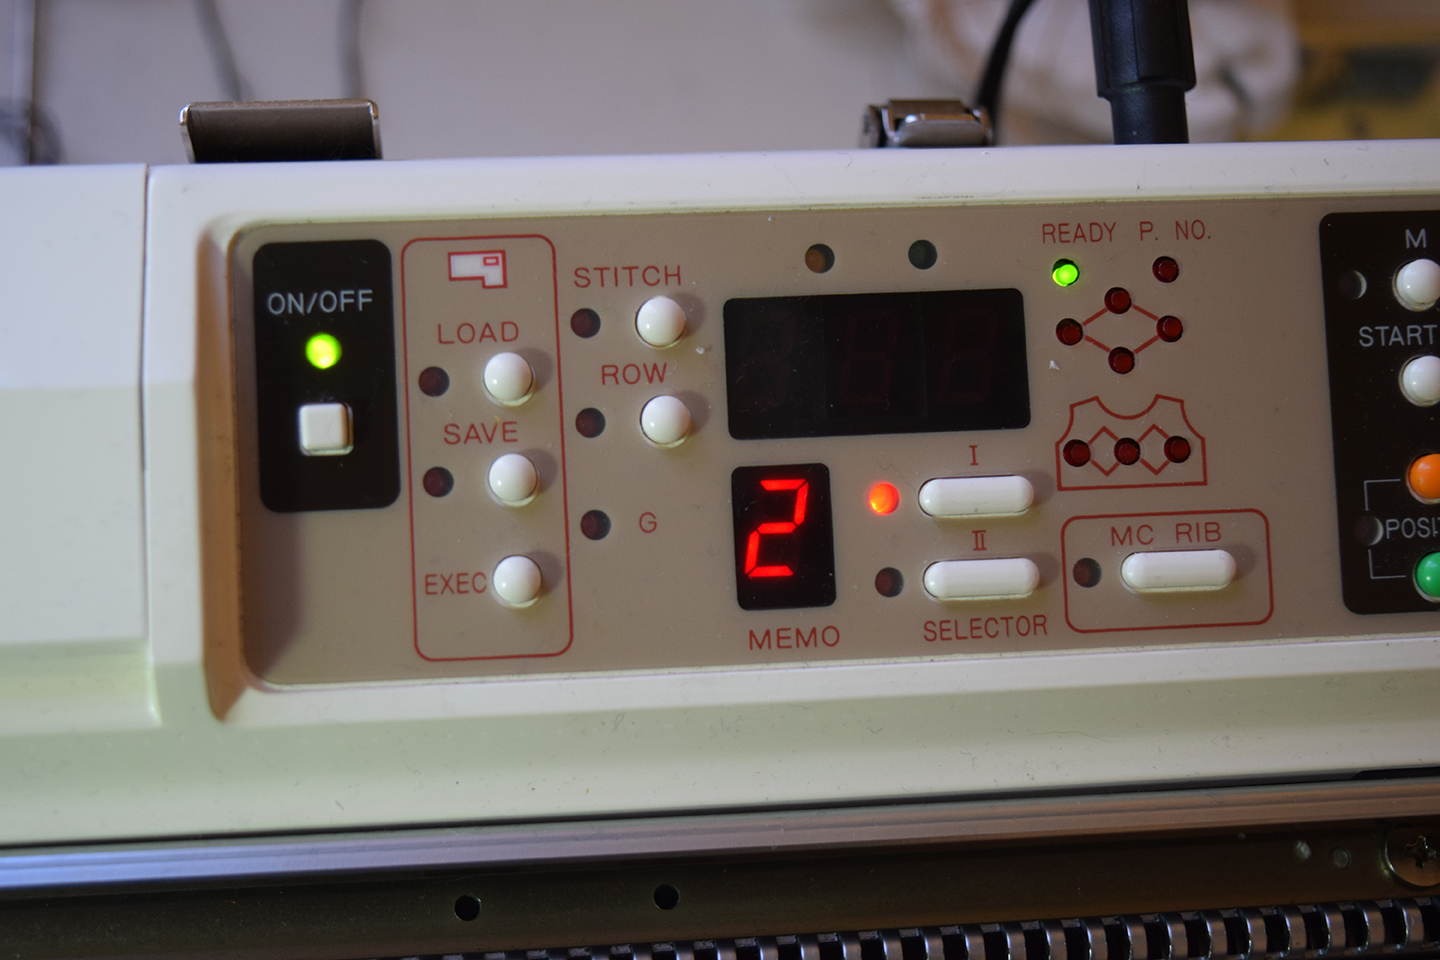
Sometimes a pattern will require you to make many, many passes with the lace carriage to transfer all the stitches.If you are knitting on a Brother or Knitking with a working original board, you’ll see a “2” in the memo display when you need to use the K carriage. If you’re using AYAB, or another machine knitting hack, move the K carriage once no more needles are selected.

NOTE: I haven’t translated these lace pattern image files for AYAB yet, but I’m hoping to get to it soon.

5. Turn the K-carriage knob to “NL” for plain knitting.

6. Knit 6 rows in stockinette.

7. Program pattern #105 into your machine.

8. Knit with the lace carriage for 120 K carriage rows.

9. Knit 6 rows in stockinette.

10. Punch in pattern #104, knit 120 K carriage rows.

11. 6 rows stockinette.

12. Enter pattern #104, knit 12o K carriage rows.

13. Knit 5 rows in socking stitch.

14. Loosen the tension to 10 and knit one final row.

15. Bind off by hand or with a Brother linker accessory.

16. Remove the scarf from the machine.

17. Join the scarf’s top and bottom edges by hand with a tapestry needle or use a linker.

Categories
3D Printing 3D Scanning Halloween Sewing / Fashion / Costume

Return of the White Chocolate Skulls, Isis Costume

Return of the White Chocolate Skulls

This year I didn’t have quite enough time to finish my new spider chocolate mold, although I completed and edited a scan of a Halloween themed spider fence I came across in my neighborhood.

Instead of making a new 3D printed chocolate mold (read the full tutorial here), I experimented with new flavors (ginger, chili, amaretto) and new colors (red, red streaked white). The pictures show the 1st batch, bagged up and headed for the new MAKE Providence office at Betaspring. The second batch went out for “reverse trick or treating”, my yearly tradition of going out and giving away candy to everyone I meet.

3D printing PLA trays for the White Chocolate Skulls.


This All Hallows Eve I decided to continue with the goddess theme. Last year I was Kali, this year I was Isis. I made the dress, headdress and matching treat bag (for distributing the skulls) in record time – under 3 hours.

Categories
3D Scanning Haystack Mountain School of Crafts ShopBot

3D CNC Studies: “All Ears” + “I Am Providence”

In June 2013 I spent a week guruing at the Fab Lab at the Haystack Mountain School of Craft.  While I was there I took some of my favorite 3D scans and routed them out of walnut on the ShopBot CNC router.   I was pleased with the way the scans machined and I have decided to use these pieces as studies for two larger works: “All Ears” and “I Am Providence”.  I have not decided what to do with the “Anatomical Heart” scan yet,  although I am sure it will become part of something.

Study for “I am Providence”

Scan of the gothic fountain outside the Providence Athenaeum machined in walnut on a CNC router. June 2013.

A cleaned and repaired scan of the Gothic fountain located outside the Providence Athenaeum at 251 Benefit Street in Providence Rhode Island.  A cleaned and repaired scan of the Gothic fountain located outside the Providence Athenaeum at 251 Benefit Street in Providence Rhode Island. The scan was taken using 123D Catch: 123dapp.com/catch

The fountain was built in 1873 from funds donated by Mrs. Anna Richmond. Fed directly from the Pawtuxet River, the words “Come here everyone that thirsteth” are carved into the granite. Legend has it that visitors who drink the water are sure to return.

This library was founded in 1831, built in 1837, and opened on July 11, 1838. The writers Edgar Allen Poe, Sarah Helen Whitman and H.P. Lovecraft were all frequent visitors to the Athenaeum.

Study for “All Ears”

A mashup of repeating human ear scans machined in walnut on a CNC router – June 2013

Anatomical Heart

3D scan machined in walnut on a CNC router – June 2013

Scan of a anatomical heart sculpture that my husband acquired during his RISD days. This started out as a cast glass piece by Miraim Ewers. Last year during Fab Academy I had made a negative of it using Flex wax and then cast it in hydrostone as shown here: blog.kaziunas.com/?p=5147 I also cast the heart in urethane rubber.

It was the rubber heart that I actually scanned with 123D Catch to create this model. The raw scan is available here: 123dapp.com/obj-Catch/Anatomical-Heart/915340

Categories
3D Printing

Getting Started with MakerBot – now in Print!

I received my author copies of Getting Started with MakerBot today!  This book was over a year in the making, now finally I can hold it in my hands.

Getting Started with MakerBot is now available in print and Ebook from O’Reilly Media.  You can also buy it at Amazon.com.

Even if you prefer a different 3D printer, this book is useful to anyone who wants to learn 3D modeling basics or affordable 3D scanning (chapter 9). These chapters are useful for beginners no matter what printer you have. About half of of the book is devoted to those topics.

Chapter 8: Designing for the MakerBot
In which we provide the reader with detailed tutorials on how to bring envisioned objects into 3D printed reality
This chapter includes detailed tutorials for 3D Tin, Tinkercad, 123D Make and SketchUp. In addition, two OpenSCAD tutorials (how to make a parametric ring and DXF extrusion) are in Appendix C of the book.

Chapter 9: Scanning in 3D
Welcome to the bleeding edge
This chapter was first printed as a draft excerpt in Make: Ultimate Guide to 3D Printing.  It covers creating scans with ReconstructMe and 123D Catch and how to clean up / modify the mesh for printing.

A free sample of the book is available for download.