Categories
3D Printing CNC Routing Sewing

Fabricating PPE

One batch of 3D printed face shields

This spring when the pandemic began and local healthcare workers were experiencing PPE (personal protective equipment) shortages, I joined up with the global group OSMS (Open Source Medical Supplies), the local RI group C19-RI Rapid Solvers, and Providence, RI artist China Blue to fabricate PPE for donation to Rhode Island health care workers.

One batch of 3D printed face shields

My totals for personally fabricated PPE are as follows:

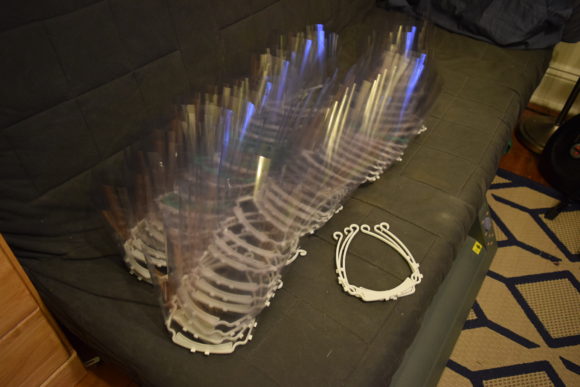
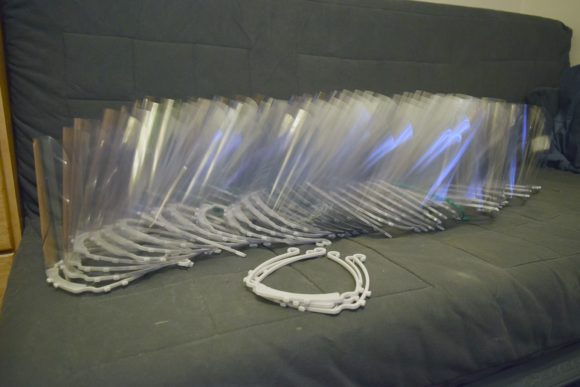
  • 1232 3D printed face shields
  • 75 sewn masks
  • 93 CNC routed ear savers
  • 235 3D printed ear savers
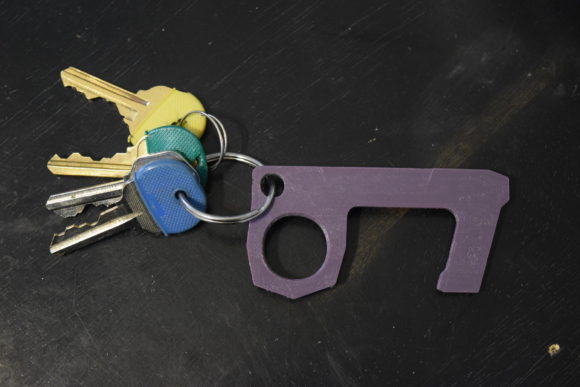
  • 120 door grabers/COVID keys
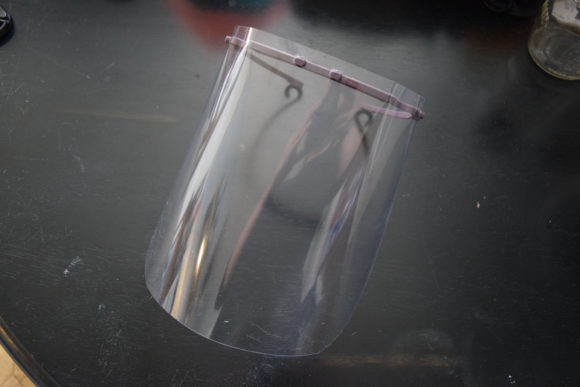
Face Shields

3D printing PPE
3D printing PPE

Design

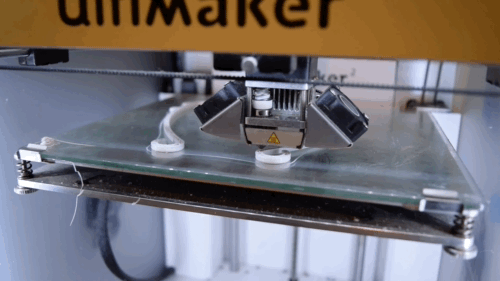
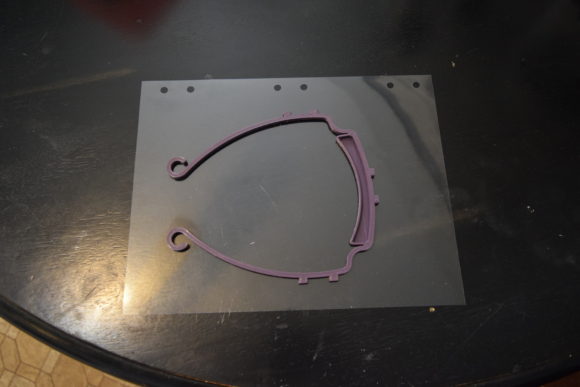
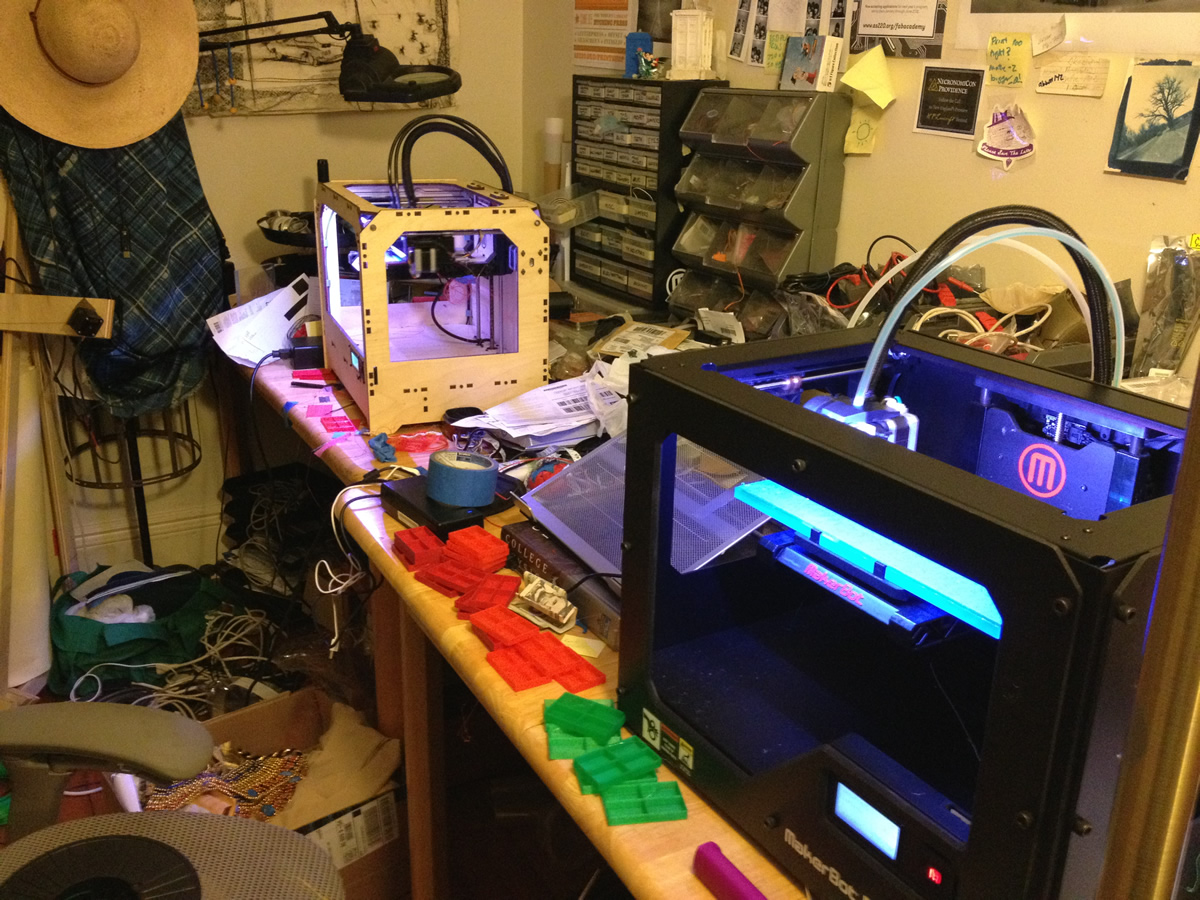
The face shield I produced was the 3D Verkstan version, designed by Erik Cederberg. I found this design to be both comfortable, quick printing, and it can “stack” for overnight print jobs. and I printed all the face shields on two Ultimaker 2 3D printers in PLA plastic.

Unassembled face shield
Assembled face shield

Materials

The headband can be printed in PLA or PETG material. I heard from several Maker organizations that PETG is preferred if the face shields will be reused and sterilized between uses, but that if you are printing single-use face shields, PLA will be adequate. However, I was unable to purchase PETG, because all of my usual suppliers were sold out. In addition, I had a lot of PLA lying around and so that’s what I used.

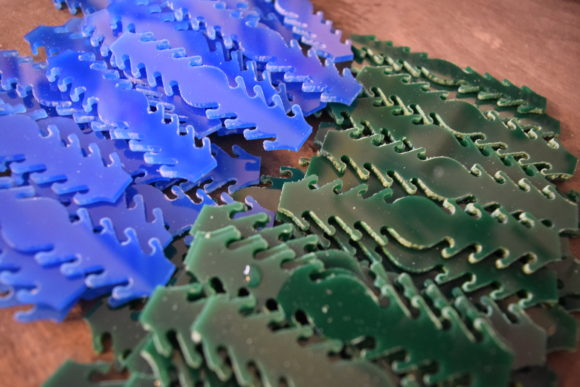
The clear material that shields the face was comprised of clear binding covers, letter size, 7.5mil, purchased online.

Sterilization

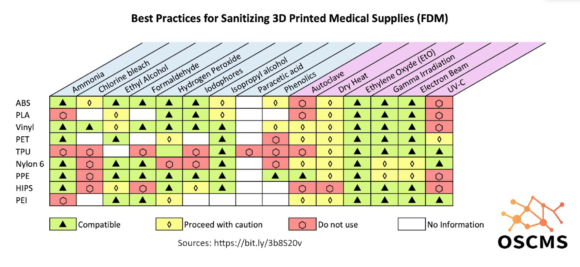
Although PLA face shields were considered “single use”, the demand was great and supplies were short. I knew health care workers would try to sterilize the face shields, so I used the OSMS guide on 3D printed materials to create personalized sterilization guides for my donated shields.

Best practices for sanitizing 3D printed medical supplies (FDM)
From the OSMS guide, back when the name was “Open Source Covid-19 Medical Supplies”

Printer Modifications

In order to print faster, I modified my Ultimaker 2 printers with the Olson Block nozzle upgrade and used a .8mm nozzle. This larger size nozzle, (a typical 3D printer nozzle is .4mm), allows more plastic to flow through it, enabling larger layer heights and faster 3D prints.
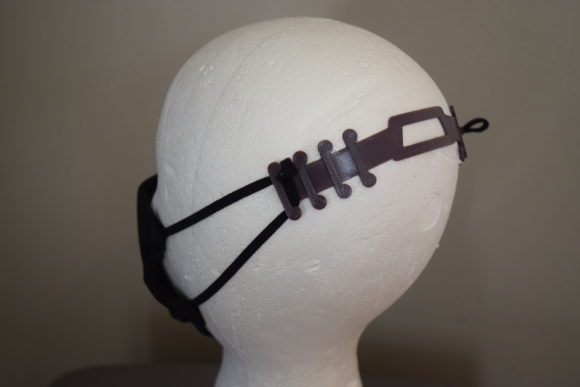
Ear Savers

I 3D printed the Surgical Mask Tension Release Band for Ear Comfort & Extended Use designed by Davis Becker from the NIH 3D printed model repository. Here is my sterilization guide for this item in PLA.

3D printed ear saver

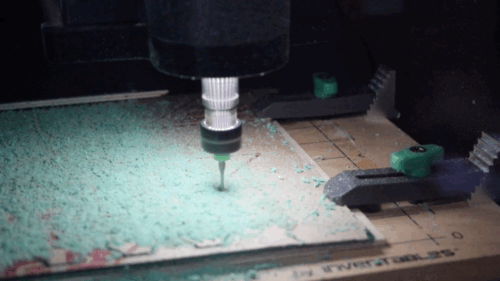
I CNC routed the Glowforge ear saver design in acrylic. Here is my sterilization guide for this item in acrylic.
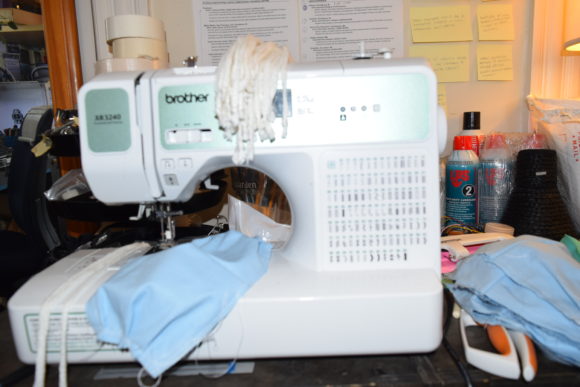
CNC routing ear savers
CNC routed ear savers

Cloth Masks

I tried numerous cloth mask patterns before I finally settled on what I think is the best out there, the Iris Luckhouse Hybrid Cloth Mask. It has a unusual design that incorporates a inverted pleat over the nose bridge that keeps the mask fitting air-tight without any gaps. I also added adjustable ear loops to the design.

Iris Luckhouse Hybrid Cloth Mask, as made by Anna Kaziunas France

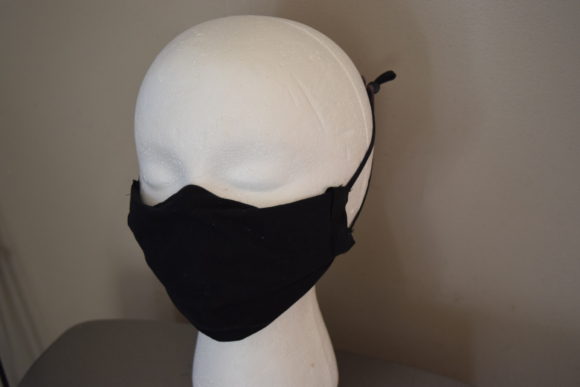
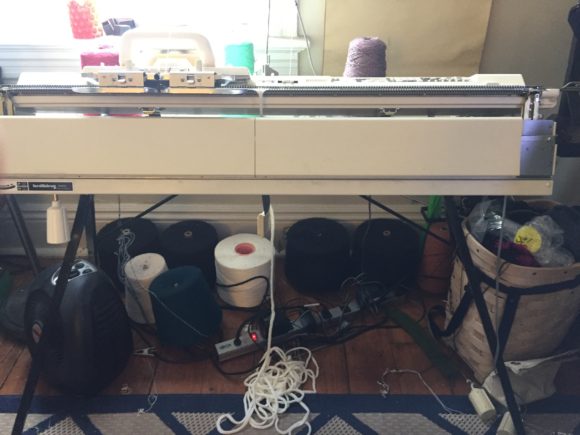
Before I was able to buy adjustable, elastic ear loops (elastic was sold out everywhere due to the makers constructing DIY masks in the early days of the pandemic), I made the cord ties on my knitting machine.

Knitting mask ties
Knitting mask ties, elastic sold out everywhere
Sewing masks
Sewing masks

Door Grabbers/COVID Keys

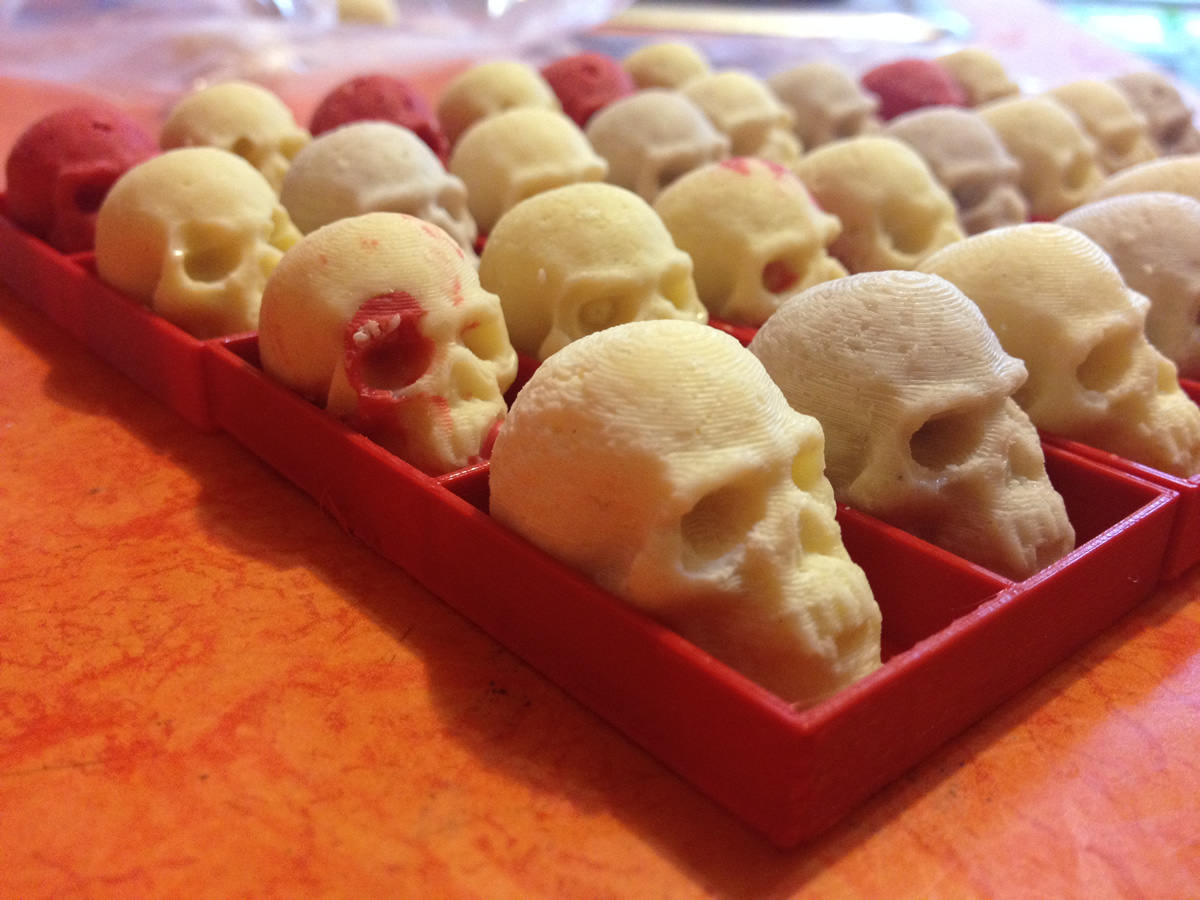
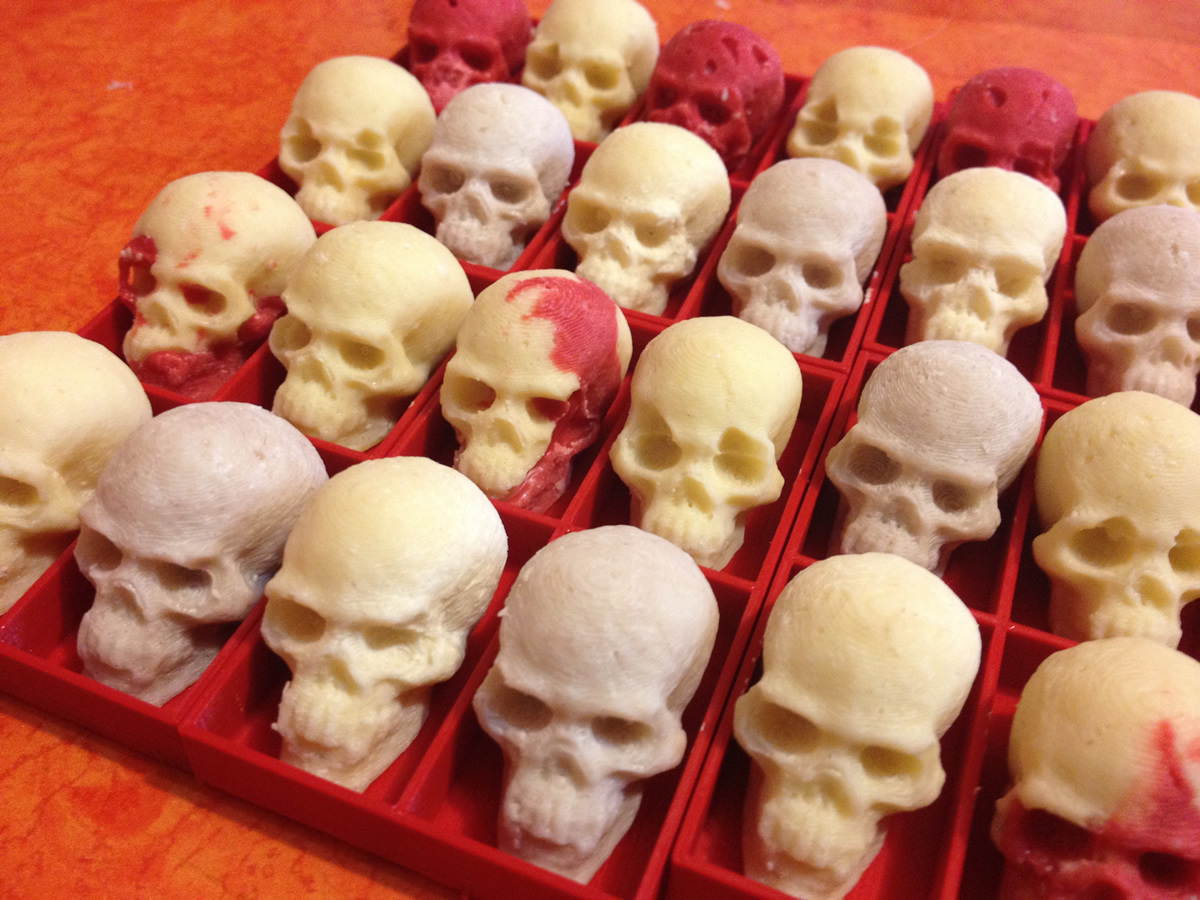
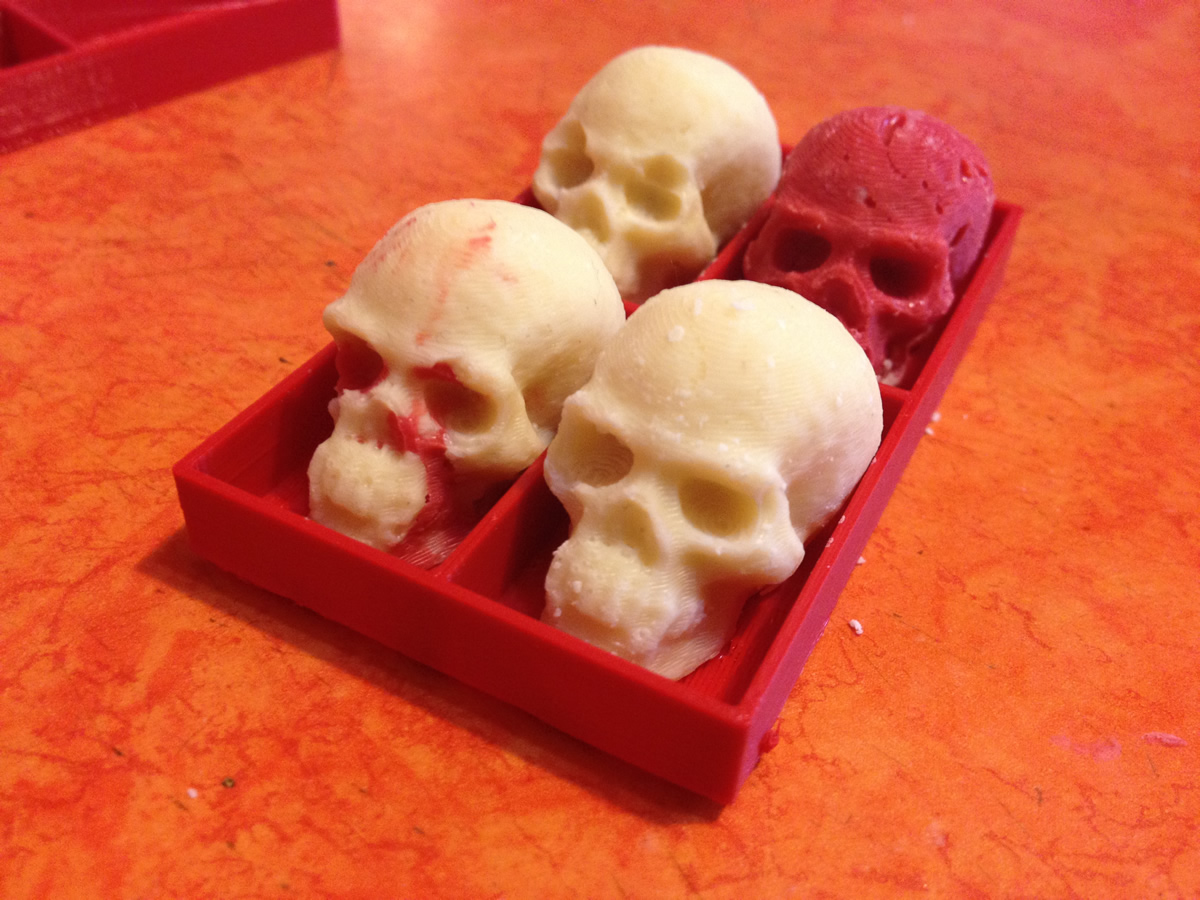
Made to avoid touching contaminated doors and keypads, these door grabbers are made of 3D printed PLA plastic. This design was created by Gary Meyers and is available on Thingiverse.

3D printed door grabber
Categories
3D Printing 3D Scanning Halloween Sewing / Fashion / Costume

Return of the White Chocolate Skulls, Isis Costume

Return of the White Chocolate Skulls

This year I didn’t have quite enough time to finish my new spider chocolate mold, although I completed and edited a scan of a Halloween themed spider fence I came across in my neighborhood.

Instead of making a new 3D printed chocolate mold (read the full tutorial here), I experimented with new flavors (ginger, chili, amaretto) and new colors (red, red streaked white). The pictures show the 1st batch, bagged up and headed for the new MAKE Providence office at Betaspring. The second batch went out for “reverse trick or treating”, my yearly tradition of going out and giving away candy to everyone I meet.

3D printing PLA trays for the White Chocolate Skulls.


This All Hallows Eve I decided to continue with the goddess theme. Last year I was Kali, this year I was Isis. I made the dress, headdress and matching treat bag (for distributing the skulls) in record time – under 3 hours.

Categories
3D Printing

Getting Started with MakerBot – now in Print!

I received my author copies of Getting Started with MakerBot today!  This book was over a year in the making, now finally I can hold it in my hands.

Getting Started with MakerBot is now available in print and Ebook from O’Reilly Media.  You can also buy it at Amazon.com.

Even if you prefer a different 3D printer, this book is useful to anyone who wants to learn 3D modeling basics or affordable 3D scanning (chapter 9). These chapters are useful for beginners no matter what printer you have. About half of of the book is devoted to those topics.

Chapter 8: Designing for the MakerBot
In which we provide the reader with detailed tutorials on how to bring envisioned objects into 3D printed reality
This chapter includes detailed tutorials for 3D Tin, Tinkercad, 123D Make and SketchUp. In addition, two OpenSCAD tutorials (how to make a parametric ring and DXF extrusion) are in Appendix C of the book.

Chapter 9: Scanning in 3D
Welcome to the bleeding edge
This chapter was first printed as a draft excerpt in Make: Ultimate Guide to 3D Printing.  It covers creating scans with ReconstructMe and 123D Catch and how to clean up / modify the mesh for printing.

A free sample of the book is available for download.

Categories
3D Printing 3D Scanning

Self-Portrait as Kali

Kali: 3D printed plastic, routed MDF, spray paint. On display at Saturnalia, the AS220 staff group show at the Candita Clayton Studio gallery through January 2nd, 2013.

Created using skulls scanned with 123D Catch and multiple self scans of the artist using ReconstructMe. The scans were merged in MeshMixer to create the two sets of arms. The scanned skulls were turned into beads with OpenSCAD.  The divider beads for the necklace and the belt were created in OpenSCAD.   The skulls and beads were printed on my MakerBot Replicator, the MDF was routed on the ShopBot.

The STLs for the Kali Necklace and Belt are available from Thingiverse.

Scans to 3D Model Mashup

Slicing the 3D Model

Routing MDF


Assembling the Slices


Painting the Sculpture


Painting Skulls and Beads