Every Halloween I make treats to give away. This year I had two 3D printers at my disposal, so I decided to make 3D printed chocolate mold maker. I used food safe silicone to cast the chocolate mold from the 3D printed mold form. Then I cast many, many chocolates.
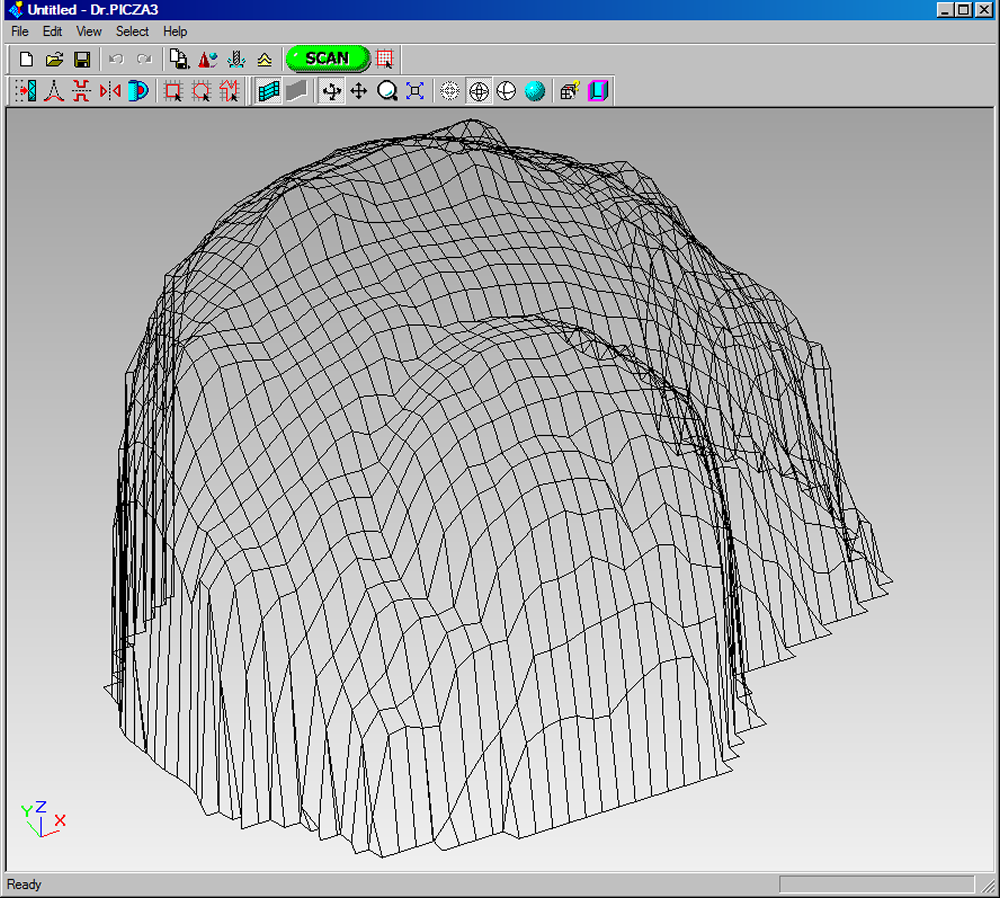
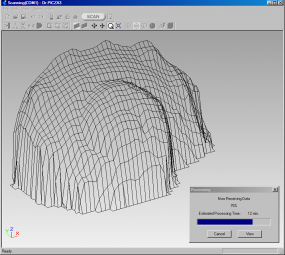
The skull is from a 3D scan I created using 123D Catch. I used OpenSCAD script to make a mashup of a parametric box by Thingiverse user acker, and my skull to create the mold maker. I also created trays for the chocolates using the parametric box script.
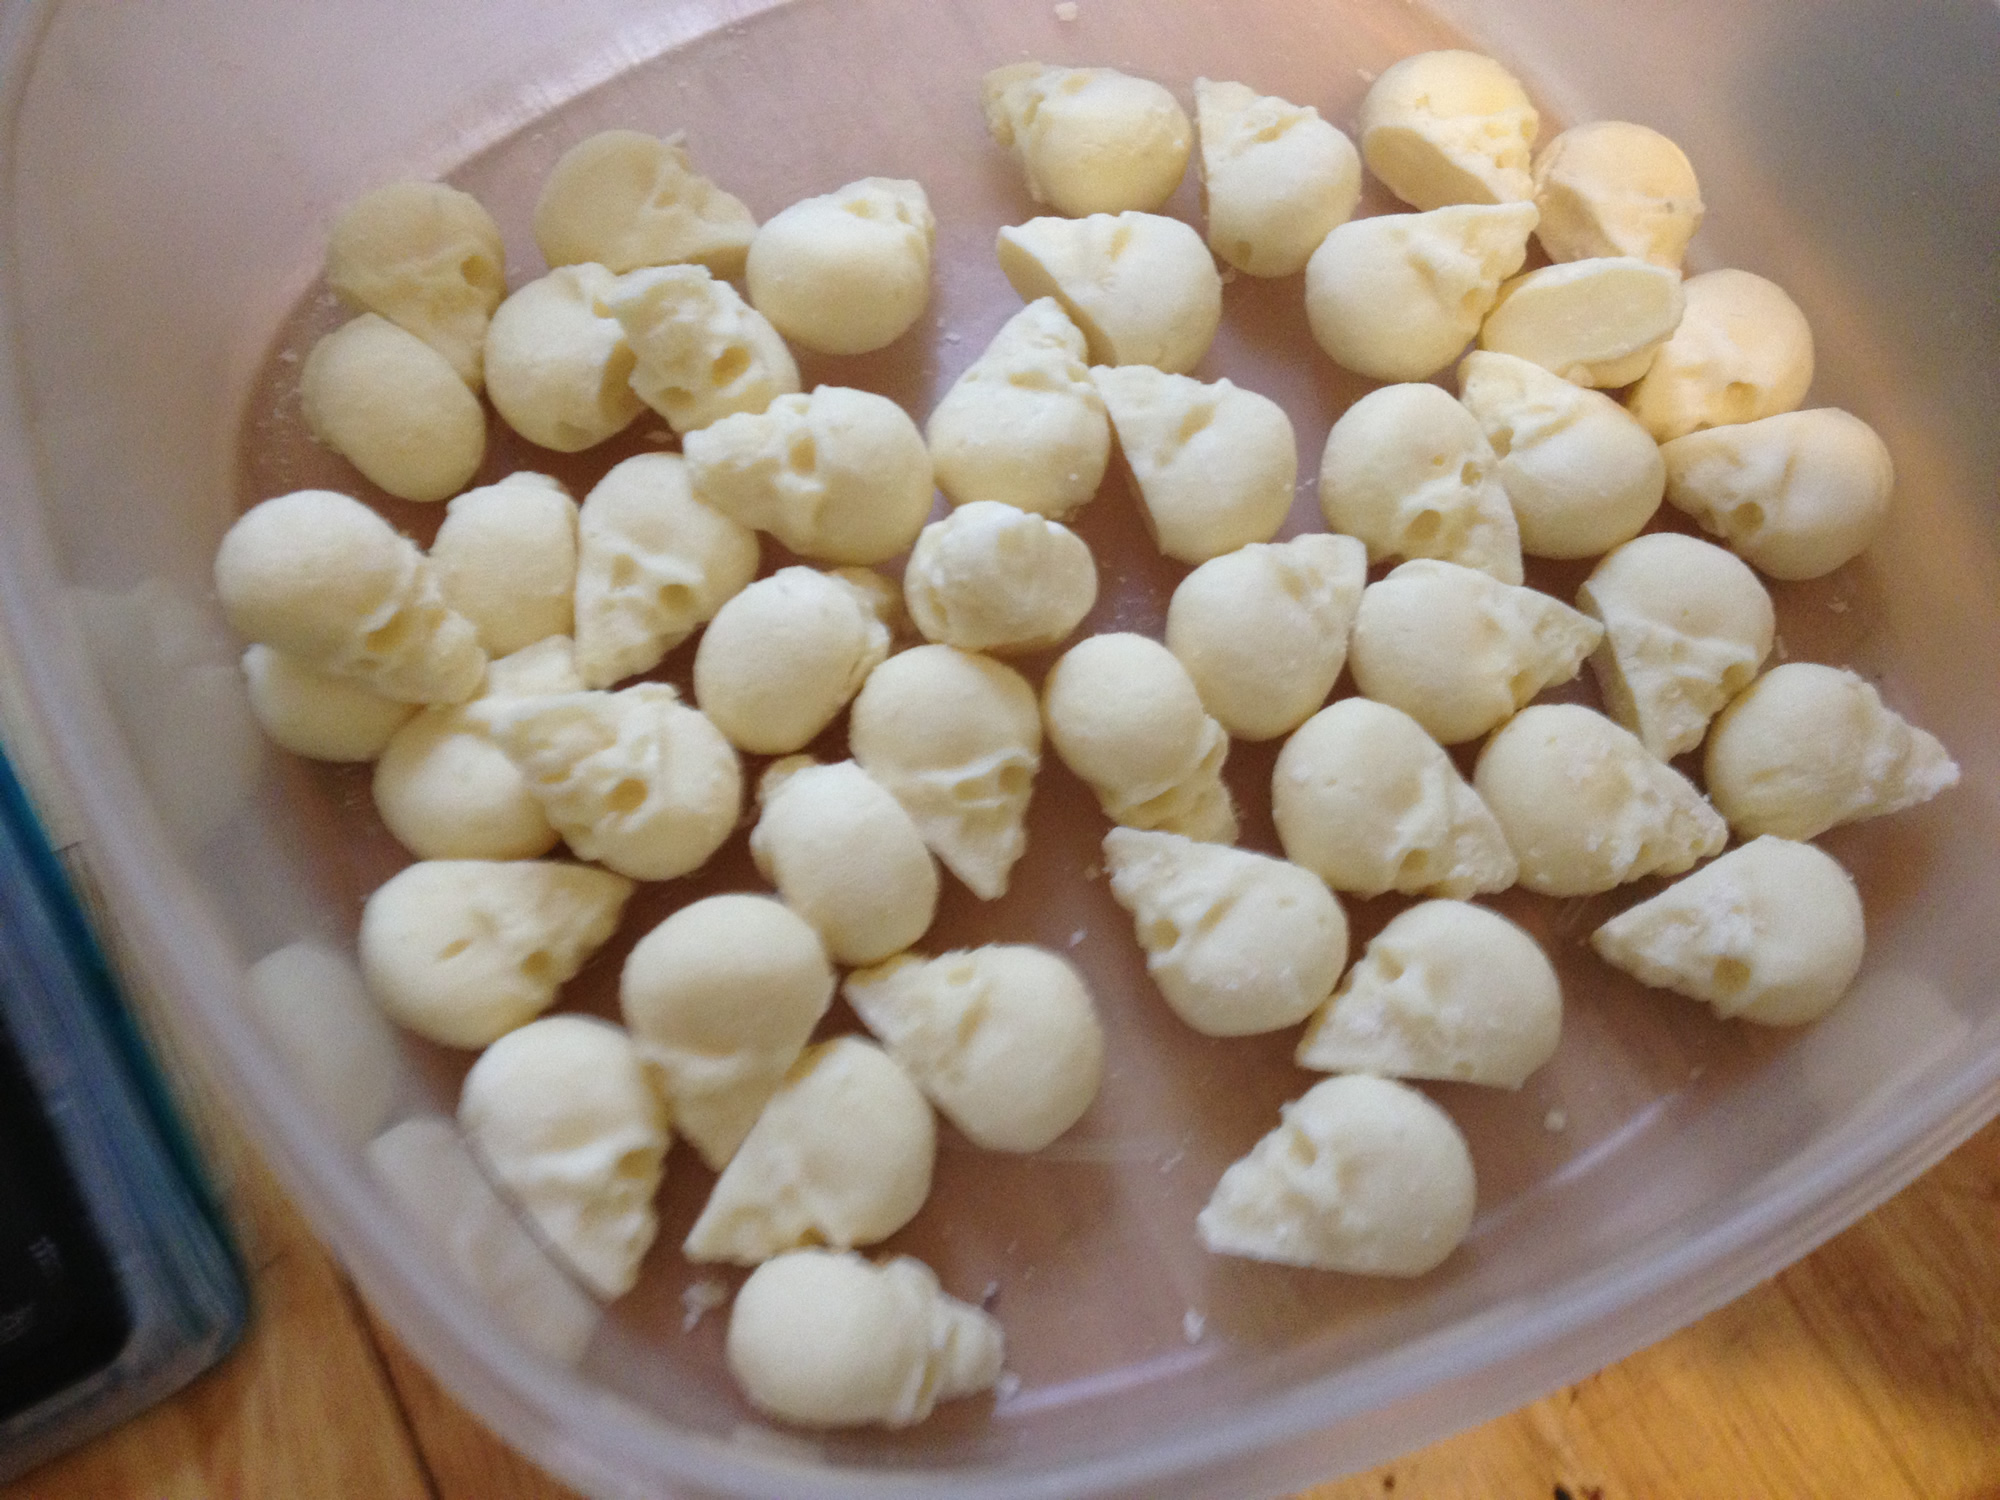
The candy trays were printed in PLA, so they would relatively “food safe” at least compared to ABS. I cast many, many batches of white skull chocolates and then placed them in the PLA trays. I then placed the trays in treat bags and sealed them with twist ties.
The OpenSCAD code and STL files are all available on Thingiverse:
The Chocolate Skull Mold Maker
Skull with Pointed Teeth (cleaned and repaired scan)
The scan is available from 123D Catch:
My original skull scan (before cleanup)
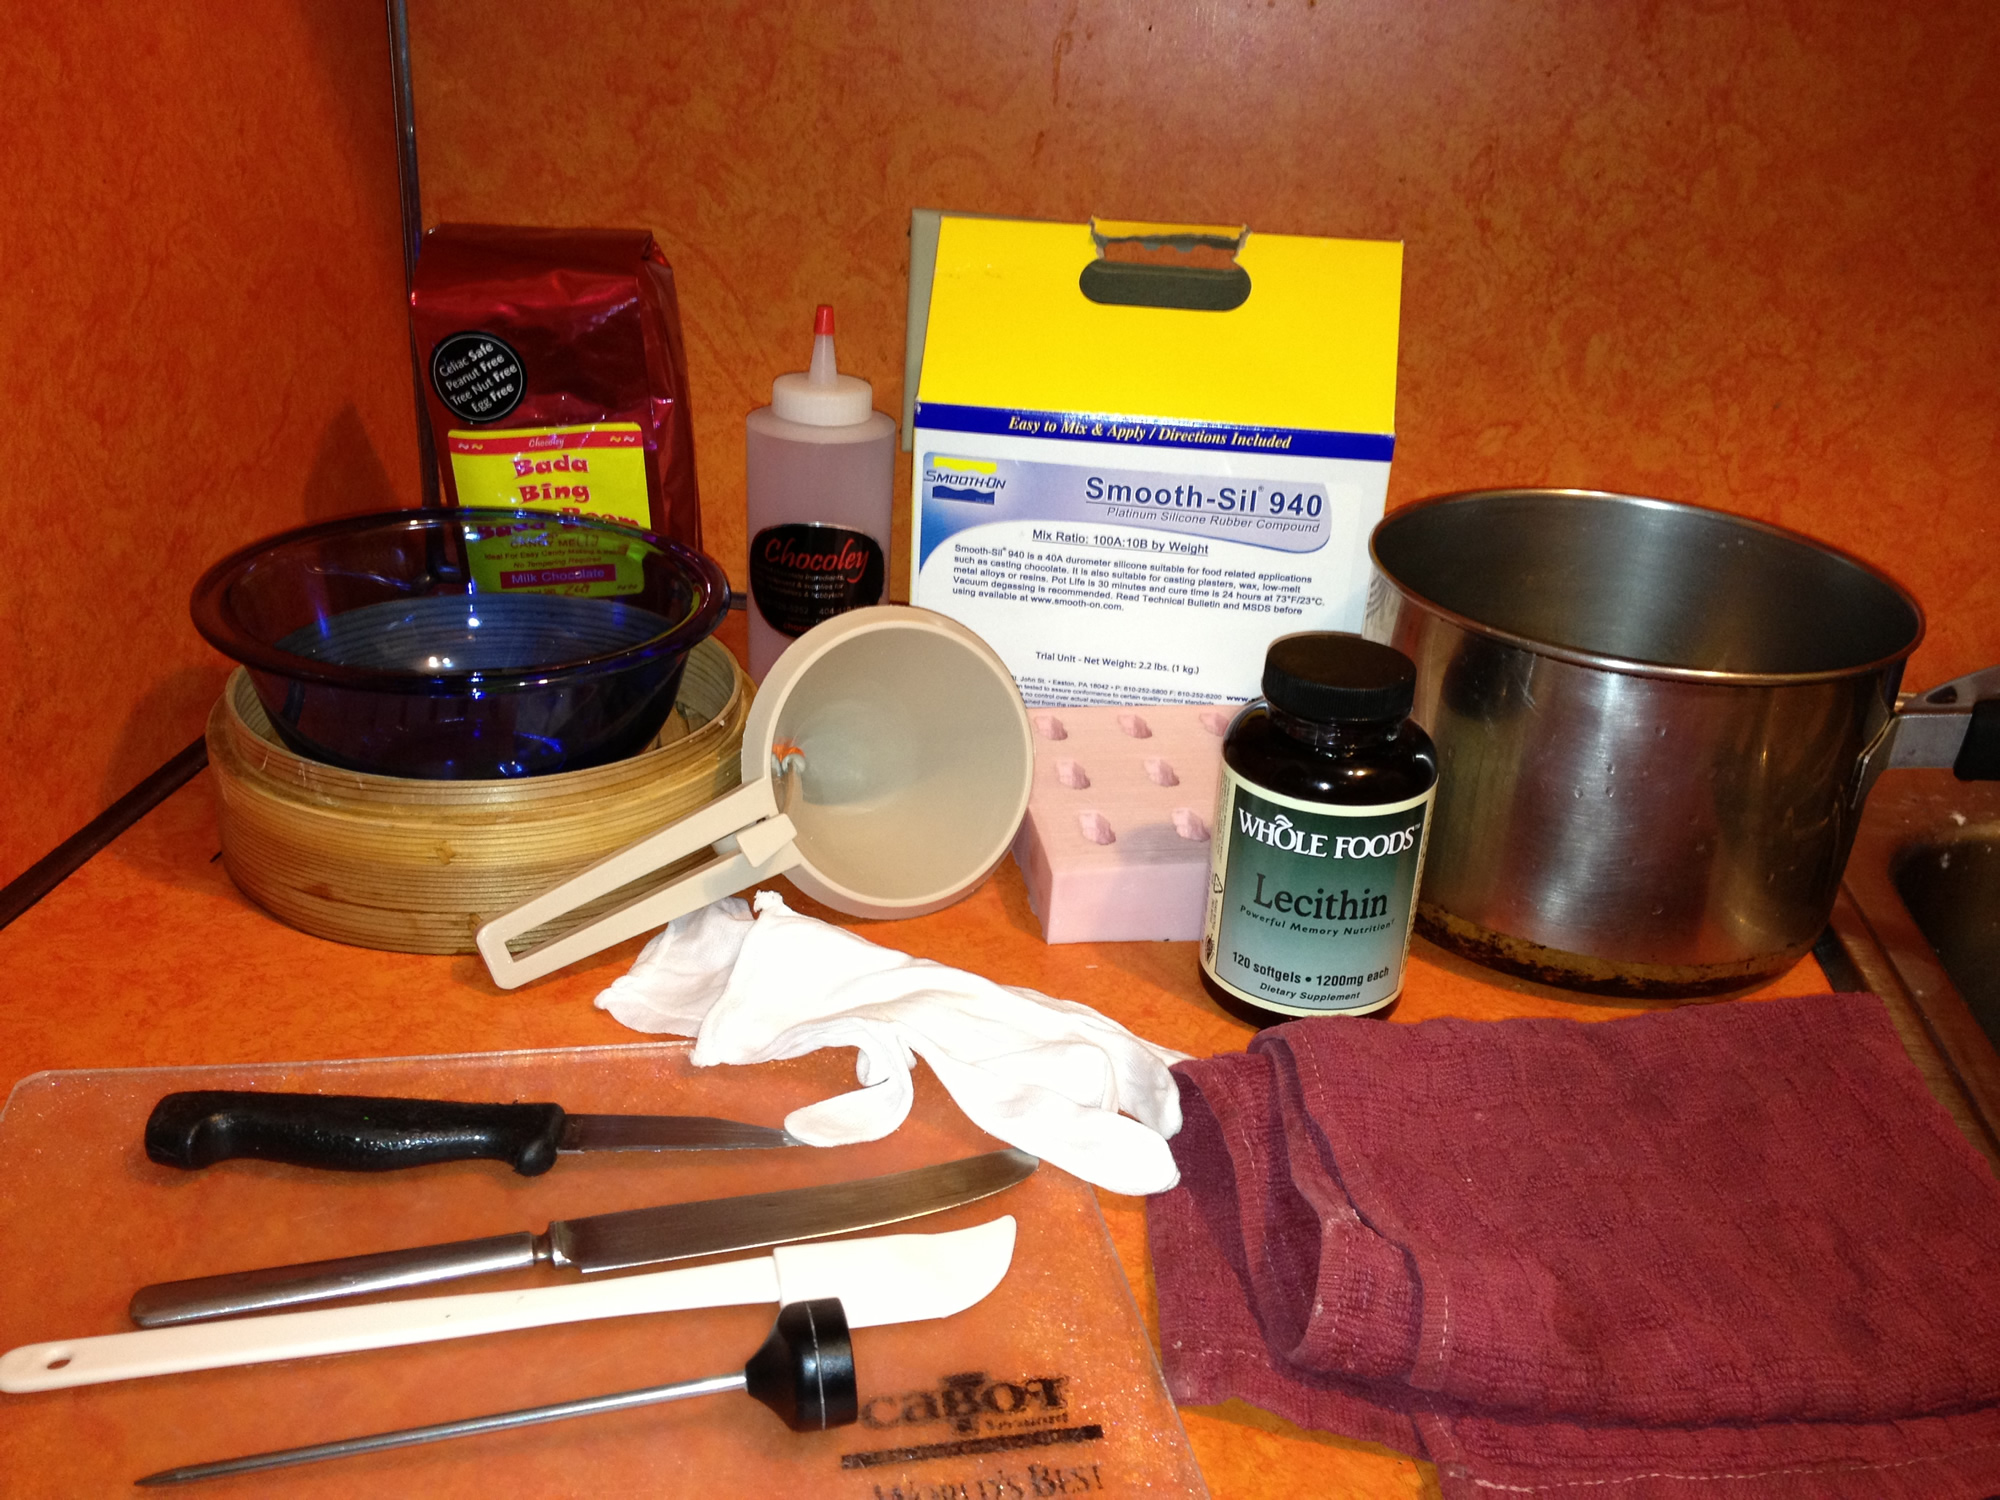
Bill of Materials
You will need the following items in order to recreate the White Skull Chocolates:

Design Your Own Mold in OpenSCAD (optional)
For those who do not want to design their own mold, you can still play along. Skip this step and use the provided linked files.
I designed this mold using a mashup of OpenSCAD and a scanned skull. You can also grab the OpenSCAD files, so you don’t have to copy and paste. If you want to play around with the mold code, make sure the vampireSkull_0.2.stl is located in the same directory as the OpenSCAD file.
You can substitute your own STL for the mold, just change the “filename” variable to the name of your STL. Make sure your STL is in the same directory or provide a pathname for this to work.


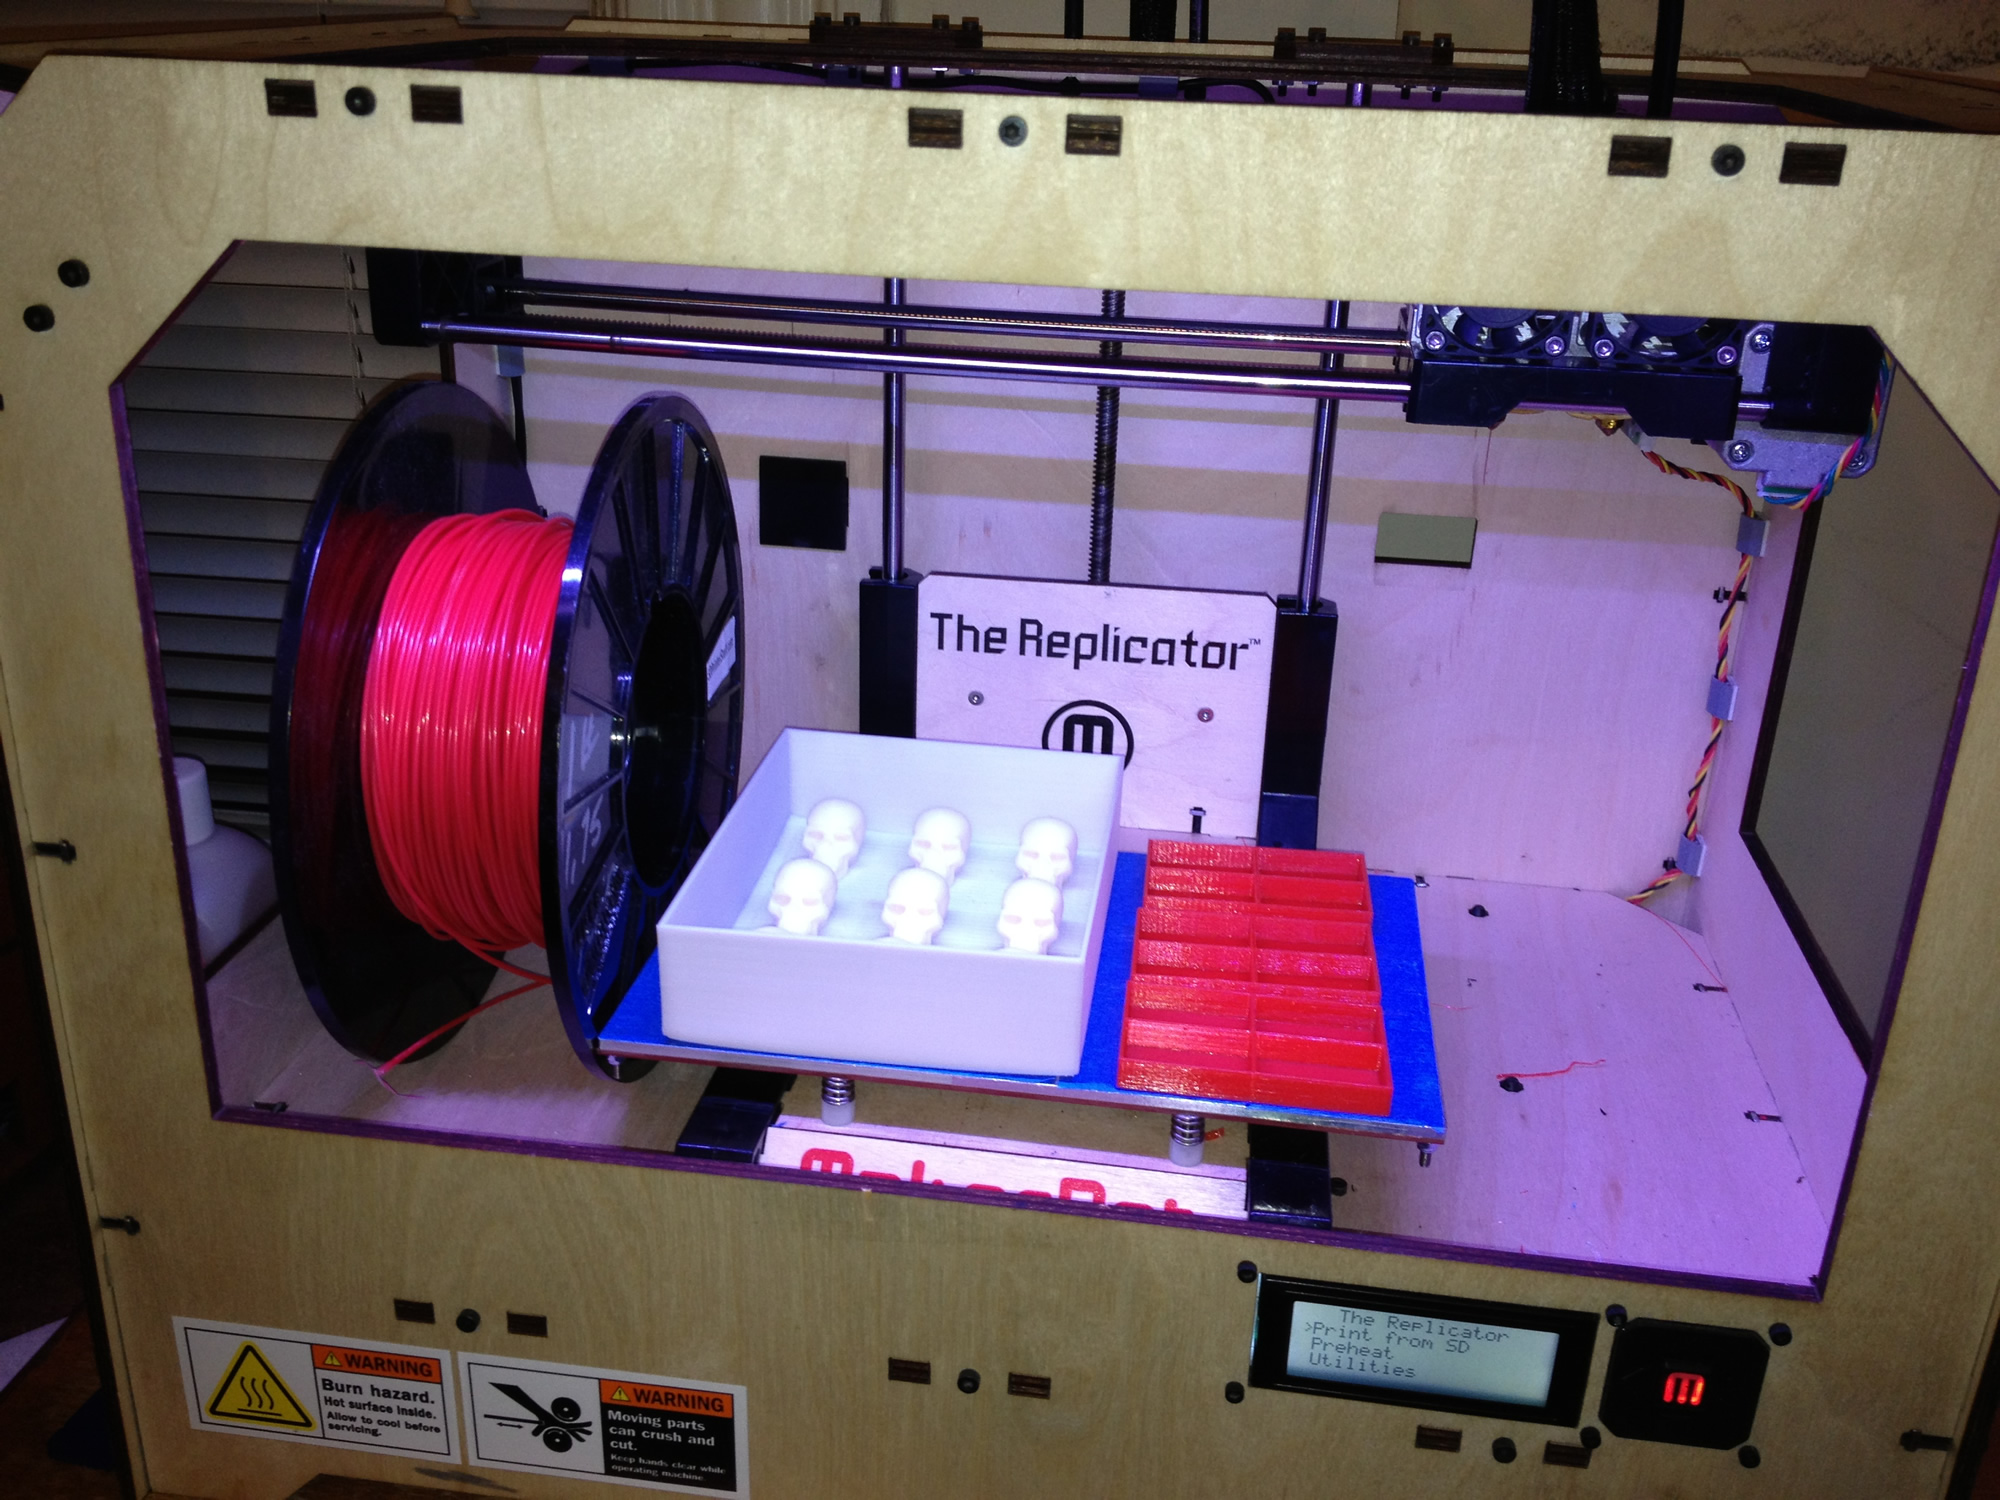
Print the Mold Maker on a 3D printer
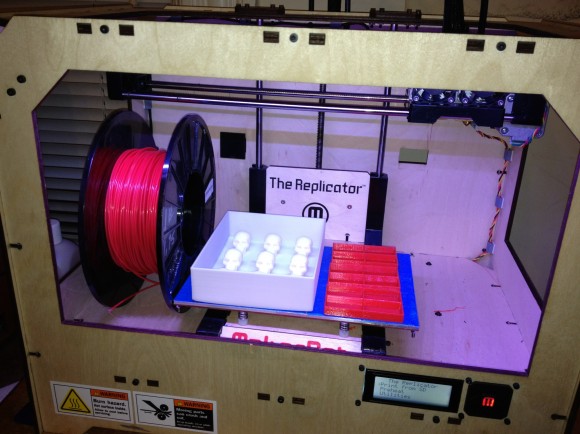
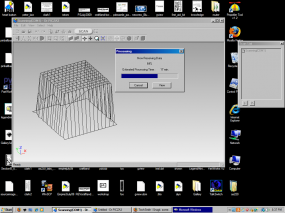
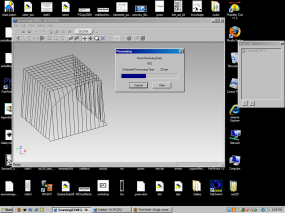
Print the mold form on a 3D printer. If you don’t have a 3D printer, go to your local hacker / maker space / fab lab and rent some time on theirs. If you don’t have any of those near you. you can always use a 3D printing service like Shapeways or Ponoko . You can get the mold files on Thingiverse.
For those following along on their 3D printers at home, I recommend printing the Chocolate Skull Mold Maker with 13% infill and 3 shells.
I have provided two versions of the Chocolate Mold Maker STL file; on with thin walls (1.3mm) and one with thicker walls (2.3mm). The one with thin walls in not completely watertight if you print it with a raft. I used liquid tape on the bottom to make it water tight, but in the end the rubber mold mix was very thick and I don’t think the liquid tape was actually necessary.
The thicker on will take much longer to print. In the end, the thin walls one should be fine to pour the silicone rubber into, but I have only made one mold so far.


Mix and Pour the SmoothSil 940
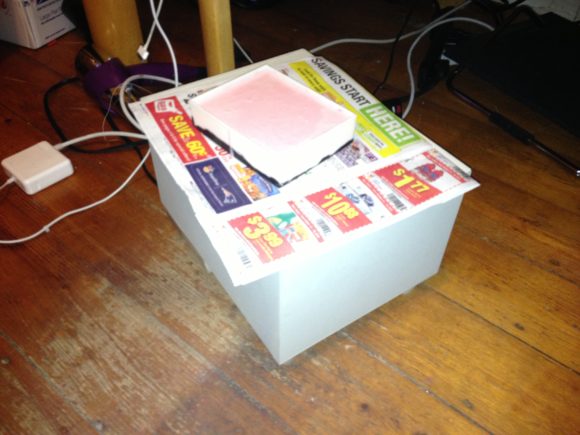
Take the Smooth On SmoothSil 940 food safe silicone rubber and mix it according to the proportions on the package. Pour into 3D printed chocolate mold maker. Fill mold so that it covers the skulls by about a half inch or close to the top of the mold.
I don’t have access to a vacuum degasser (yet), so to help alleviate possible bubbles from forming in the mold I placed on a subwoofer while music with heavy bass was playing. I also used an electric toothbrush without the brush head attached to vibrate the bottom and sides of the outside of the mold to get bubbles to come to the top.I don’t know how effective these measures are, but I did not have any problems with bubbles or the mold material loosing detail.Let the poured mold set for 24 hours and follow heat curing instructions. Read the datasheet.
Note: I covered the bottom of the “thinner walled mold” with black liquid tape (liquid rubber). You can see it the pictures. I was worried that the model was not completely watertight, but I don’t think it is actually necessary. The Smooth-Sil 940 was so thick that it wouldn’t have leaked out before setting up anyway.


Demold
Demold. You will probably have to destroy the 3D printed form completely. I tore mine completely apart. Some of the skulls have to be removed one by one. Overall it was pretty easy to demold, once I accepted that I was going to destroy the mold maker.
Give the mold a wash with soap and water in the sink. Let it dry completely before attempting to cast chocolate. Water does bad things to chocolate when you are casting it.
Add Slits to the Mold
Cut notches in the mold with a razor blade at the base of the skulls (see the pictures). This will make it much easier to demold the chocolates.
I came across this by accident.After demolding many rounds of chocolates, the base of one of the skulls started to split a little from flexing the mold. I found that it had no impact on the quality of the chocolates coming out of the mold and it made it much easier to demold the chocolates. I cut little notches with a razor blade straight back perpendicular to the base of all of the skulls. (see pic, the notches are only visible if I flex the mold) It makes it much easier to get them out of the mold.
Extract the Soy Lecithin from the Softgels
The soy Lecithin will help with the demolding and has other benefits when used in molding chocolate. I used Whole Foods softgels (available in the supplements isle).
I cut the softgels open and squeezed the oil out. I not very precisely used around two small handfuls of chocolate to the oil contained in 4 Lecithin pills. Discard the softgels after squeezing out the oil.
Melt Chocolate
Get white chocolate melts that do not require tempering. I used these and they worked great. You could use tempered chocolate, but it is not covered here.
Heat chocolate melts in a double boiler. Temperature is very important. While the chocolate melts, use thermometer to measure the temperature. Heat to between 100-105° F. Do not overheat!
While melting the chocolate, add a small amount of Lecithin that we obtained in the last step. I used two small handfuls of chocolate (I have small hands) to oil obtained from four Lecithin softgels. Gently stir the chocolate until it is consistently melted.
I also found that a tiny bit of coco power can give the chocolate a more balanced taste. Just add a sprinkle to the batch.
I made a lot of chocolates, and I don’t have a double boiler, so I experimented with several ways of melting the chocolate.
The first way: A tall pot with half full of water. I put a bamboo steamer basket on top of the pot. I put a small glass mixing bowl on top of the bamboo steamer basket. Chocolate melts go in the mixing bowl. Paper towels go in the top of the steamer basket where it meets the glass bowl so that steam and chocolate do not mix.
 The second way (best way): I kept the tall pot, bamboo steamer setup, but switched from using a glass bowl to a chocolate squeeze bottle. I also used a dishtowel to block the steam (see photos). I only had one of these molds (molding material is expensive). After I melted a whole bottle’s worth of chocolate in the glass bowl I poured it into the squeeze bottle. That way I could fill a mold and then heat it back up on the steamer when it was time to refill the mold. Much less mess.
Let the Chocolate Cool
Let the chocolate cool & hold at 96-98° F to work with the chocolate. This will probably take longer than you think. Keep an eye on it and have your mold and tools ready.
If you are going to pour the chocolate into a squeeze bottle or funnel, do it while it is cooling. Keep the thermometer in the chocolate so you can tell when it has cooled down enough to pour into the mold.
Note: I tried a chocolate funnel before I settled on the squeeze bottle method.
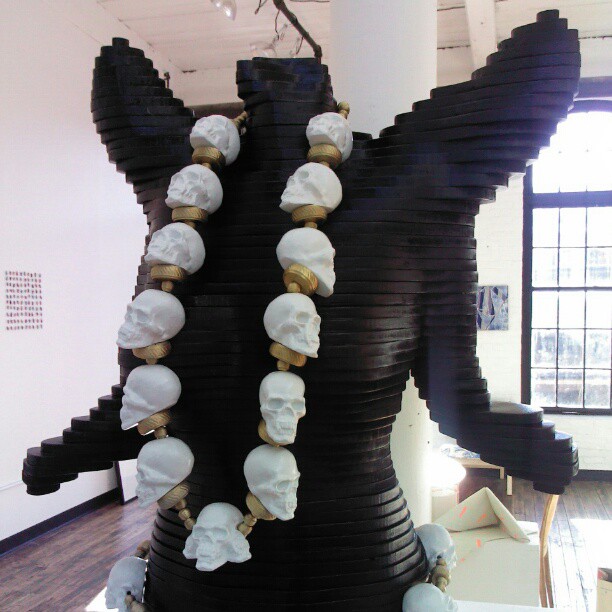
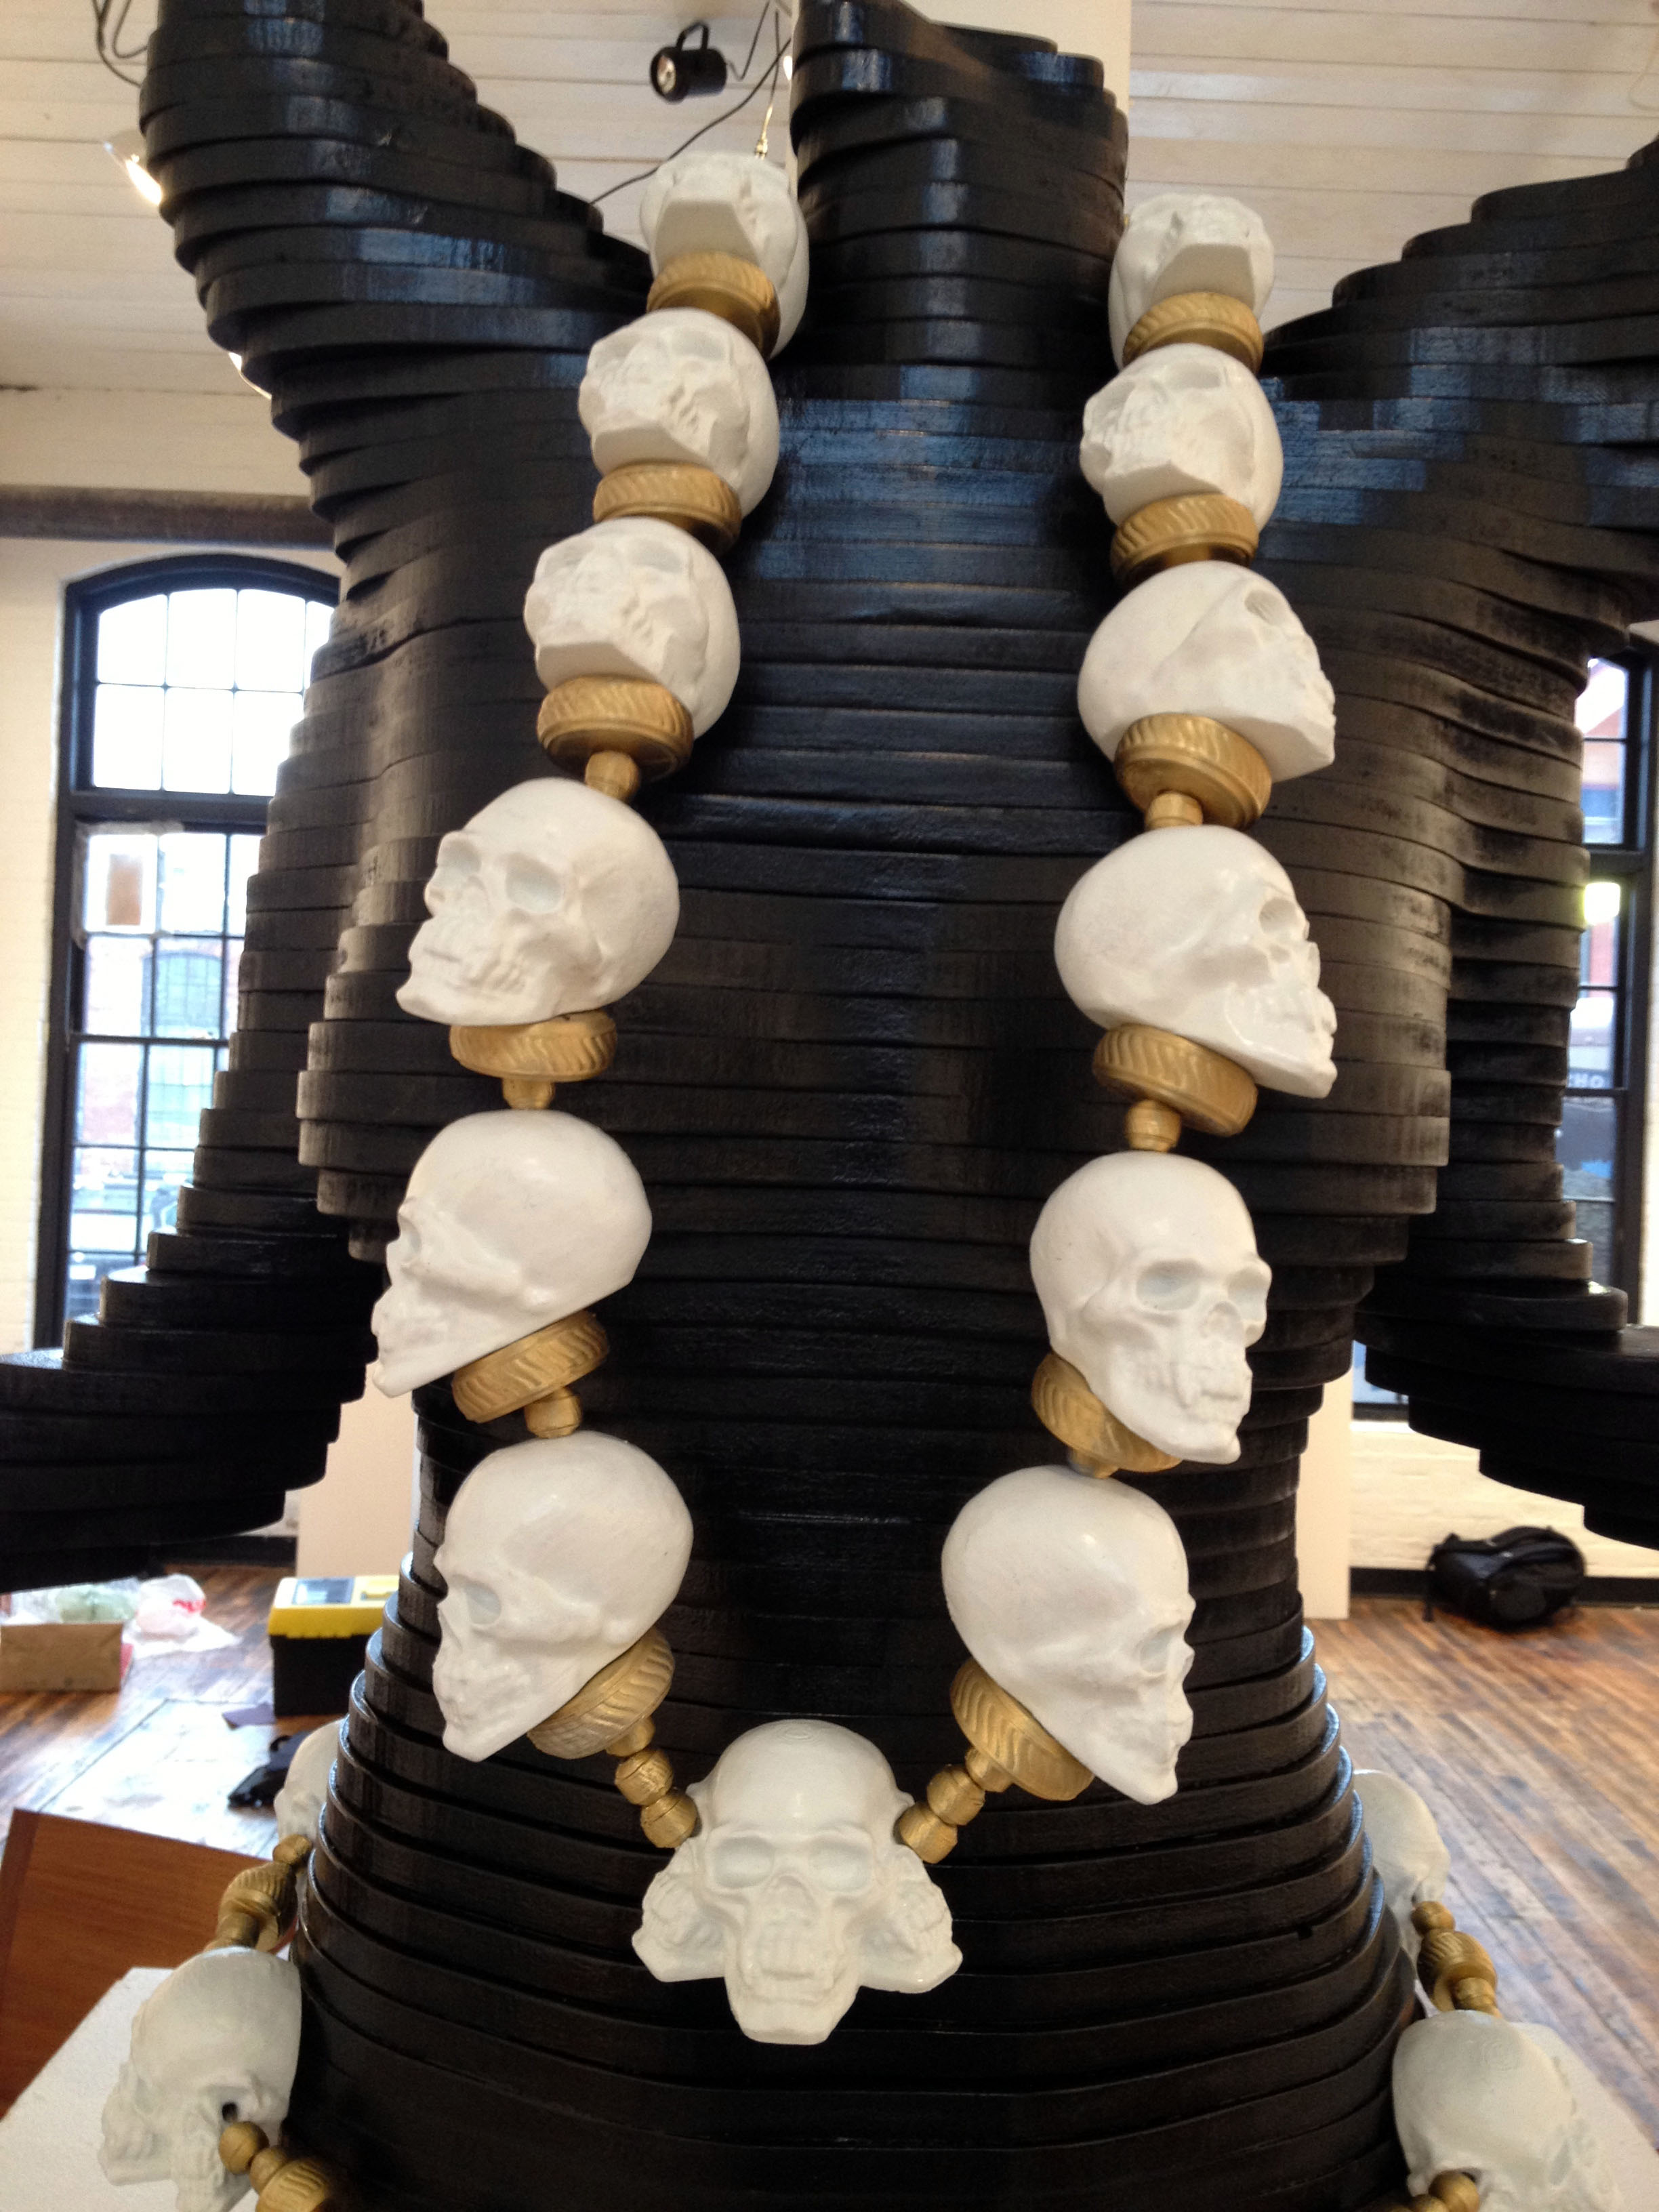
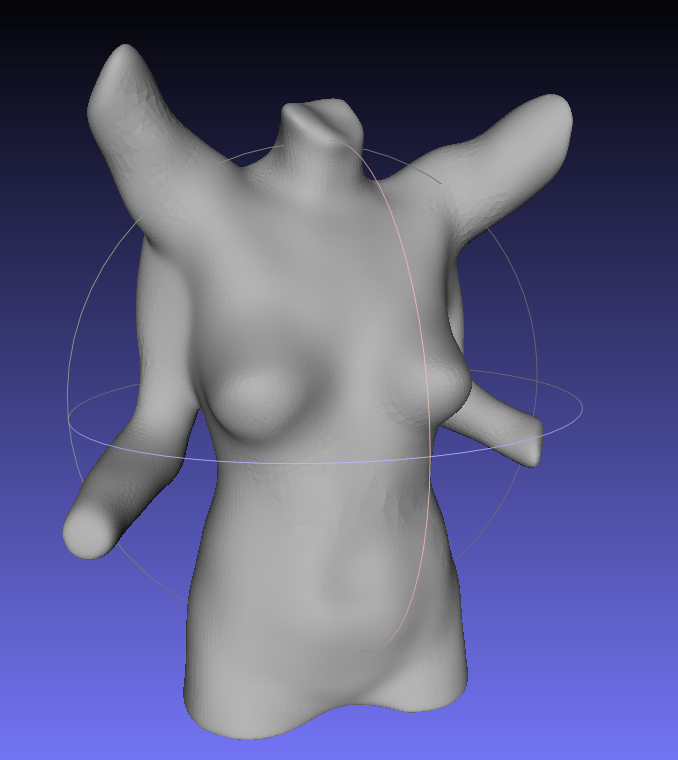
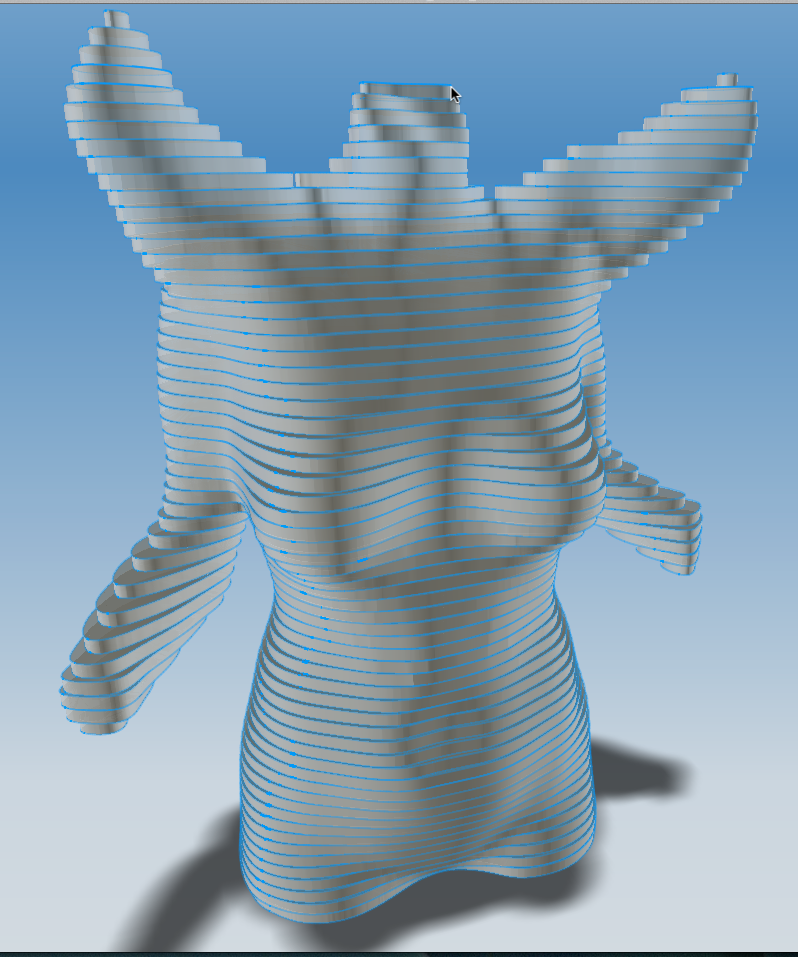
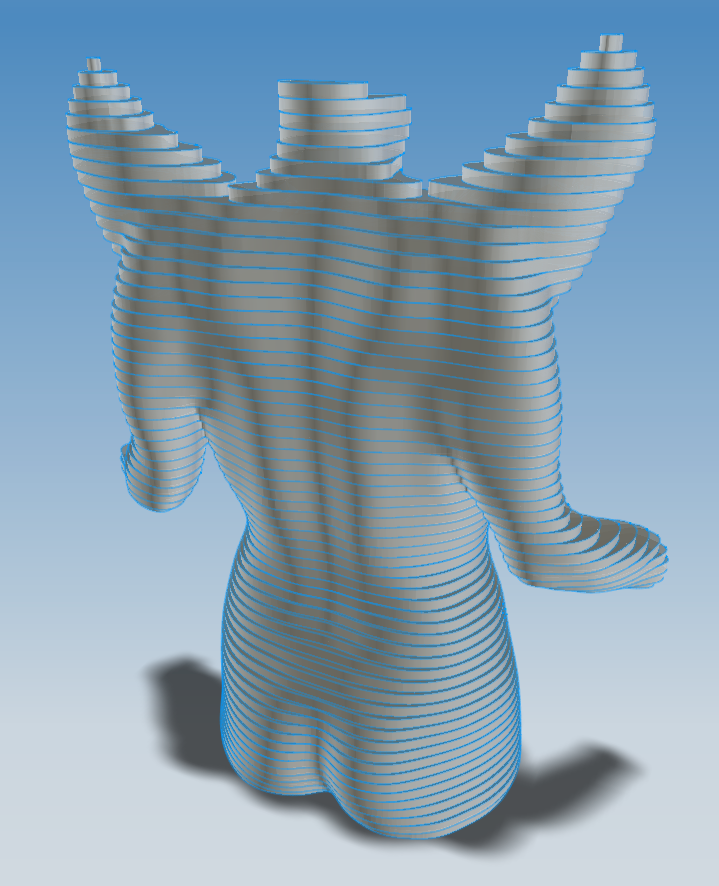
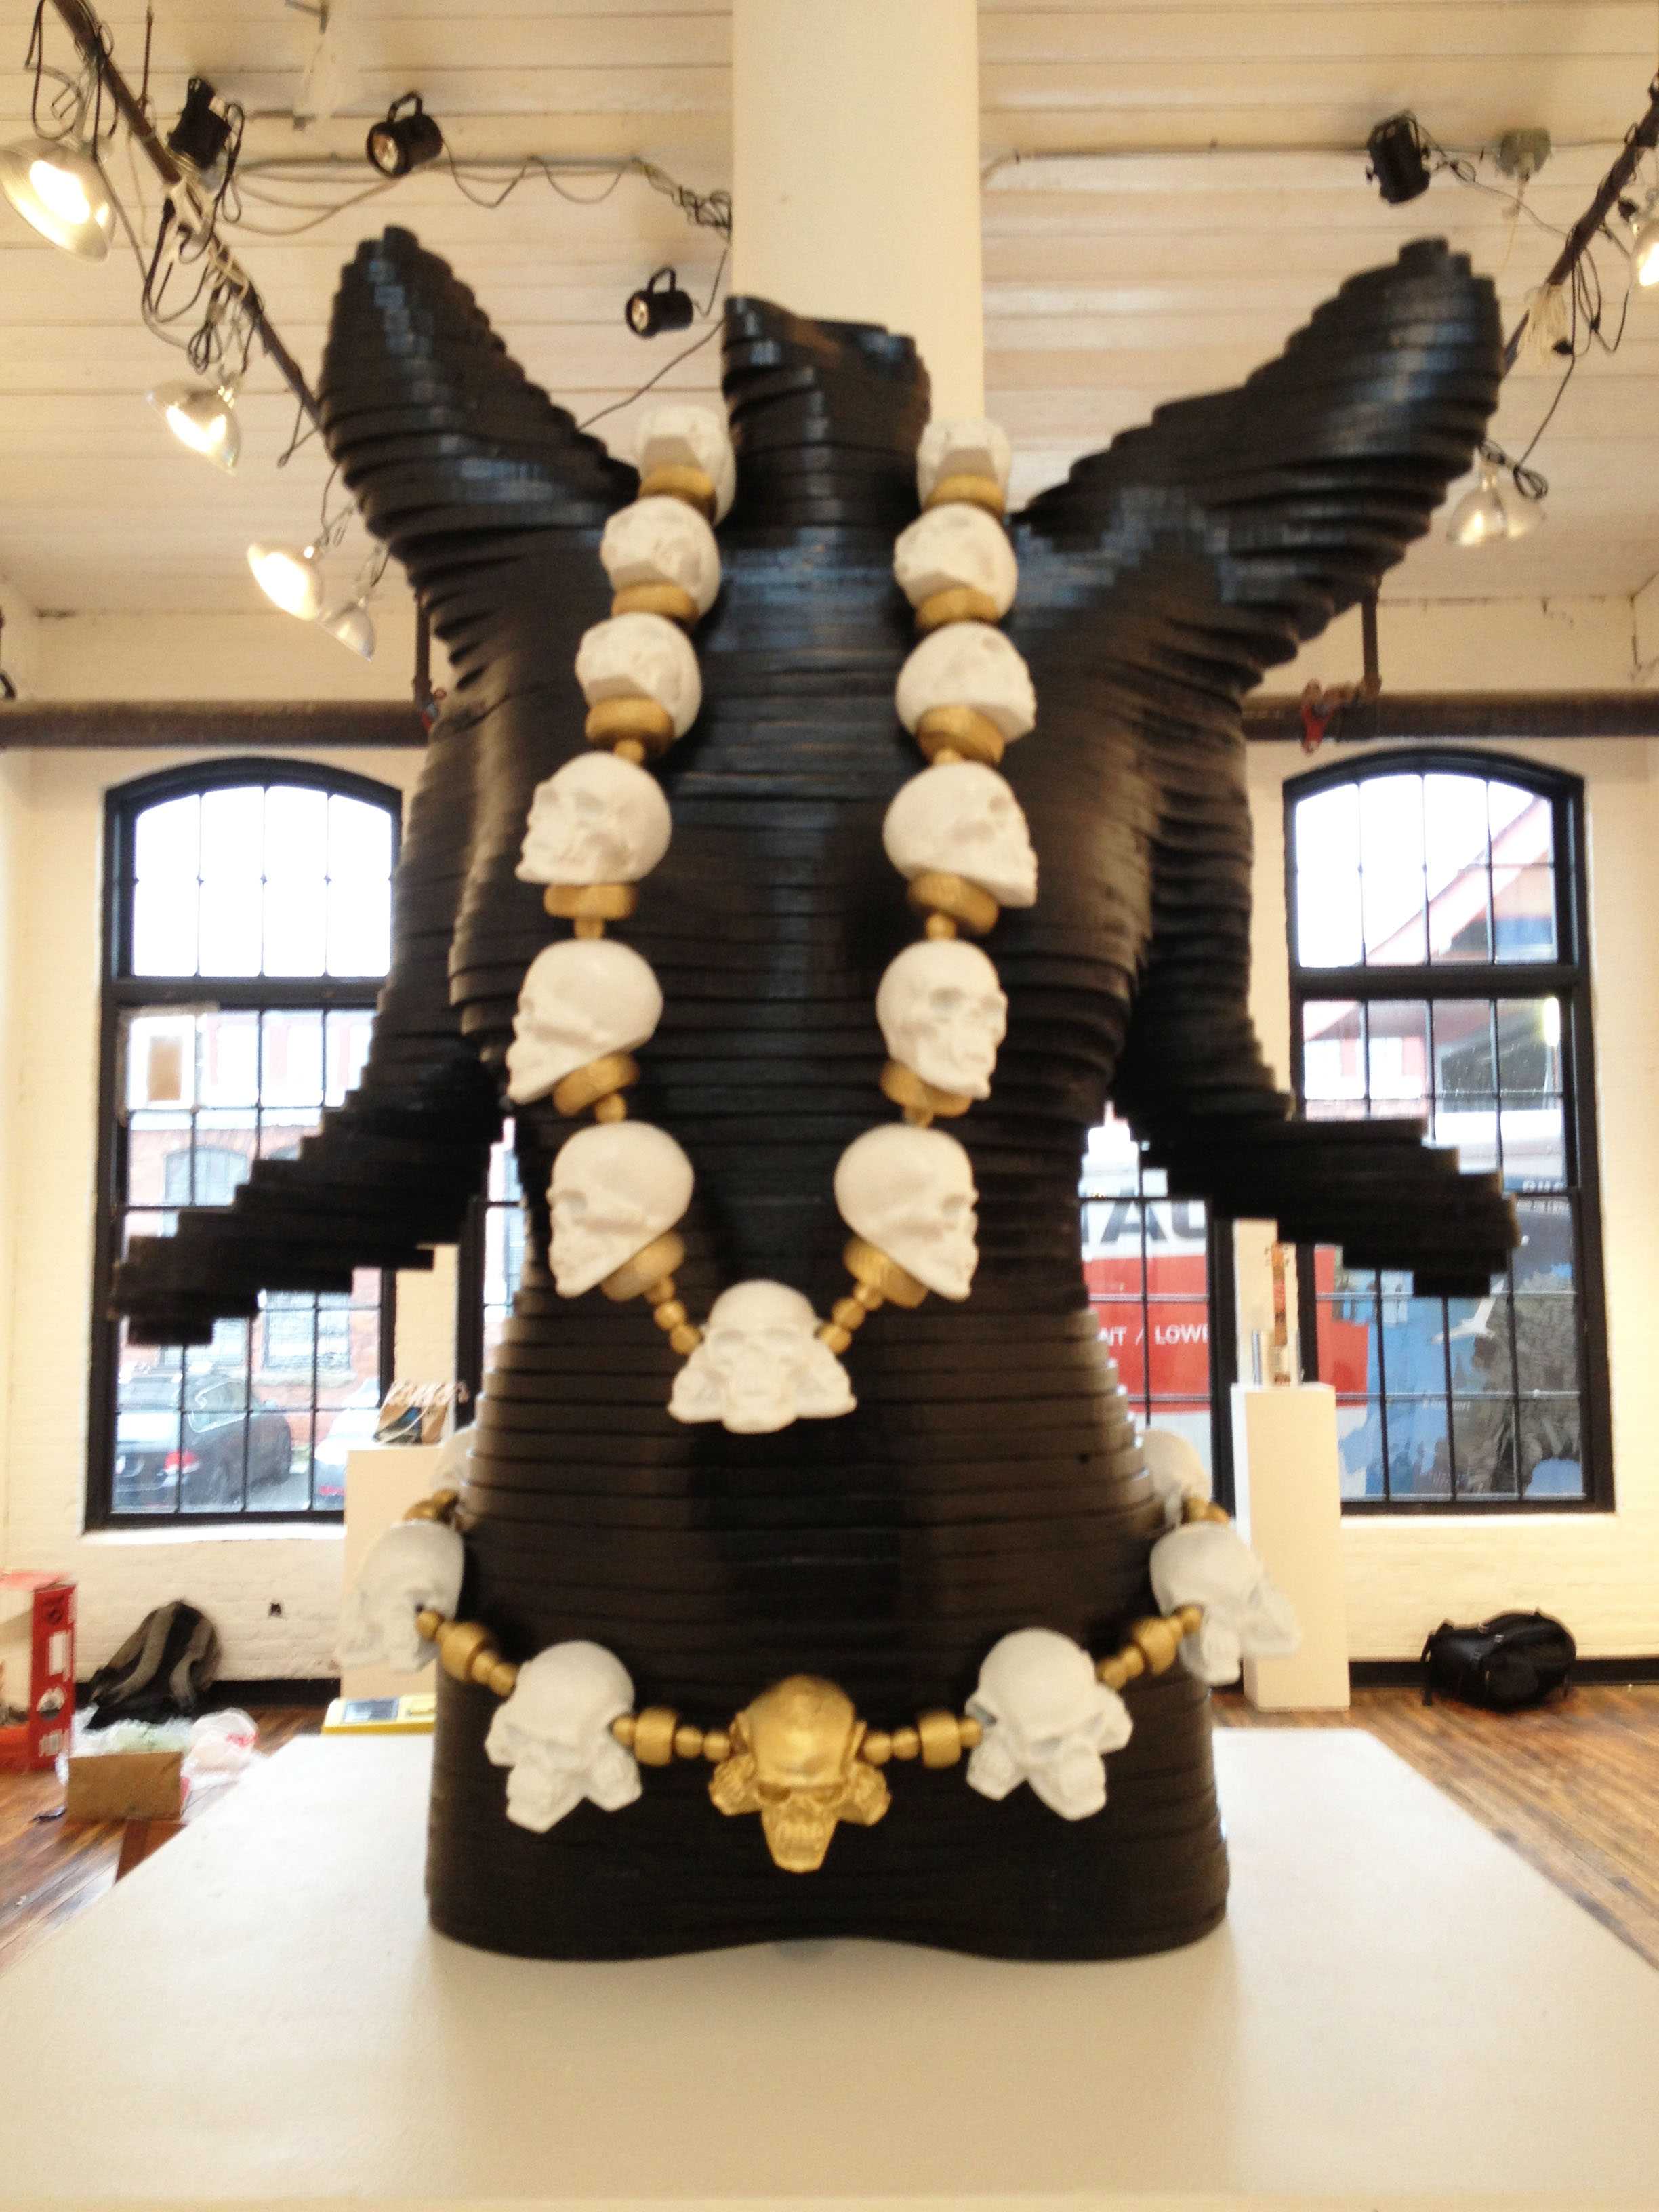 Created using skulls scanned with 123D Catch and multiple self scans of the artist using ReconstructMe. The scans were merged in MeshMixer to create the two sets of arms. The scanned skulls were turned into beads with OpenSCAD. The divider beads for the necklace and the belt were created in OpenSCAD. The skulls and beads were printed on my MakerBot Replicator, the MDF was routed on the ShopBot.


