To make a pair of hoof shoes, you’ll need the following:
- suitable shoes
- SmoothOn Free Form Air epoxy dough
- small screws
- drill and bits
- sander discs for a drill
- paint
- fur
- hot glue gun and glue
- thin cardboard (optional, depends on shoes chosen)
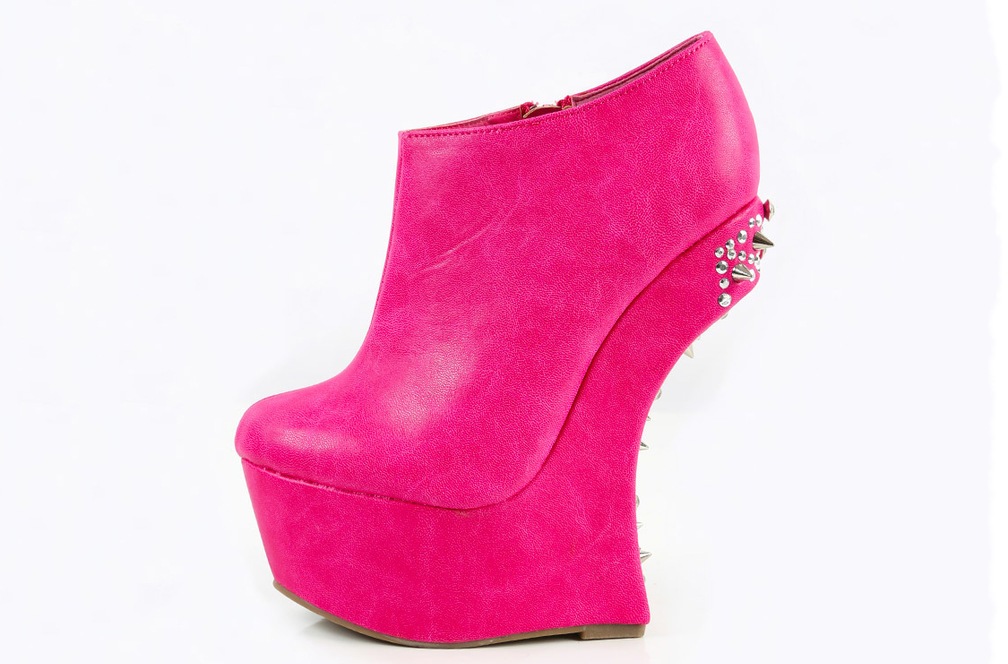
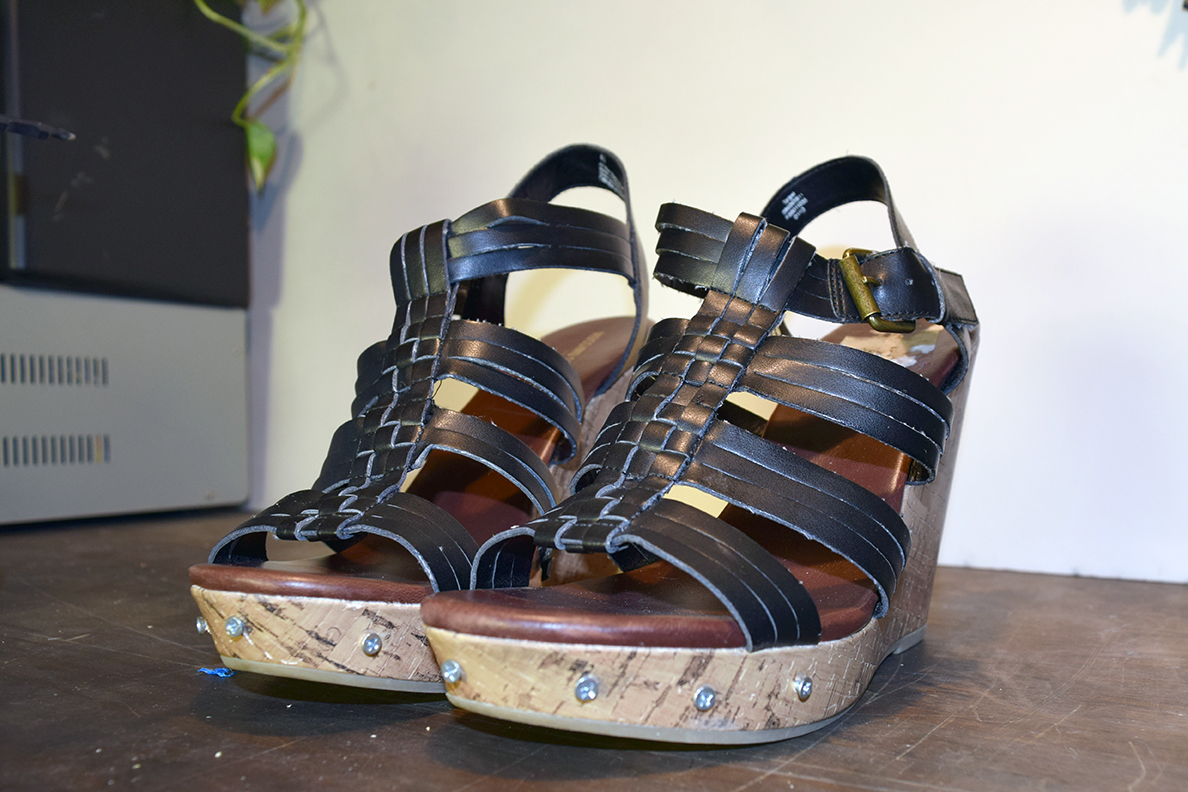
Step 1: Find Suitable Shoes
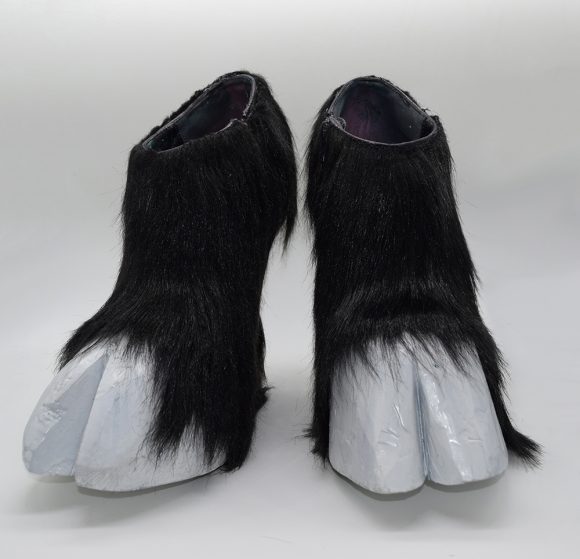
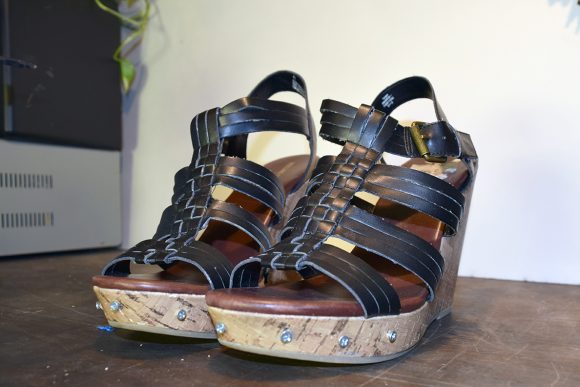
There are two basic ways to make hoof shoes: start with heelless shoes (like those shown below) or to use a wedge. The heelless shoes typically have two-inch platform soles, which makes them a great canvas for adding hooves, but they are difficult to walk in. Although I used them to make the booties shown above, I was worried about breaking an ankle the entire time I was wearing them.
To create a “hoof look”, you want to minimize your footprint
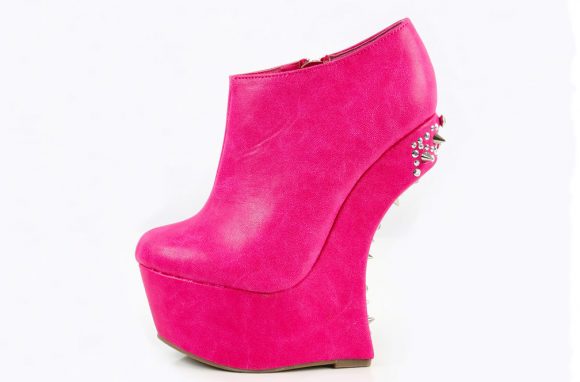
The goal of hoof shoes is to make it look like you have hooves instead of feet. In order to create this illusion, you’ll need to select shoes that have as small of a sole as possible. Meaning, the higher the heel, the smaller the sole of the shoe. However, you’ll need to balance being able to walk with small sole size.
Platform or chunky sole needed
The hooves themselves are made from SmoothOn Free Form Air lightweight epoxy. In order to get the hooves to stick to the shoe, you’ll need adequate surface area and anchors for the epoxy to grip. Practically, this means that the shoes you select will need to have a slight platform or a chunky sole that you can drill into to add anchor screws for the epoxy to grip.
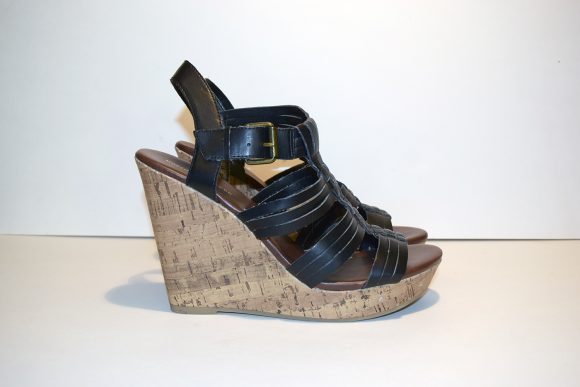
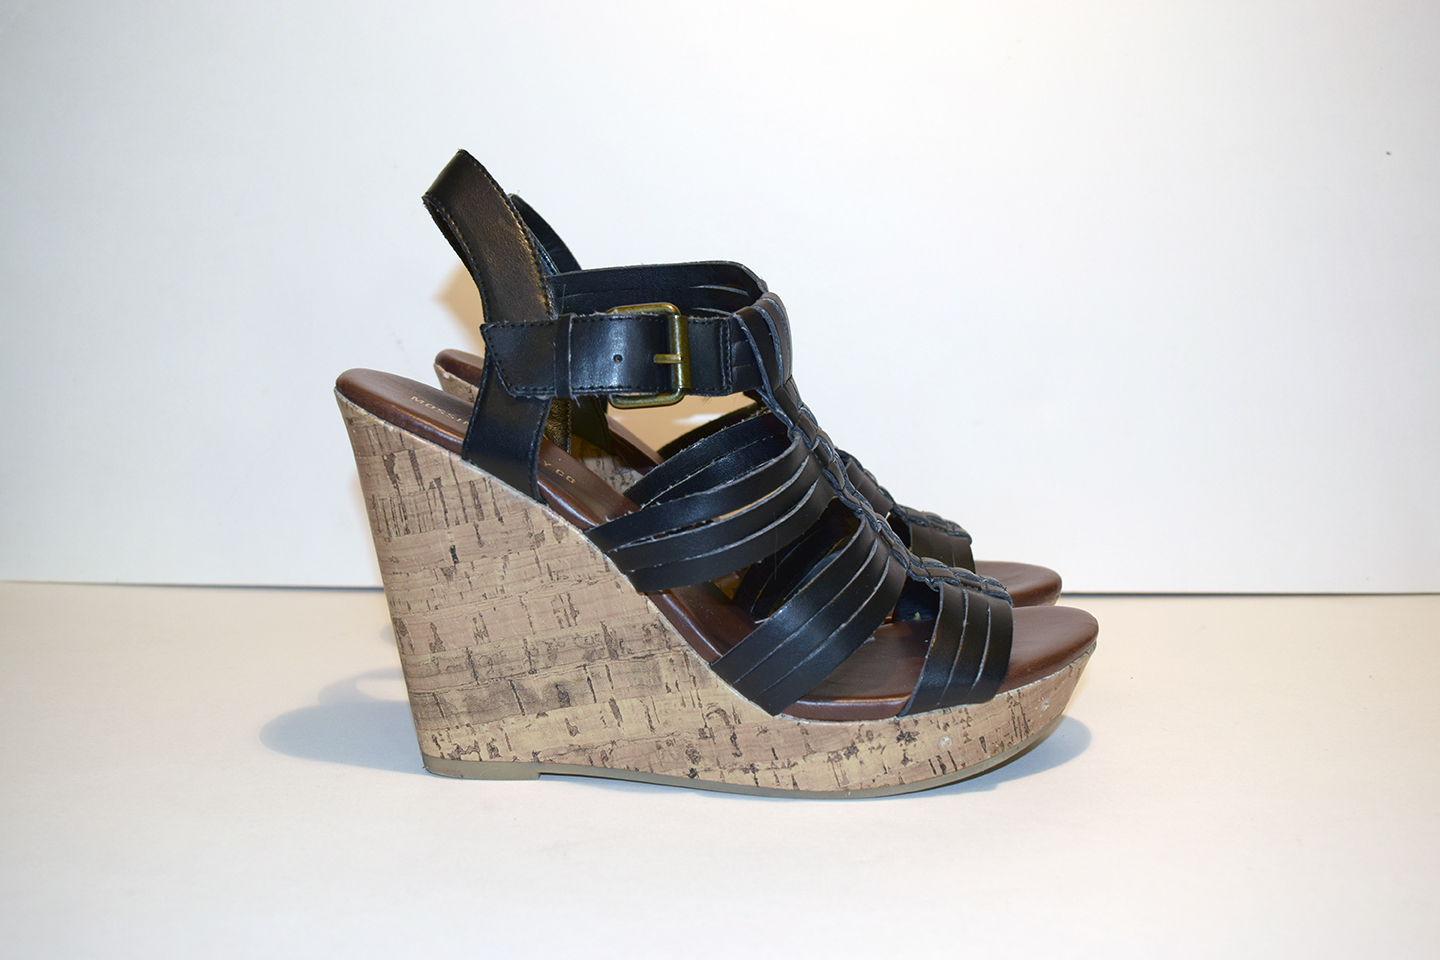
Having made two pairs of hoof boots, one with heelless shoes and one using a wedge shoe, I recommend using the wedges. Heelless shoes shift all of your weight onto the toes and can be very uncomfortable to wear for long periods of time. This tutorial uses a strappy wedge shoe with a very slight platform. Wedges are much easier to stand in, as you can rest your weight on your heels as well as the toes.
Make a on/off fastener plan
Depending on the shoes you choose, you may need to be creative in how you arrange the fur so you can take the shoes on and off. For example, the boots I used to make the heelless shoe hoof shoes had zippers on the side. I needed to leave that zipper open and arrange the fur around them so the zipper could still open and close.
For the buckle wedges used in this tutorial, I made a plan to wrap the fur around the tops of the shoe in a flap that would attach with buttons that ran up the leg, forming knee-high boots that were secured with elastic at the top. The flap needed to open all the way up so I could get to the buckles.
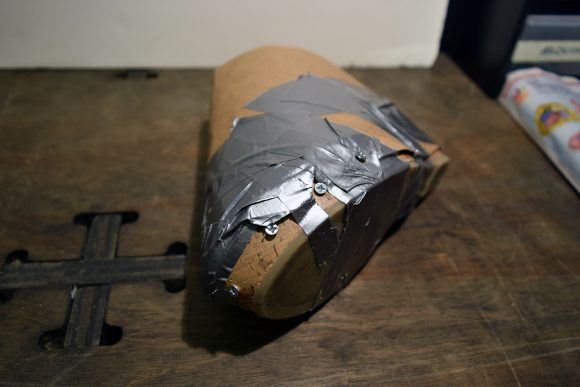
Step 2: Drill Holes
Drill several holes equally spaced around the front of the toe, in the shoe’s chunky sole or platform area. Drilling holes makes it easier to add the screws.
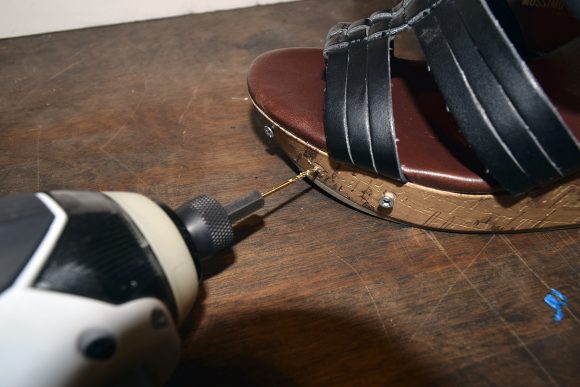
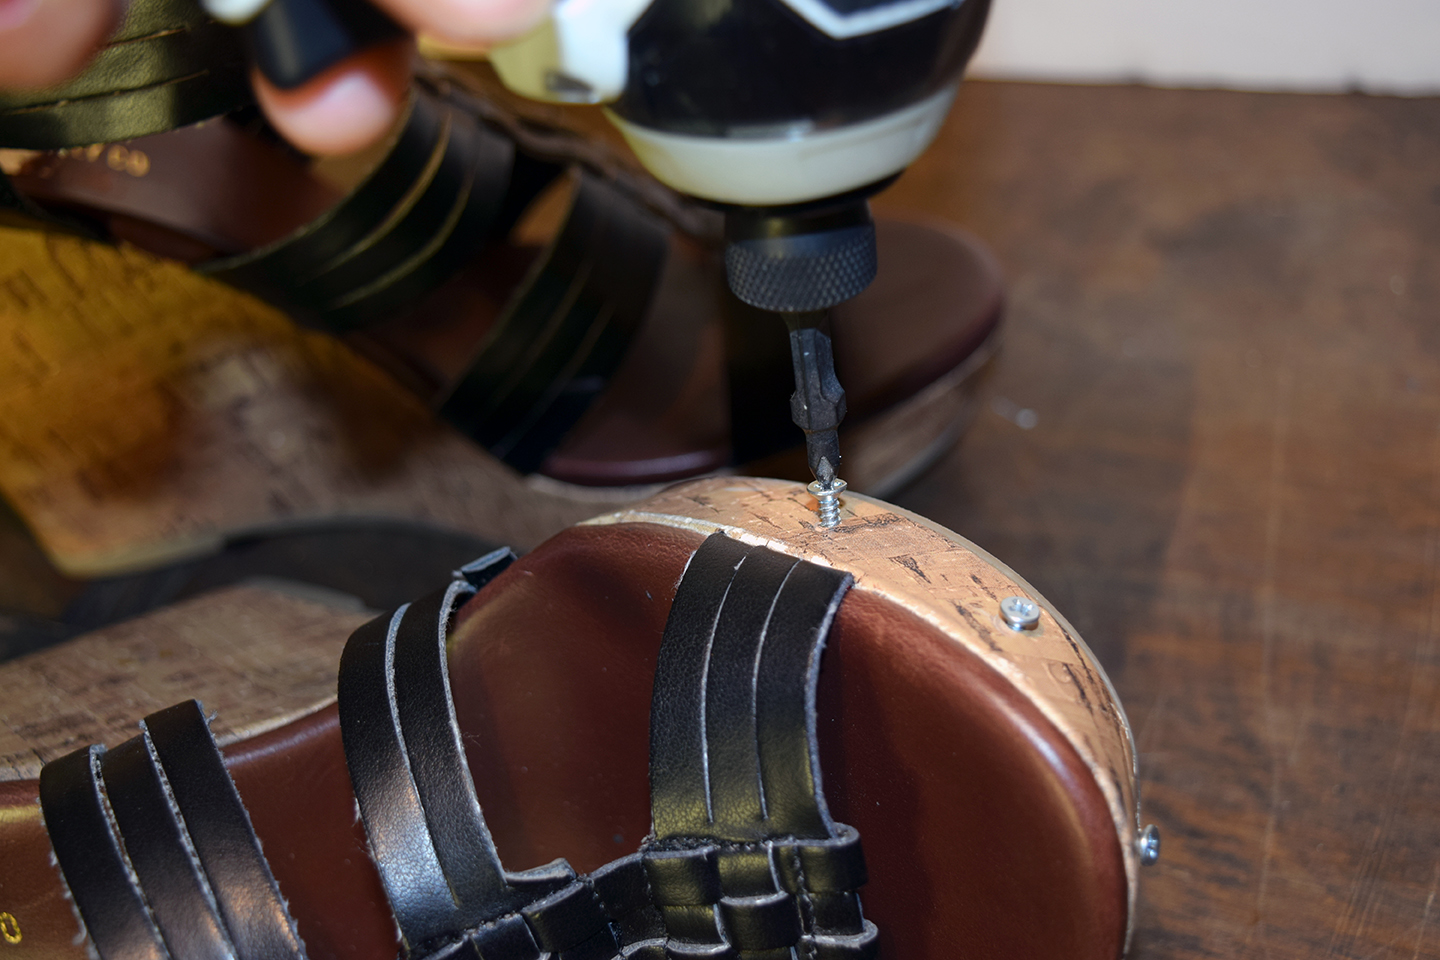
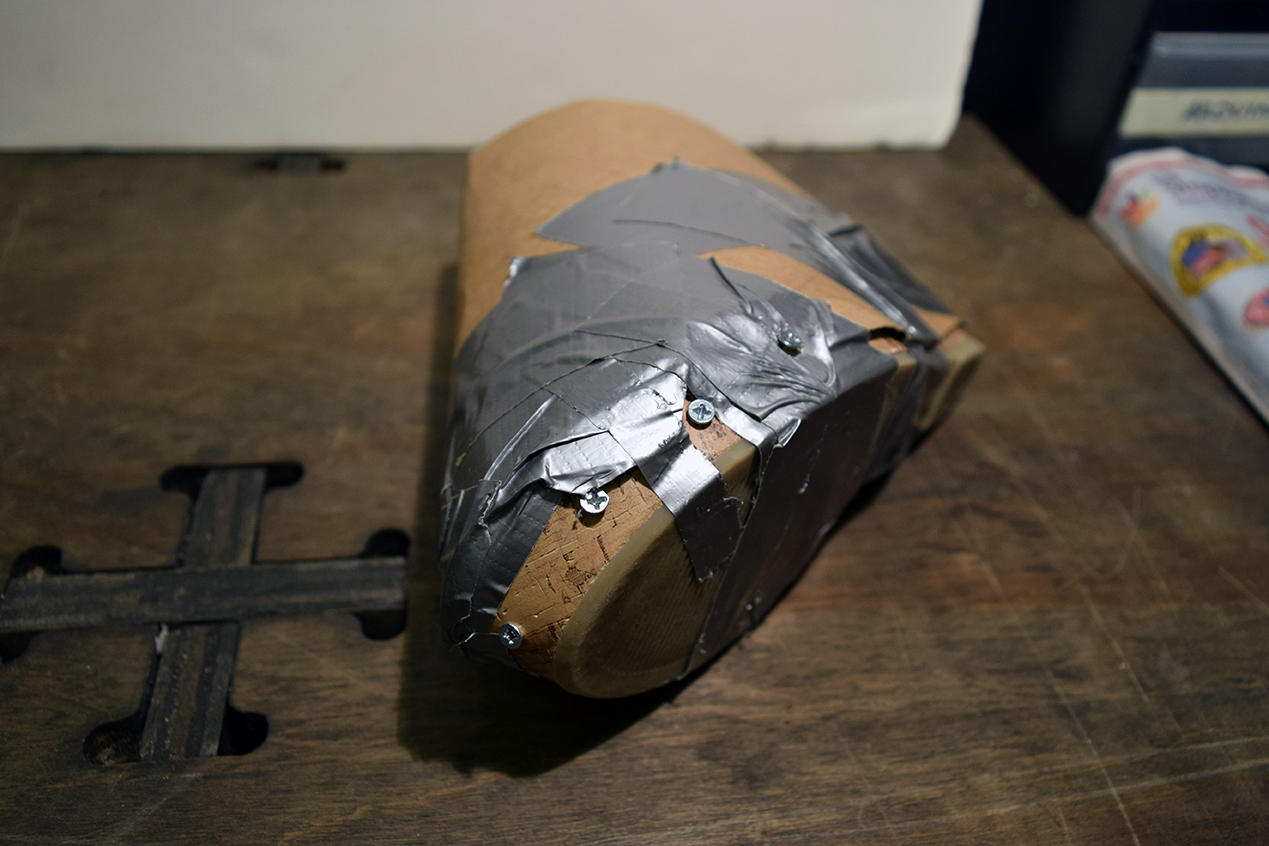
Step 3: Add Screws
Using an impact driver or a screw driver, add screws to each of the holes you created in the previous step. But, don’t drive the screws all the way into the shoes. Make sure the screw heads stick out from the sole, you want them to act as anchors to hold the epoxy in place.

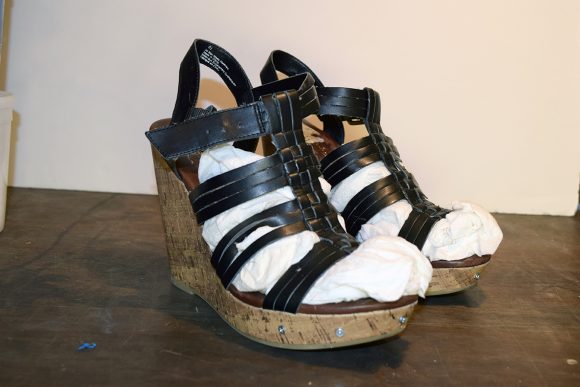
Step 6: Stuff Shoes with Paper Towels
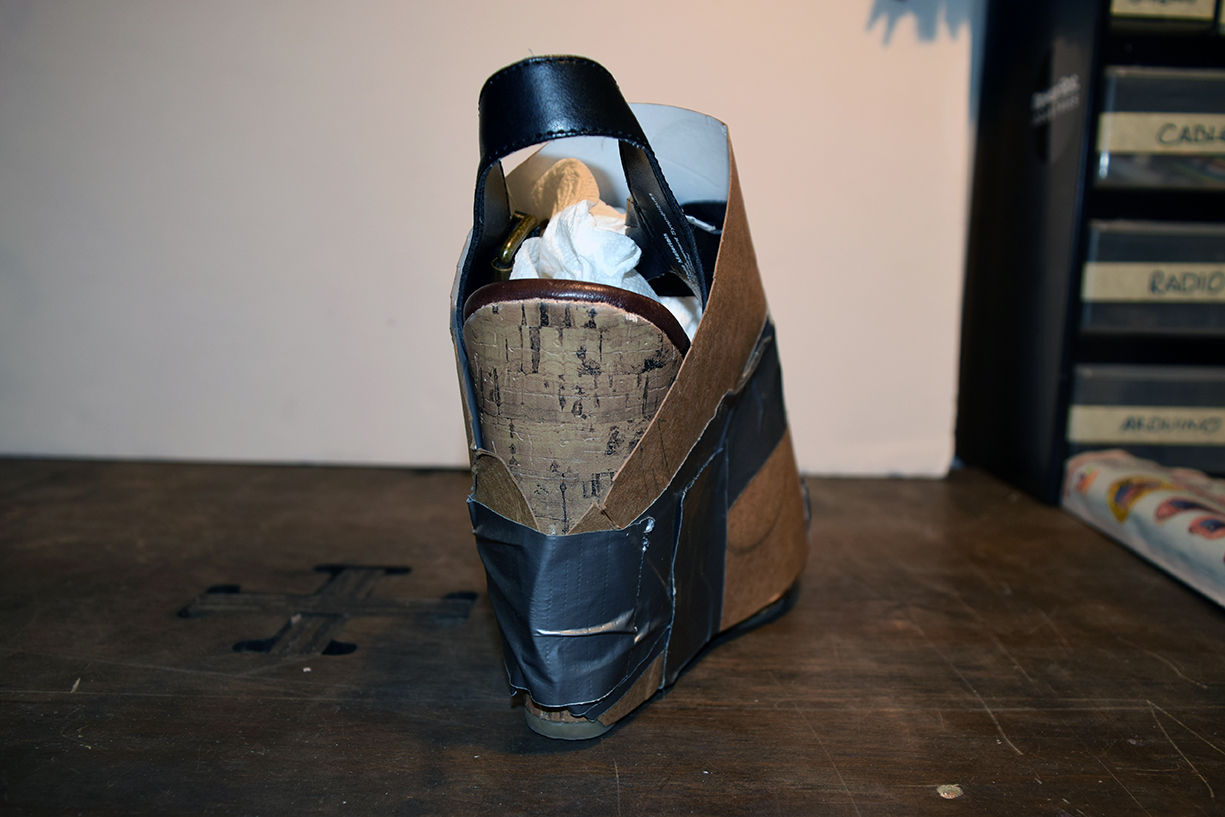
Epoxy has a tendency to shrink around the toes of the shoes as it cures, making them tighter. Combat this and ensure you can get your feet into your shoes by stuffing them tightly with paper towels. If you are using strappy shoes that you need to cover with cardboard (like those shown in this tutorial), this helps to keep the form of your foot as you apply the cardboard. Otherwise the straps will flatten out and the toe area becomes shapeless.
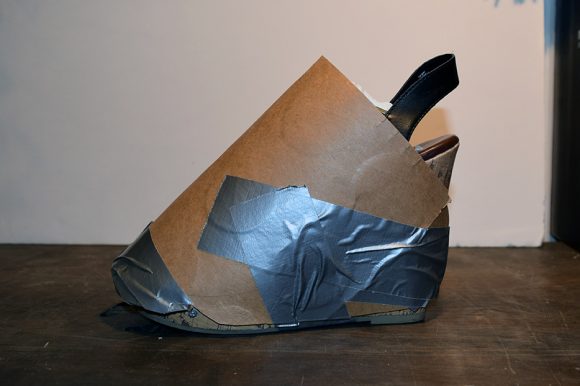
Step 5: Add Cardboard
If you are working with covered shoes, you can skip this step (and all the “cardboard” steps that follow), moving on to Step 8: Prepare and Mix Epoxy Dough. However, if your shoes are strappy and open at the top, this next step is vital.
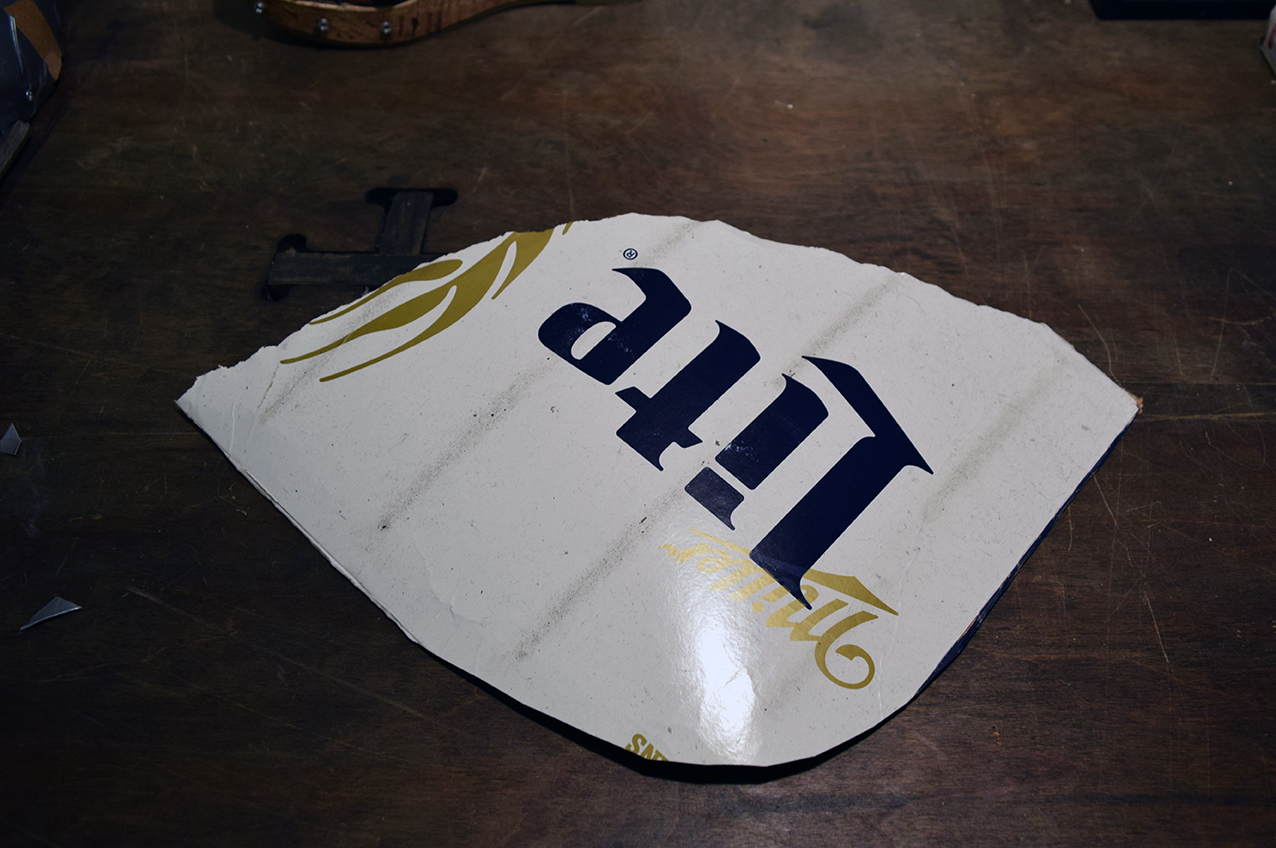
Make your pattern
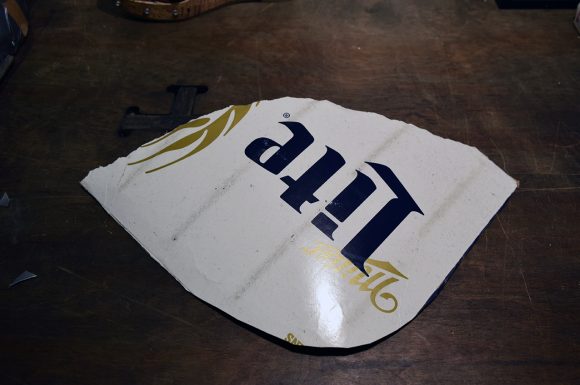
Take some very thin cardboard (I used Miller Lite beer case packaging) and wrap it over the top of the shoe. Take a marker and draw a line where the cardboard meets the sole of the shoe. You’ll use this line to trim the cardboard to make it fit the shoe top.
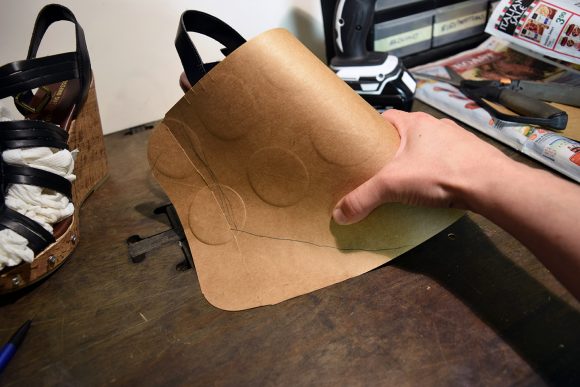
Trim your pattern
Trim your pattern along the marker lines with scissors.
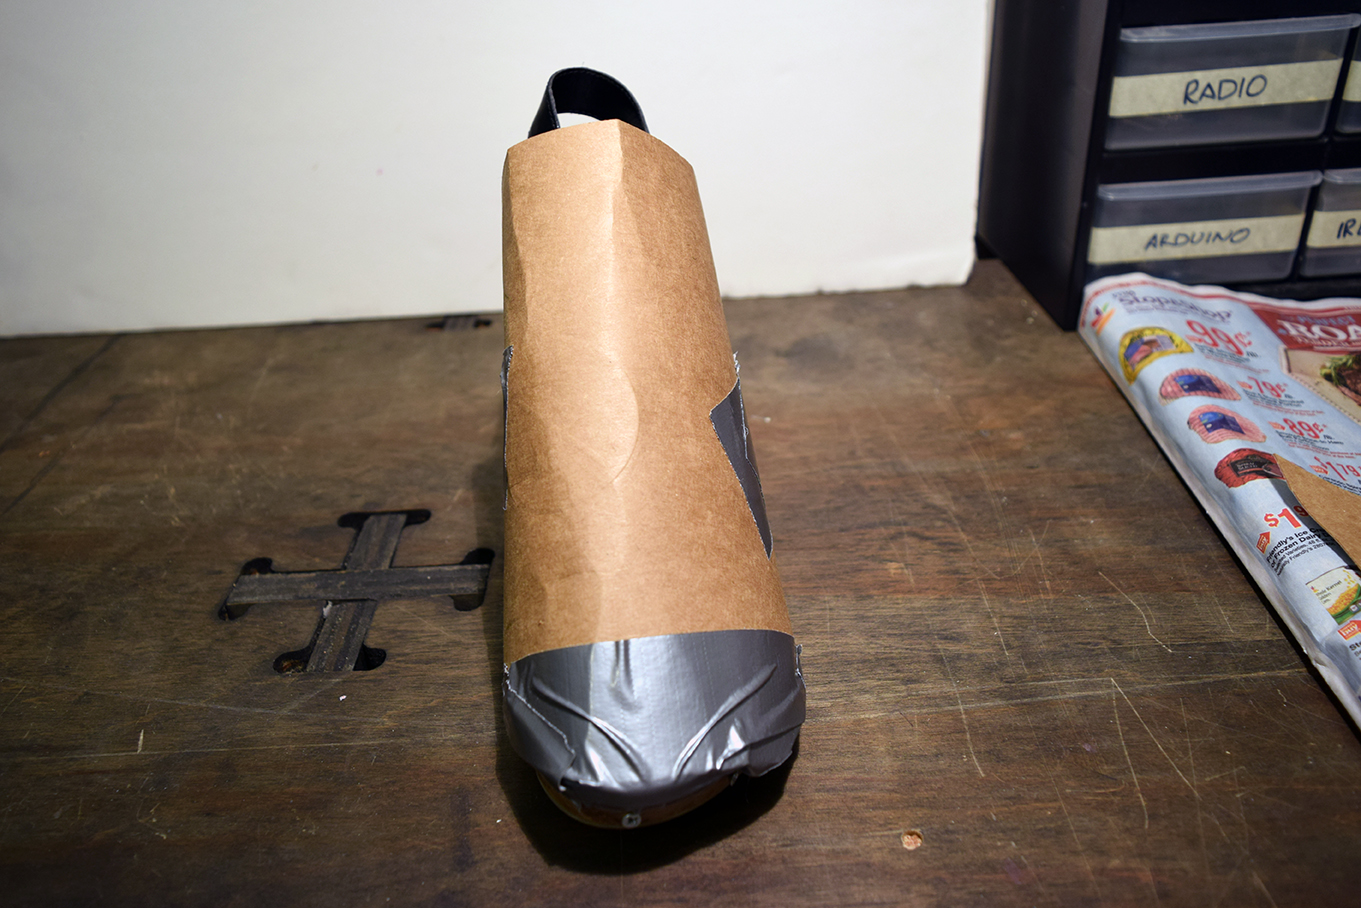
Step 6: Duck Tape Cardboard
Use Duck tape to attach the cardboard to the shoe. Make sure to wrap it around the bottom of the sole so it doesn’t move around. This cardboard is the canvas for the attachment of the hoof and it creates the space for your foot inside the hoof, so make sure it is firmly attached and well propped up / pushed out with paper towels or rags.
Don’t worry about the duct tape showing on the sole, you’ll remove it after you create the hooves. Also, the duct tape won’t be the primary force holding the cardboard to the shoe. You’ll be trimming most of the cardboard away in a later step and the epoxy will hold the toe together.


Step 7: Trim Cardboard
Trim the cardboard around the screws, remember that the screws are anchors for the epoxy and that they must protrude from the sole. You’ll also want to make sure that the toe is completely sealed, meaning that the duct tape attaches the cardboard firmly across the entire width of the toe box area. Attach more duct tape if necessary around the toe / sole area.
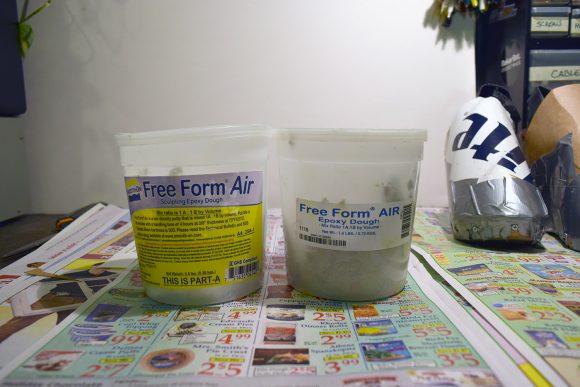
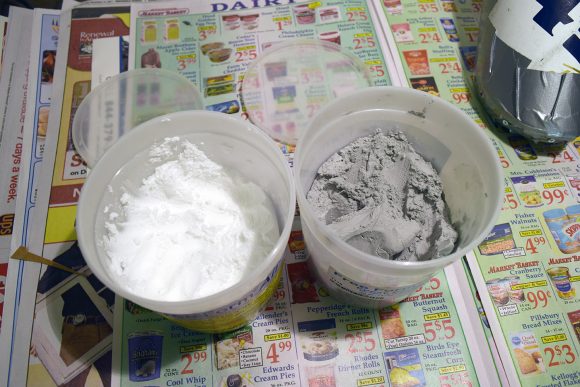
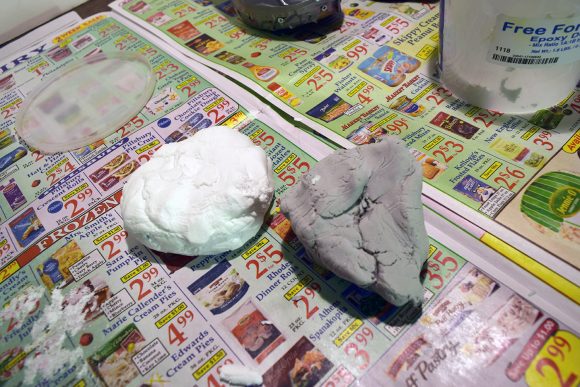
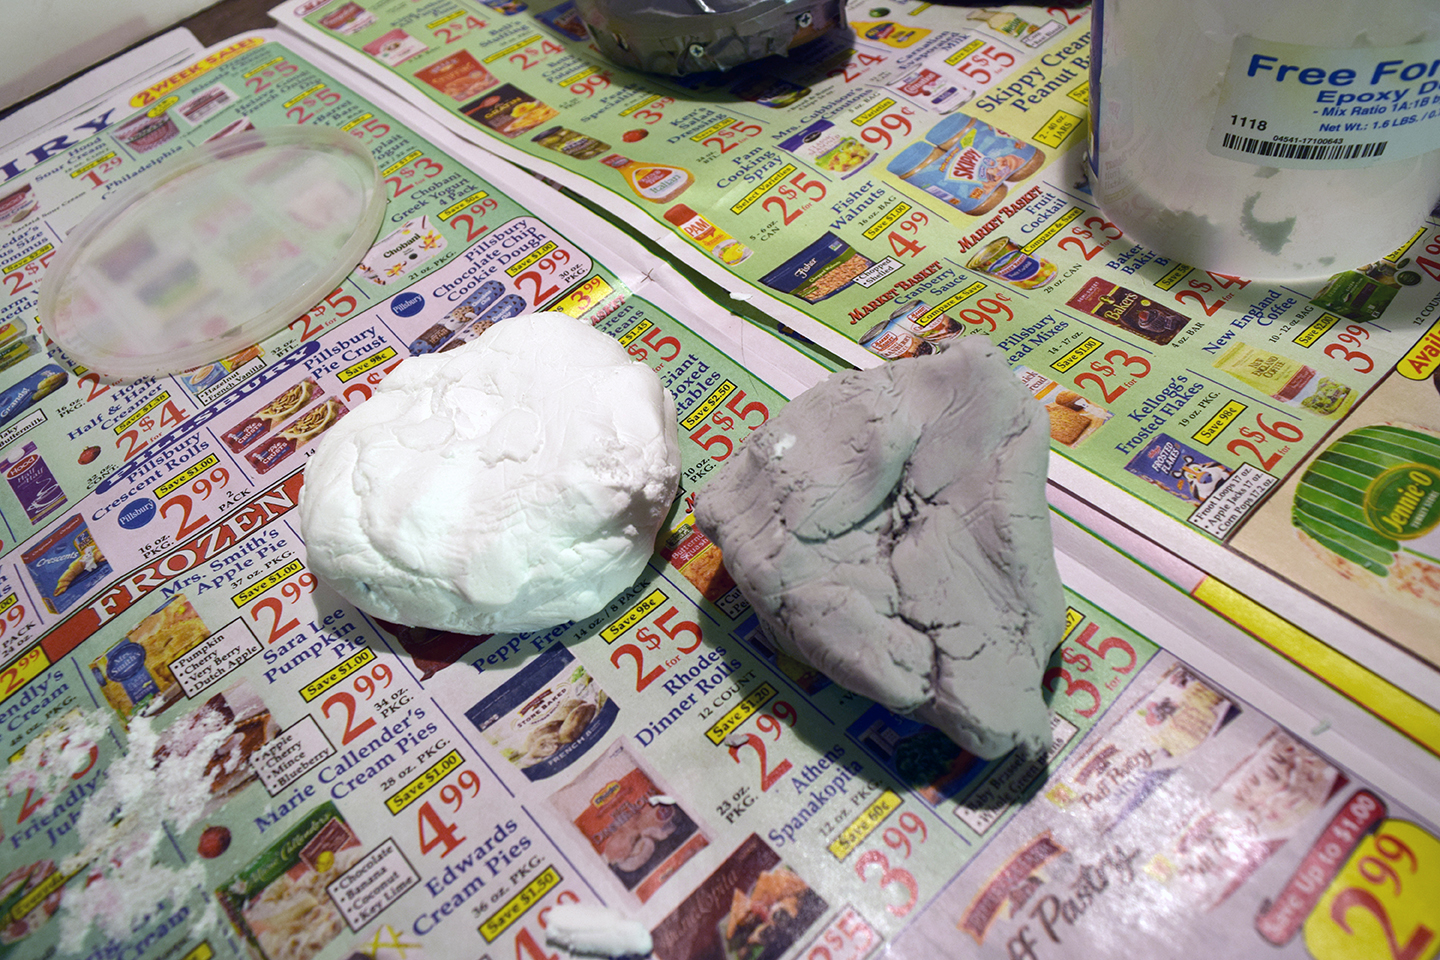
Step 8: Prepare and Mix Epoxy Dough
With the shoe prep complete, it’s time to mix the SmoothOn Free Form Air epoxy dough. This stuff comes in two separate containers and it activates when mixed by hand. Don some gloves and follow the instructions that come with the dough. To mix it, I found it easiest to flatten the dough, then fold in half over and over again.
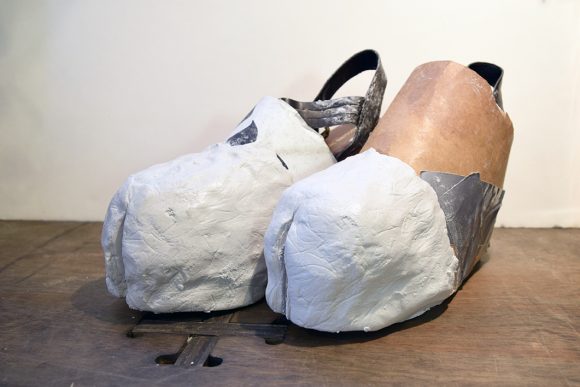
Step 9: Apply Epoxy to Shoes
After you mix the Free Form Air together, you’ll have about 20 minutes working time before it starts to cure and become hot. This is plenty of time to form your hooves.
TIP: Use an old credit card or some other plastic card to made the slits in the hooves.
Remember, you want to make the hoof as small as possible, but you still want to cover the entire toe area, with enough room for the cloven slits in the front.
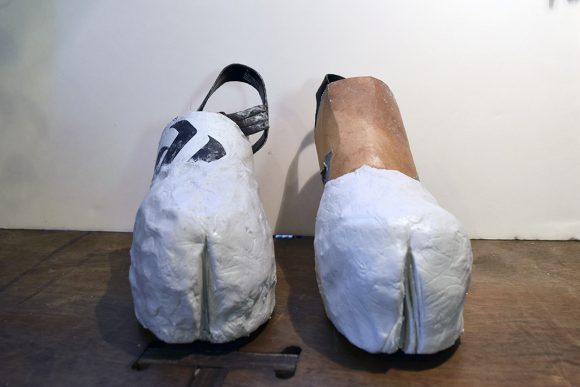
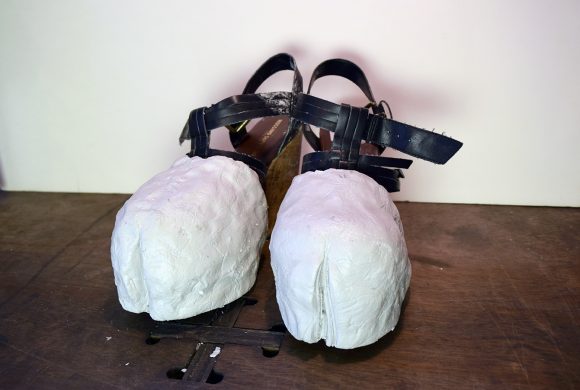
Step 10: Allow to Cure for 24 Hours
After 24 hours, your shoes will be completely cured, dry, and ready for sanding.
Step 11: Trim Away Cardboard
Now that the epoxy has cured, you can trim away the cardboard that stuck up above the epoxy and the duck tape that wrapped around the soles.
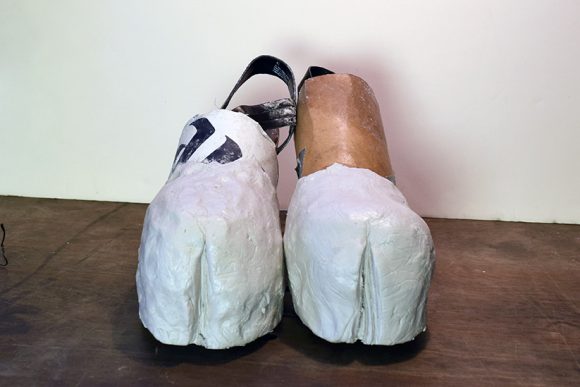
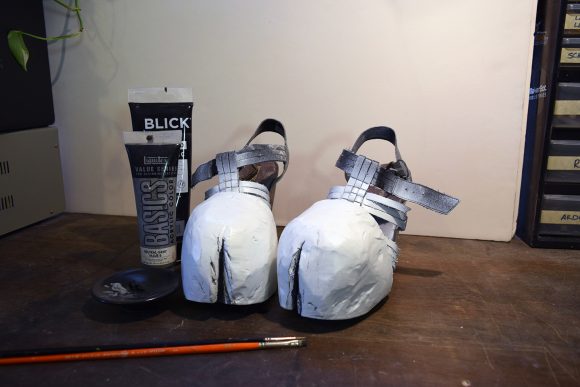
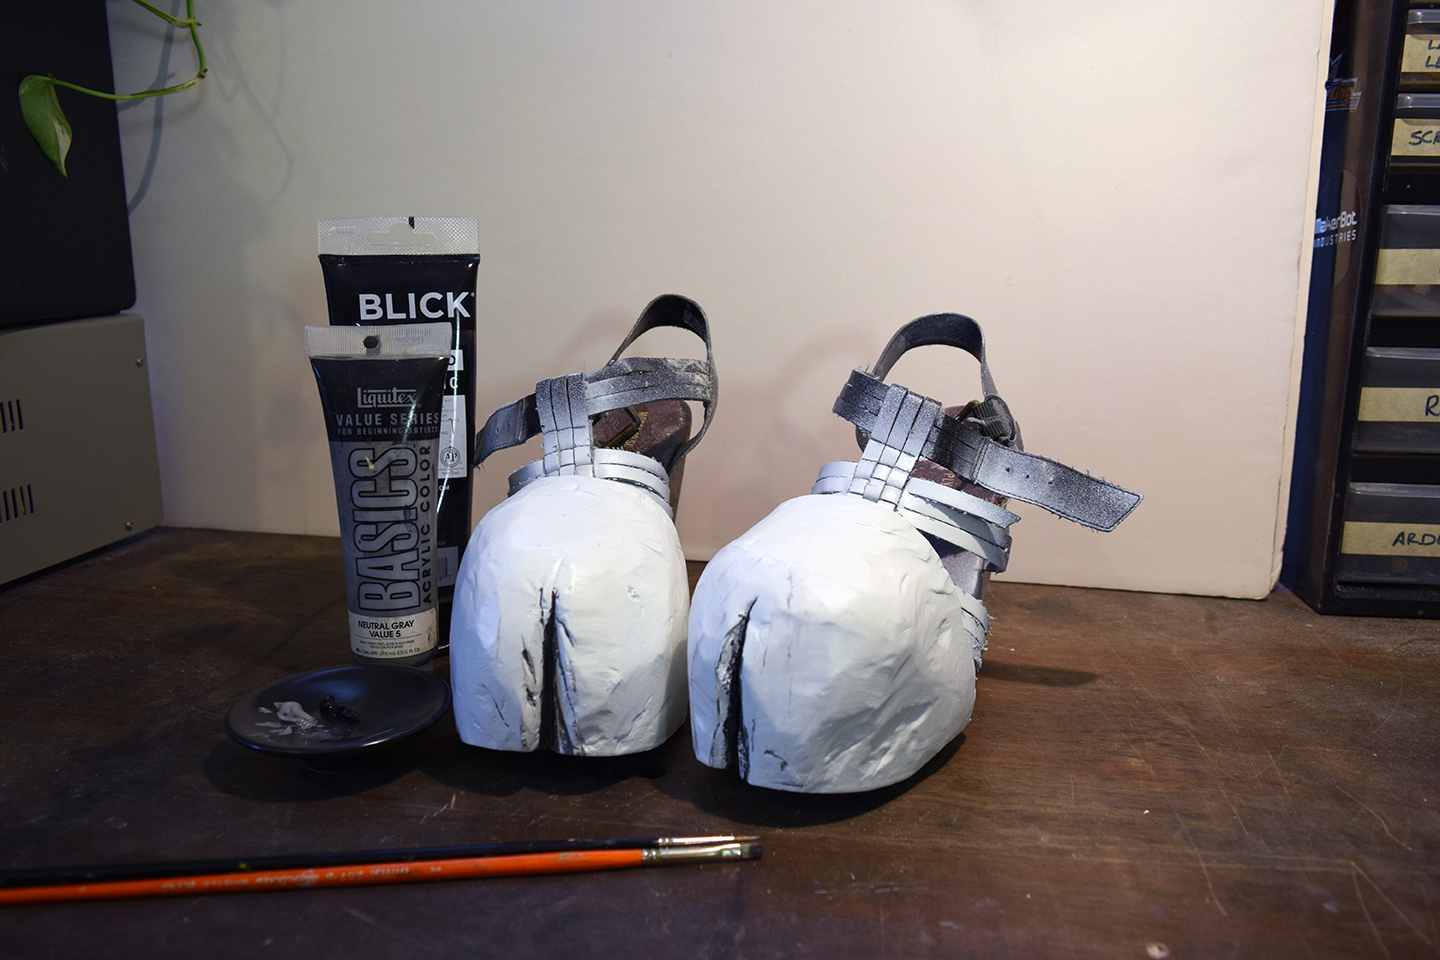
Step 11: Paint
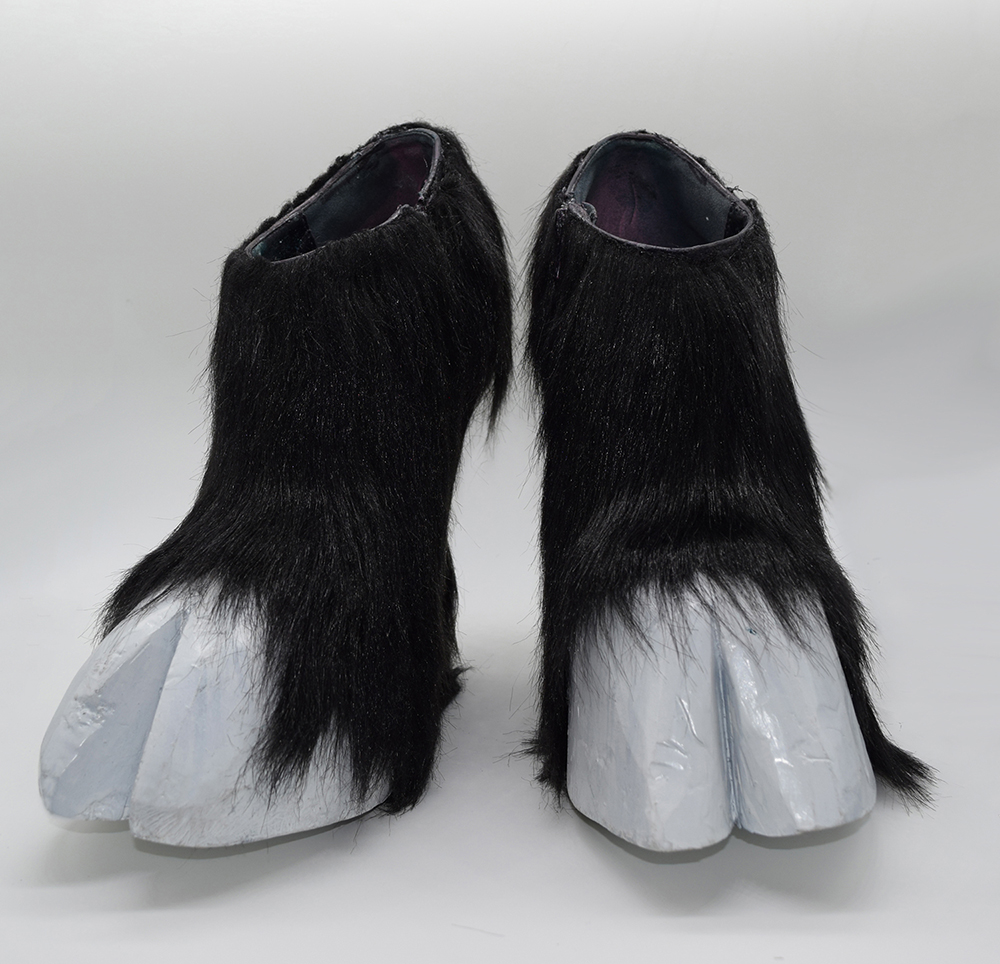
Paint the hooves any color you like. I used white acrylic spray paint on the main hoof, then brushed on black and grey acrylic paint on the cloven slit area to accentuate it. I then added a few streaks to the rest of the hoof to add texture.
After letting the paint dry, I added a several coats of clear spray acrylic to protect the paint job.
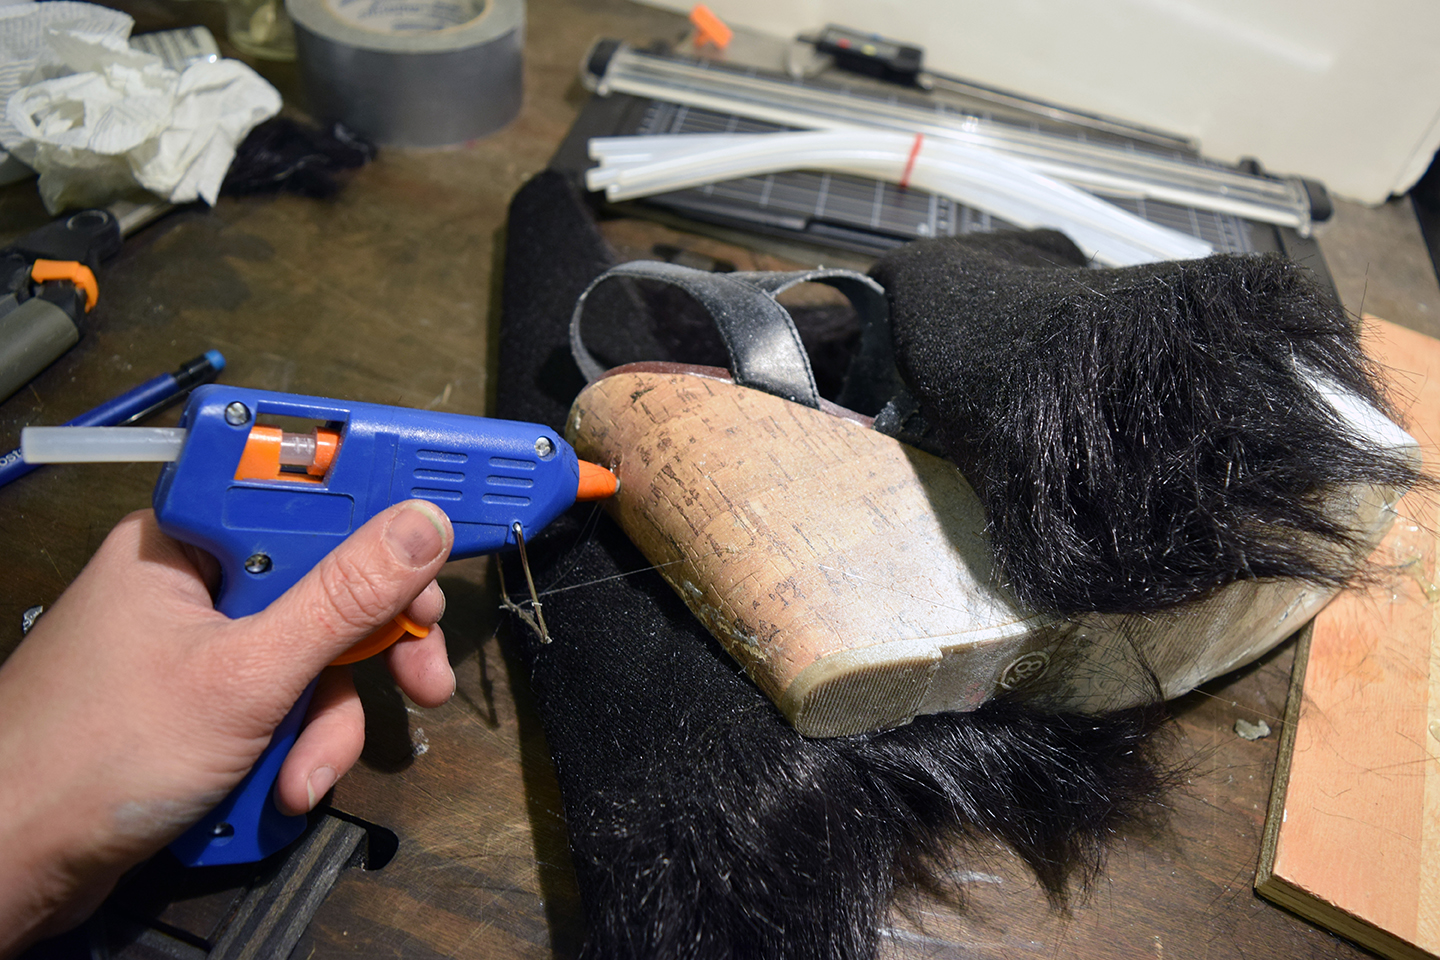
Step 12: Add Fur
Get out your hot glue gun. Starting at the hoof area, add a large amount of glue, then stretch the fur, pulling it tight over the top of the shoe. Cut the fur, stretching and gluing as necessary to cover the entire shoe.
TIP: Make sure that any zippers or buckles on the shoes are accessible! Otherwise you won’t be able to take the shoes on and off. Make a plan from the beginning on how you will deal with these fasteners.

To finish the tops of the shoes, I sewed buttons onto the fur, creating knee-high boots that buttoned up the side and secured them with elastic at the top. If you are working with covered shoes, the finishing task is much easier, you simply need to cover the shoes.


