Puppetmaster Project Overview
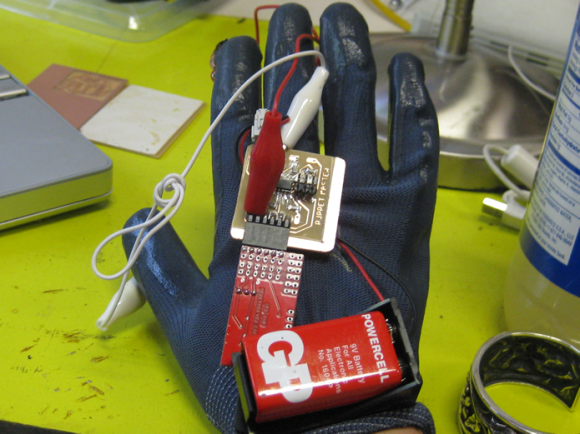
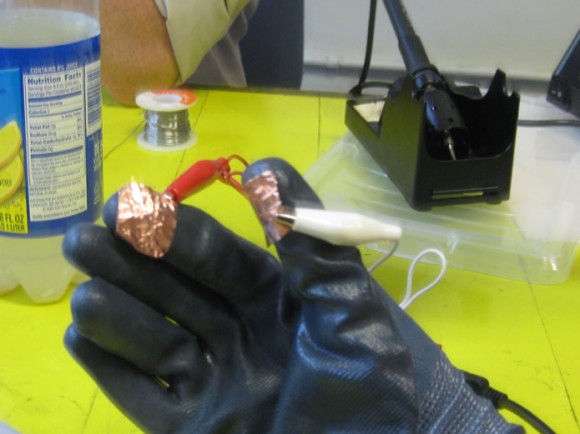
My final project for Fab Academy is a universal remote I am calling PuppetMaster, due to its ability to control out of reach objects / devices using the fingers. This post details the PuppetMaster boards v.1 – v.2 that use capacitive sensing.
Capacitive Sensing Board Versions
The first working version of the prototype uses capacitive sensing built on the Hello World Step response example, but converted for use with a attiny 44.
I fabbed the board(s) myself, using the standard fab inventory parts.
PuppetMaster Board Version 1 –> pitfalls / issues
I designed my own board based on the hello step response with 3 additional inputs for each of the four fingers. (The hello step response has only one input). As the hello step response example uses the attiny 45 (and does not have enough input / charging pins for 4 inputs), I modified Shawn’s version of the hello step response to work with the attiny 44.
This initial version of the PuppetMaster board has a FTDI header and 4 inputs / charge pins.
PuppetMaster v.1
However, there was a issue with this initial board and I could not get the modified code for the attiny 44 to work with the Hello.Step.45.py code. I attempted triage, but the board remained flaky. There seemed to be an issue between the ground pin on the chip and power.
In addition, I realized that I routed the Tx to Rx wrong on the FTDI header pins. I was using jumpers to work around it initially, but after the version 1 board’s persistent flakiness, I decided to make a version 2 board. I am not including the schematics & Eagle files for version 1 because of these issues.
Code Modification: From attiny 45 to attiny 44
I modified the hello step response assembly language code to work with the attiny 44 microcontroller. Both sets of .asm files are listed below.
Attiny 45 FTDI Hello Step Response Code
Attiny 44 FTDI Hello Step Response Code
Puppetmaster Board Version 2
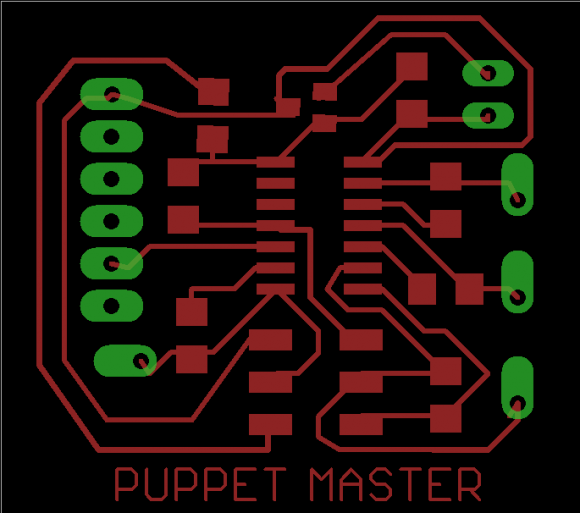
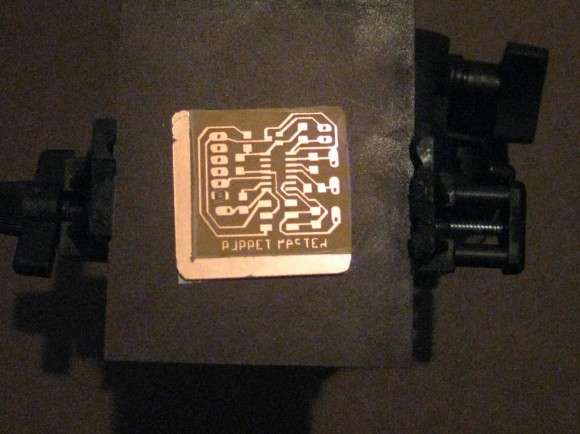
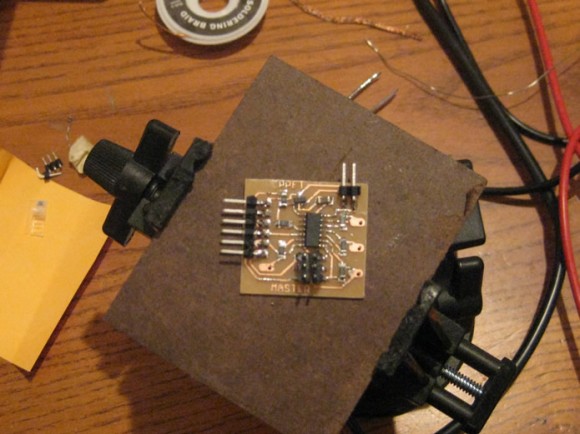
Here is the version 2 board with the correctly mapped FTDI header and some slightly shifted components to allow for more space between some problematic components. This board version has been flashed with the attiny 44 code (above) and works with Hello.Step.45.py code.
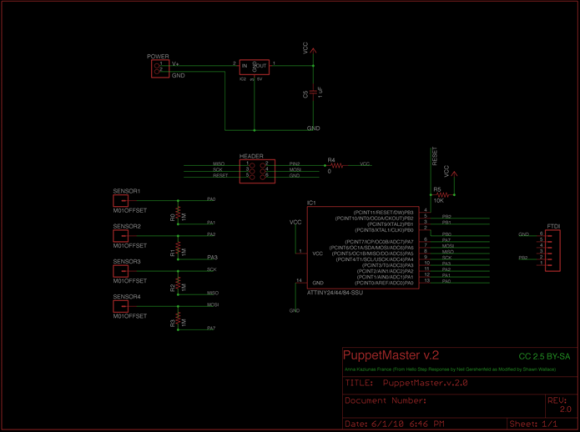
Eagle Files
Download – PuppetMaster v.2.0 Board
Download – PuppetMaster v.2.0 Schematic
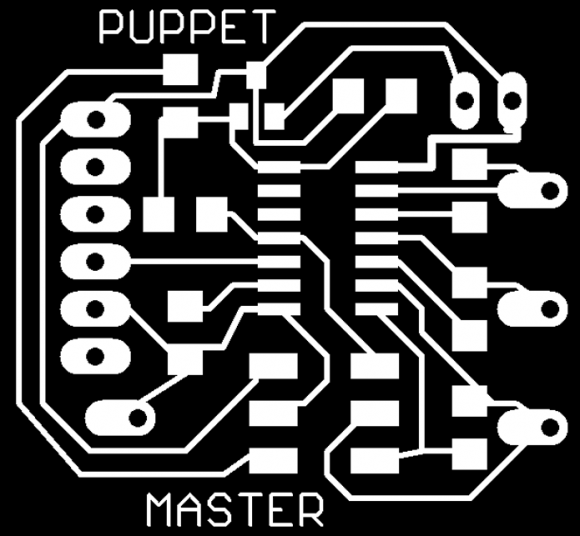
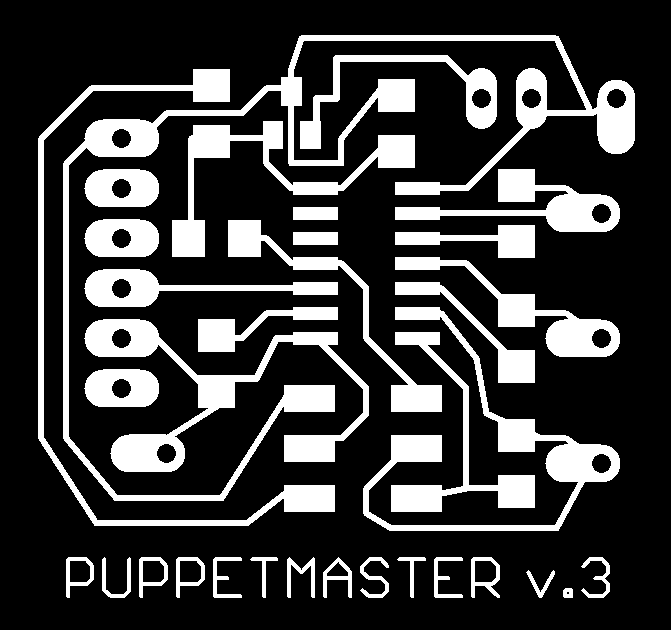
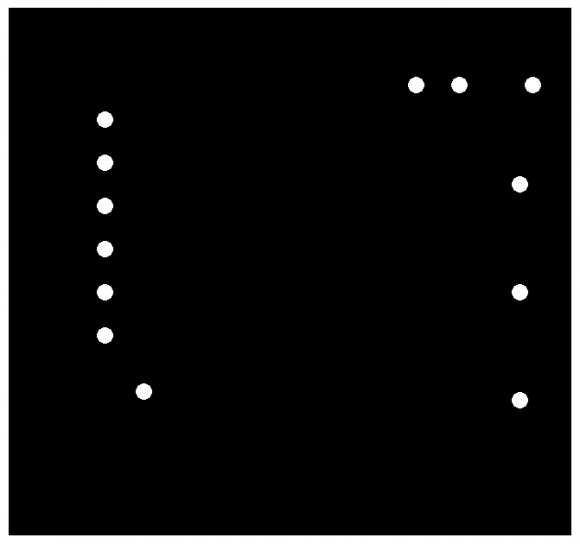
CAD Image Files Used to Mill board v.2
Putting the Version 2 Board Together
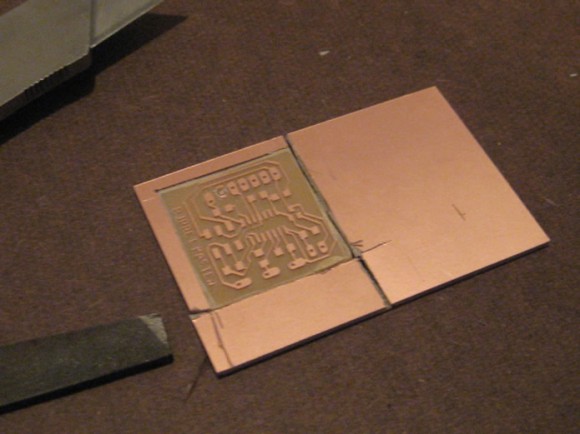
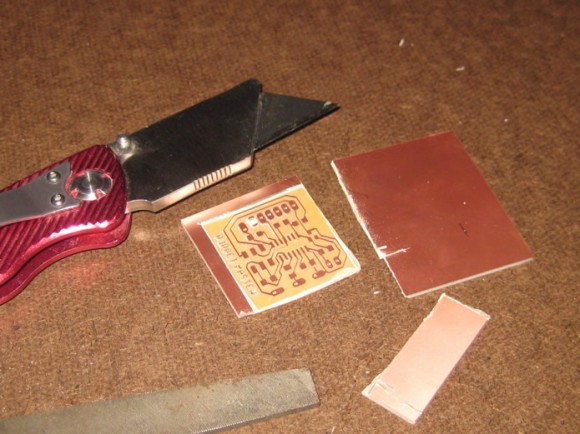
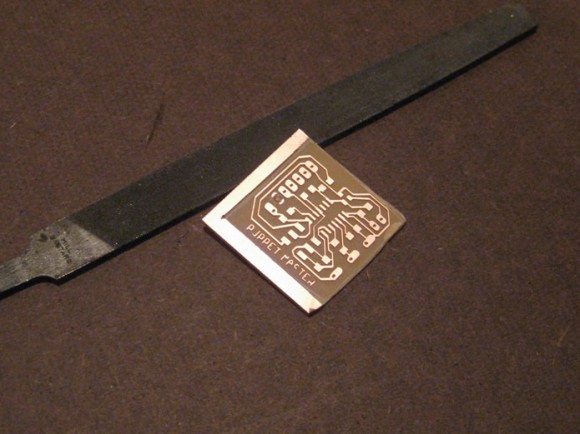
I ran out of time in the lab and did not get a chance to mill out the board. Instead, I scored the perimeter with a utility knife and broke off the excess edge. Then I used a rasp to file the edges down.
Capacitive Sensing in Action
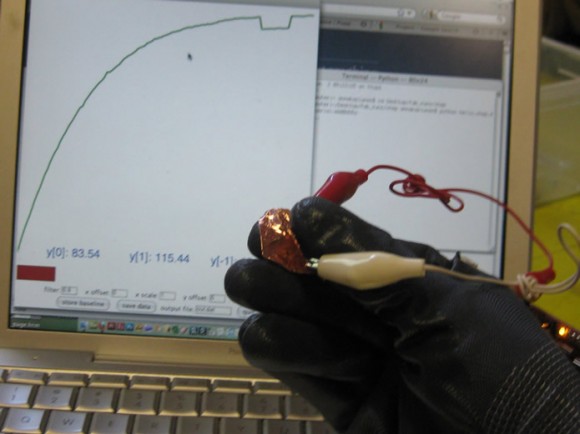
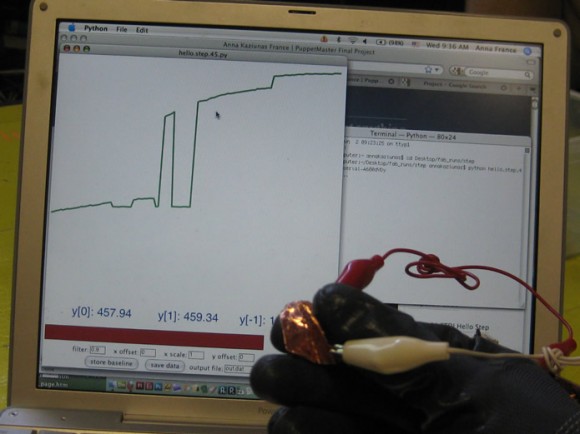
Using Neil’s term.py program to visualize the initial charging graph and sensor input.
