
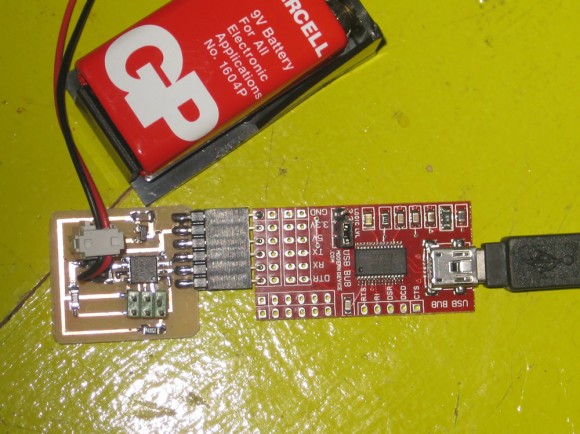
Step response board + FTDI + Capacitive sensing
My first step in building this project was to start with the basics. I milled, stuffed and programmed the hello step response board (modified to use the FTDI header by Shawn Wallace). I have a Mac and I can’t troubleshoot / develop at home with the serial header examples.
What You Will See When The Example is Working:
I am using terminal in OS X 10.4.11Â – this was the terminal command I used to run the hello step response example and what it will say when it can communicate with the board and begin plotting the graph.
Anna-Kaziunas-Computer:~/Desktop/fab_runs/step annakaziunas$
python hello.step.45.py /dev/tty.usbserial-A600dVDy
finding framing ...
start plotting
0
This is the graph that is displayed:
Here is a screenshot of the charging graph that is produced by Neil’s hello.step.45.py code. This initial charging graph shows the capacitor charging up.

Here is the Capacitive Sensor I Made:

I used thin copper sheets to create the capacitor to test the hello step response board. I hooked them up to jumper wires.
When they copper sheets are touching or close to it, the graph will spike up. This indicates that current is flowing through the circuit.
When they are far apart the graph will flatten out. This indicates that the circuit is not connected.
For a video of this type of capacitive sensor in action – see the Puppet Master posts.