Categories
Fab Academy Providence -Year II - Teaching

WWII Pilot Cast


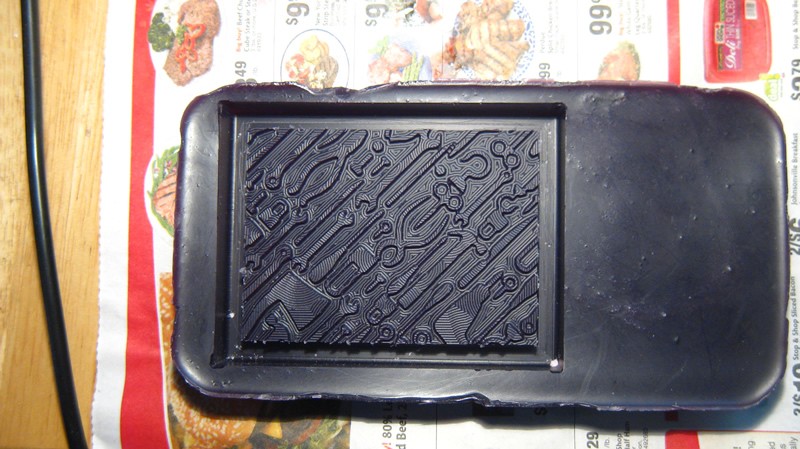
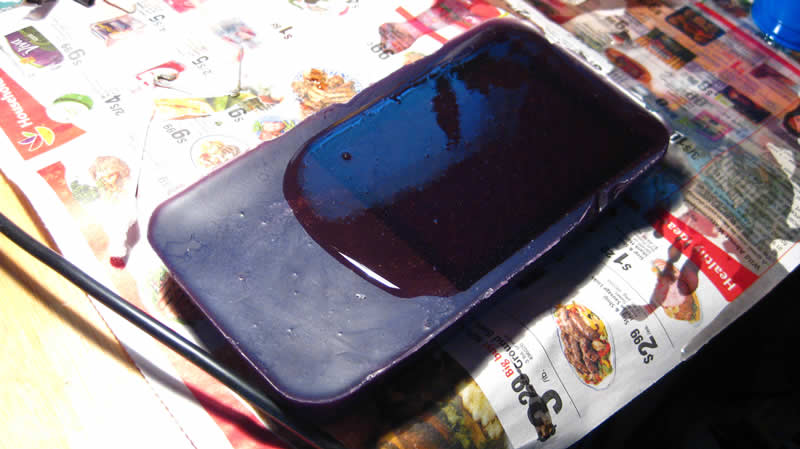
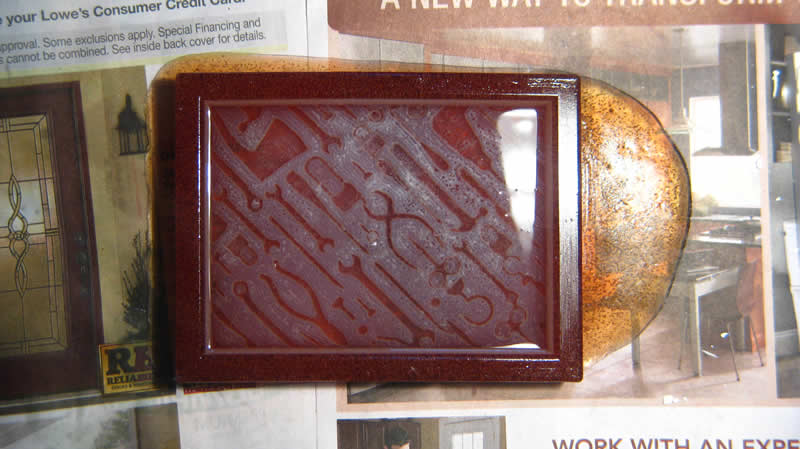
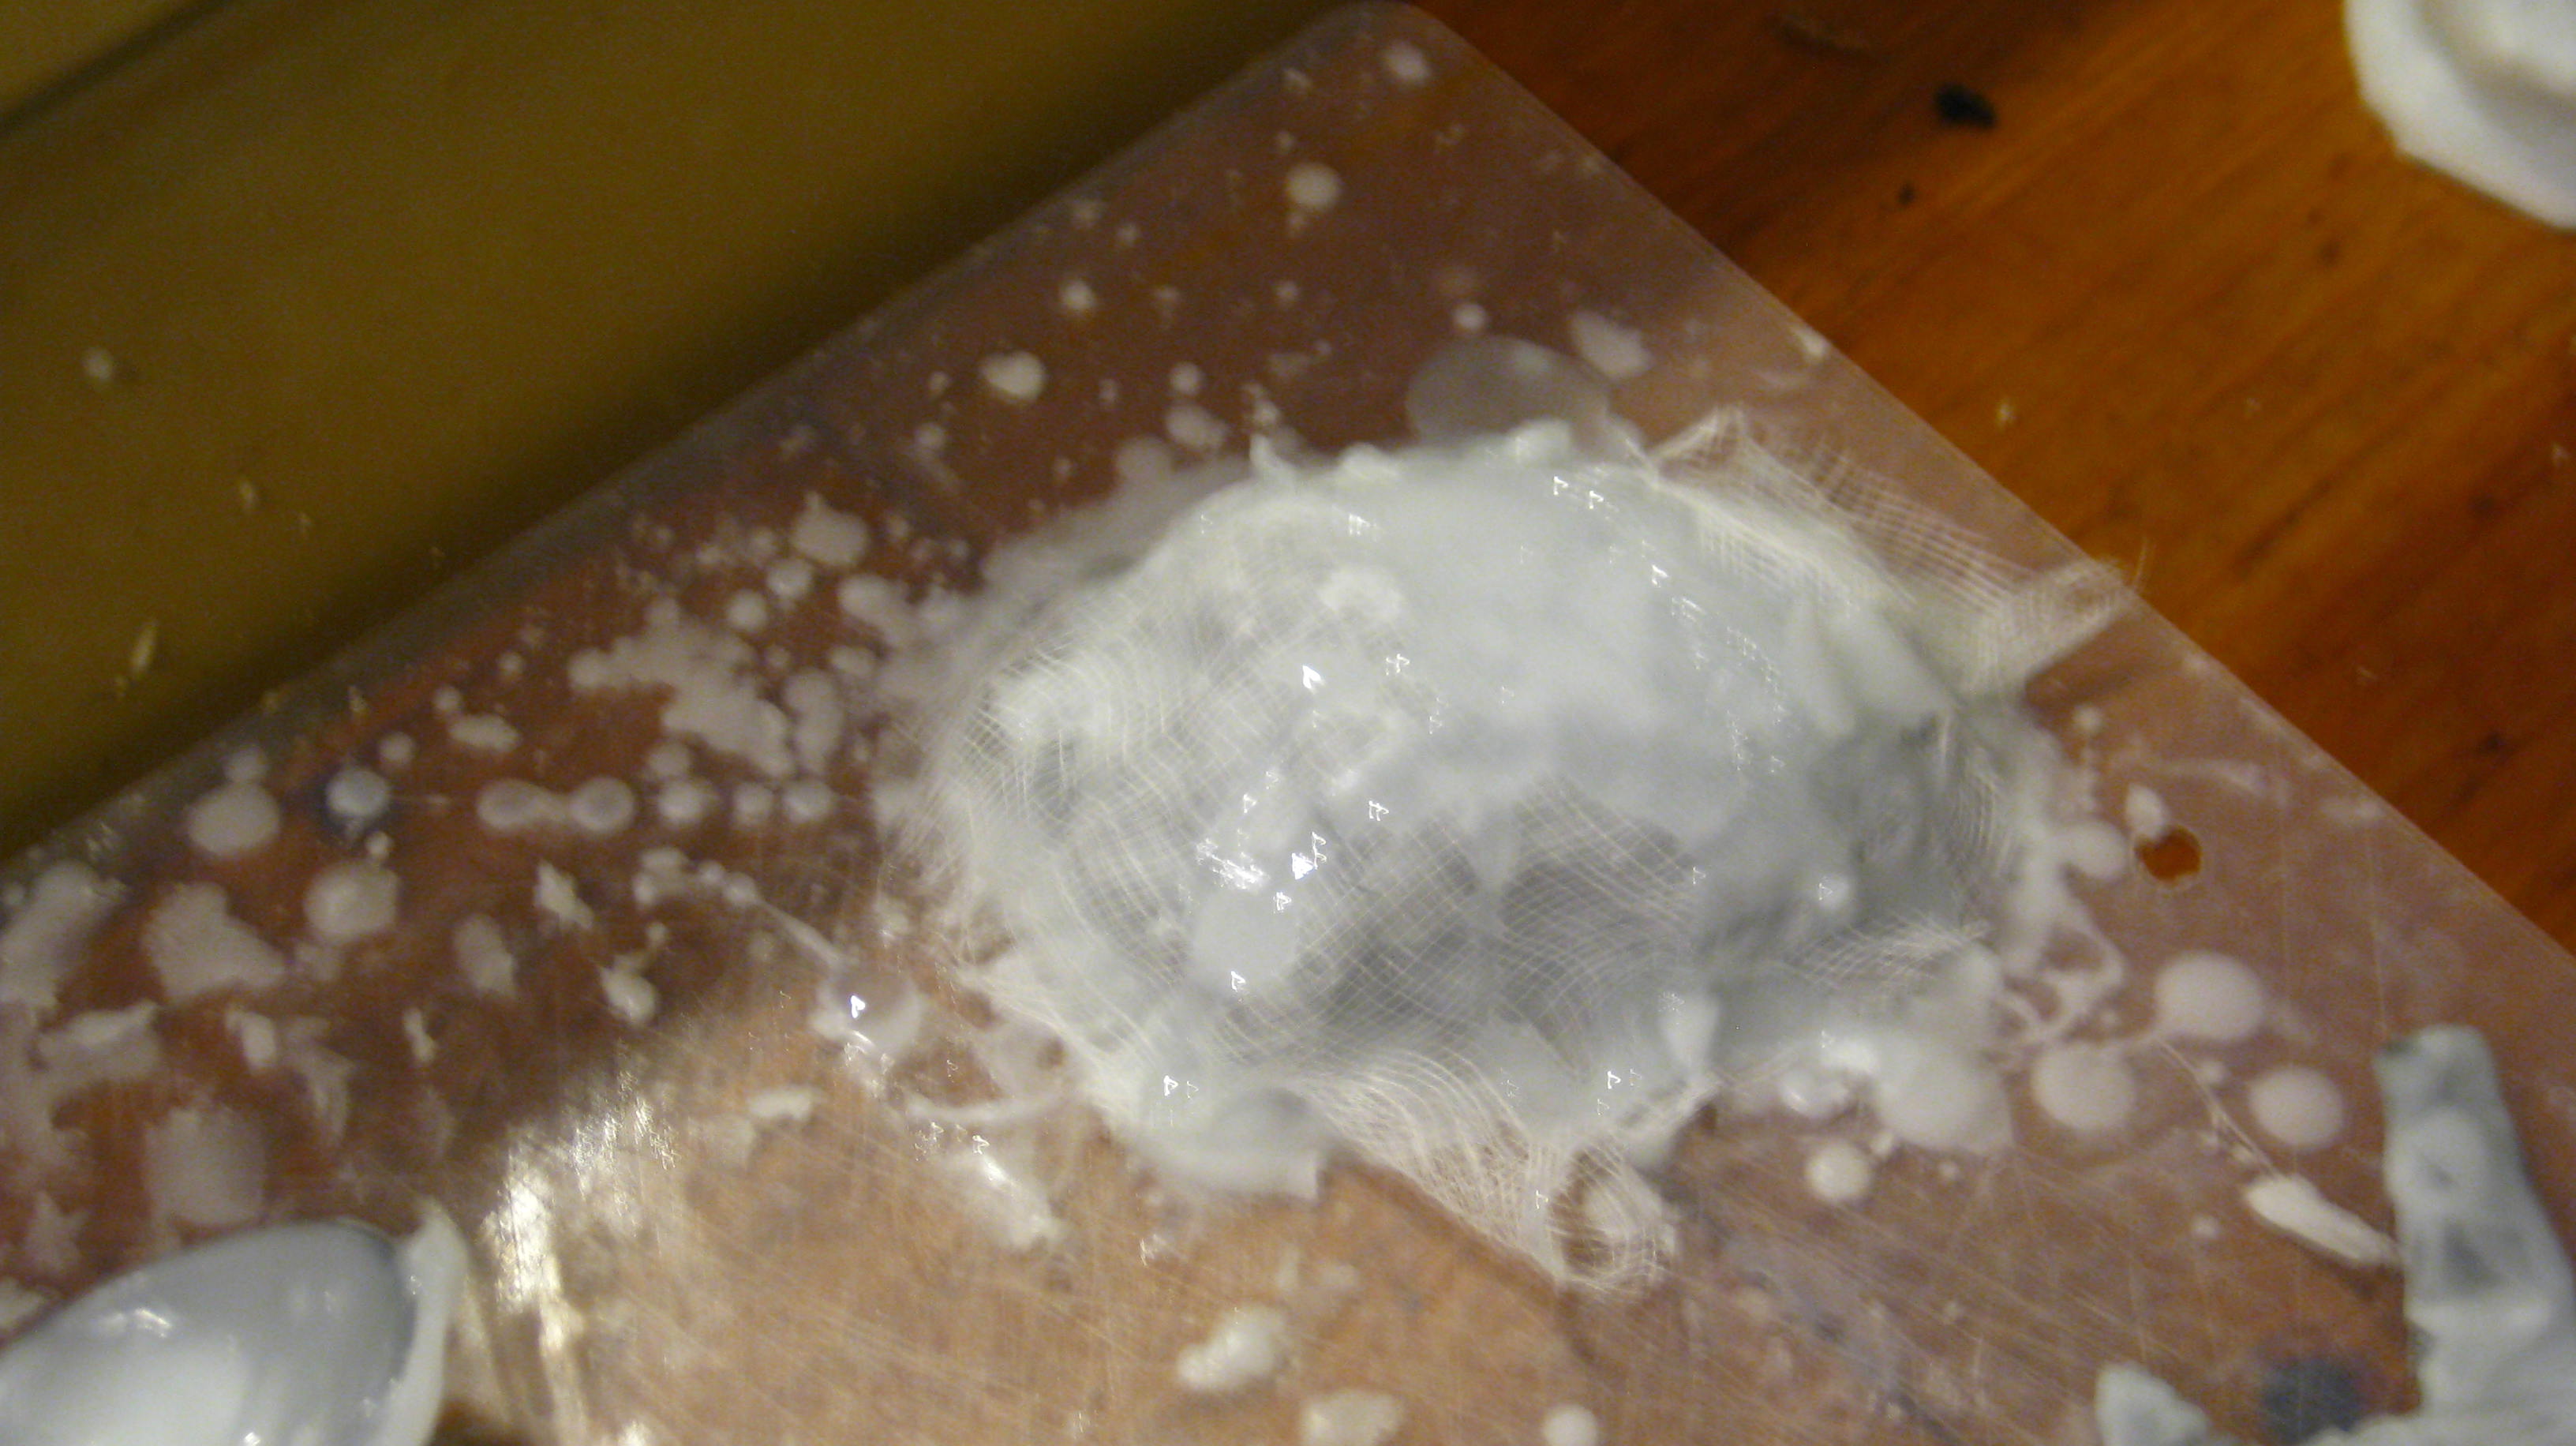
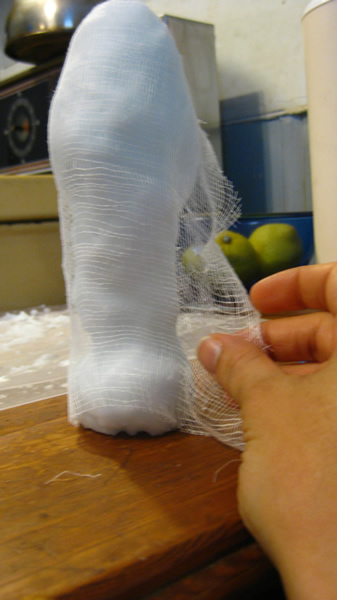
I used Flexwax to create a composite wax mold from a old glass liquor bottle my grandmother gave me.  I heated up the wax, then brushed it onto the glass.  After I had built up a sizable layer, I wrapped cheesecloth around the wax to strengthen the mold.  I then reapplied another layer of wax.  I repeated this process twice.
soldier mold
soldier mold
soldier mold
soldier moldsoldier mold
soldier mold
soldier mold

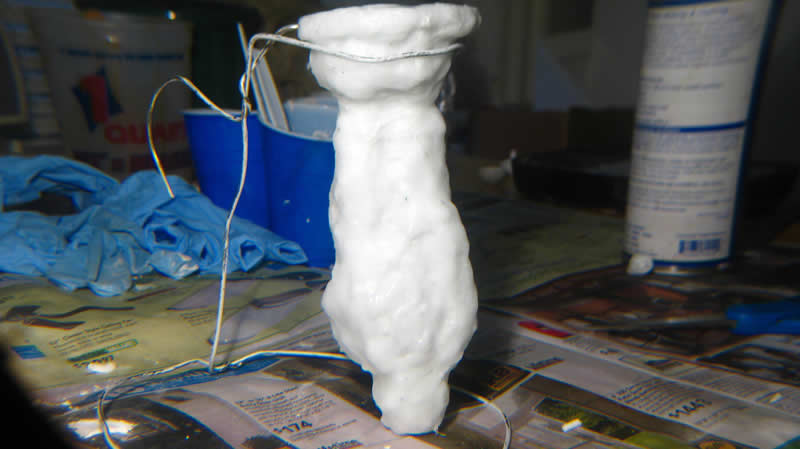
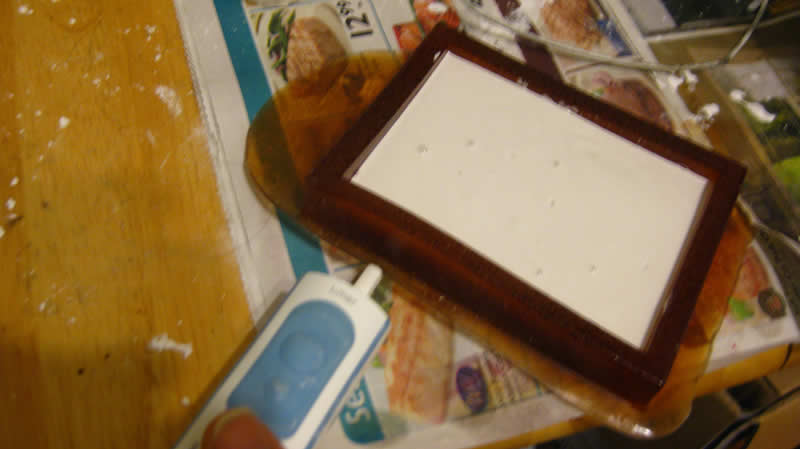
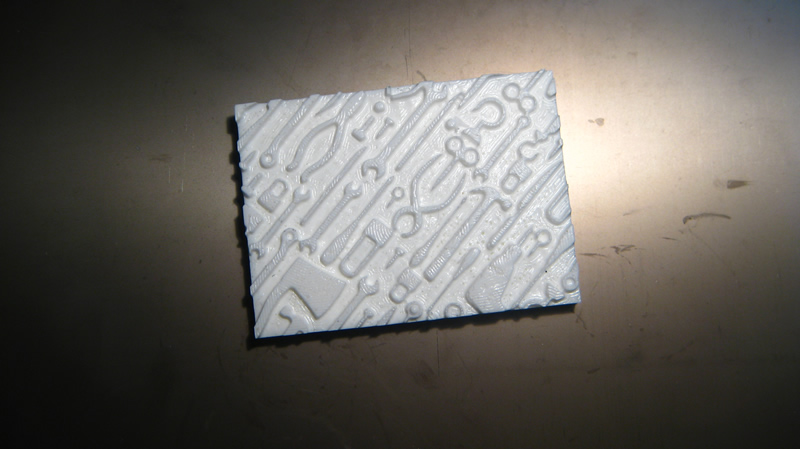
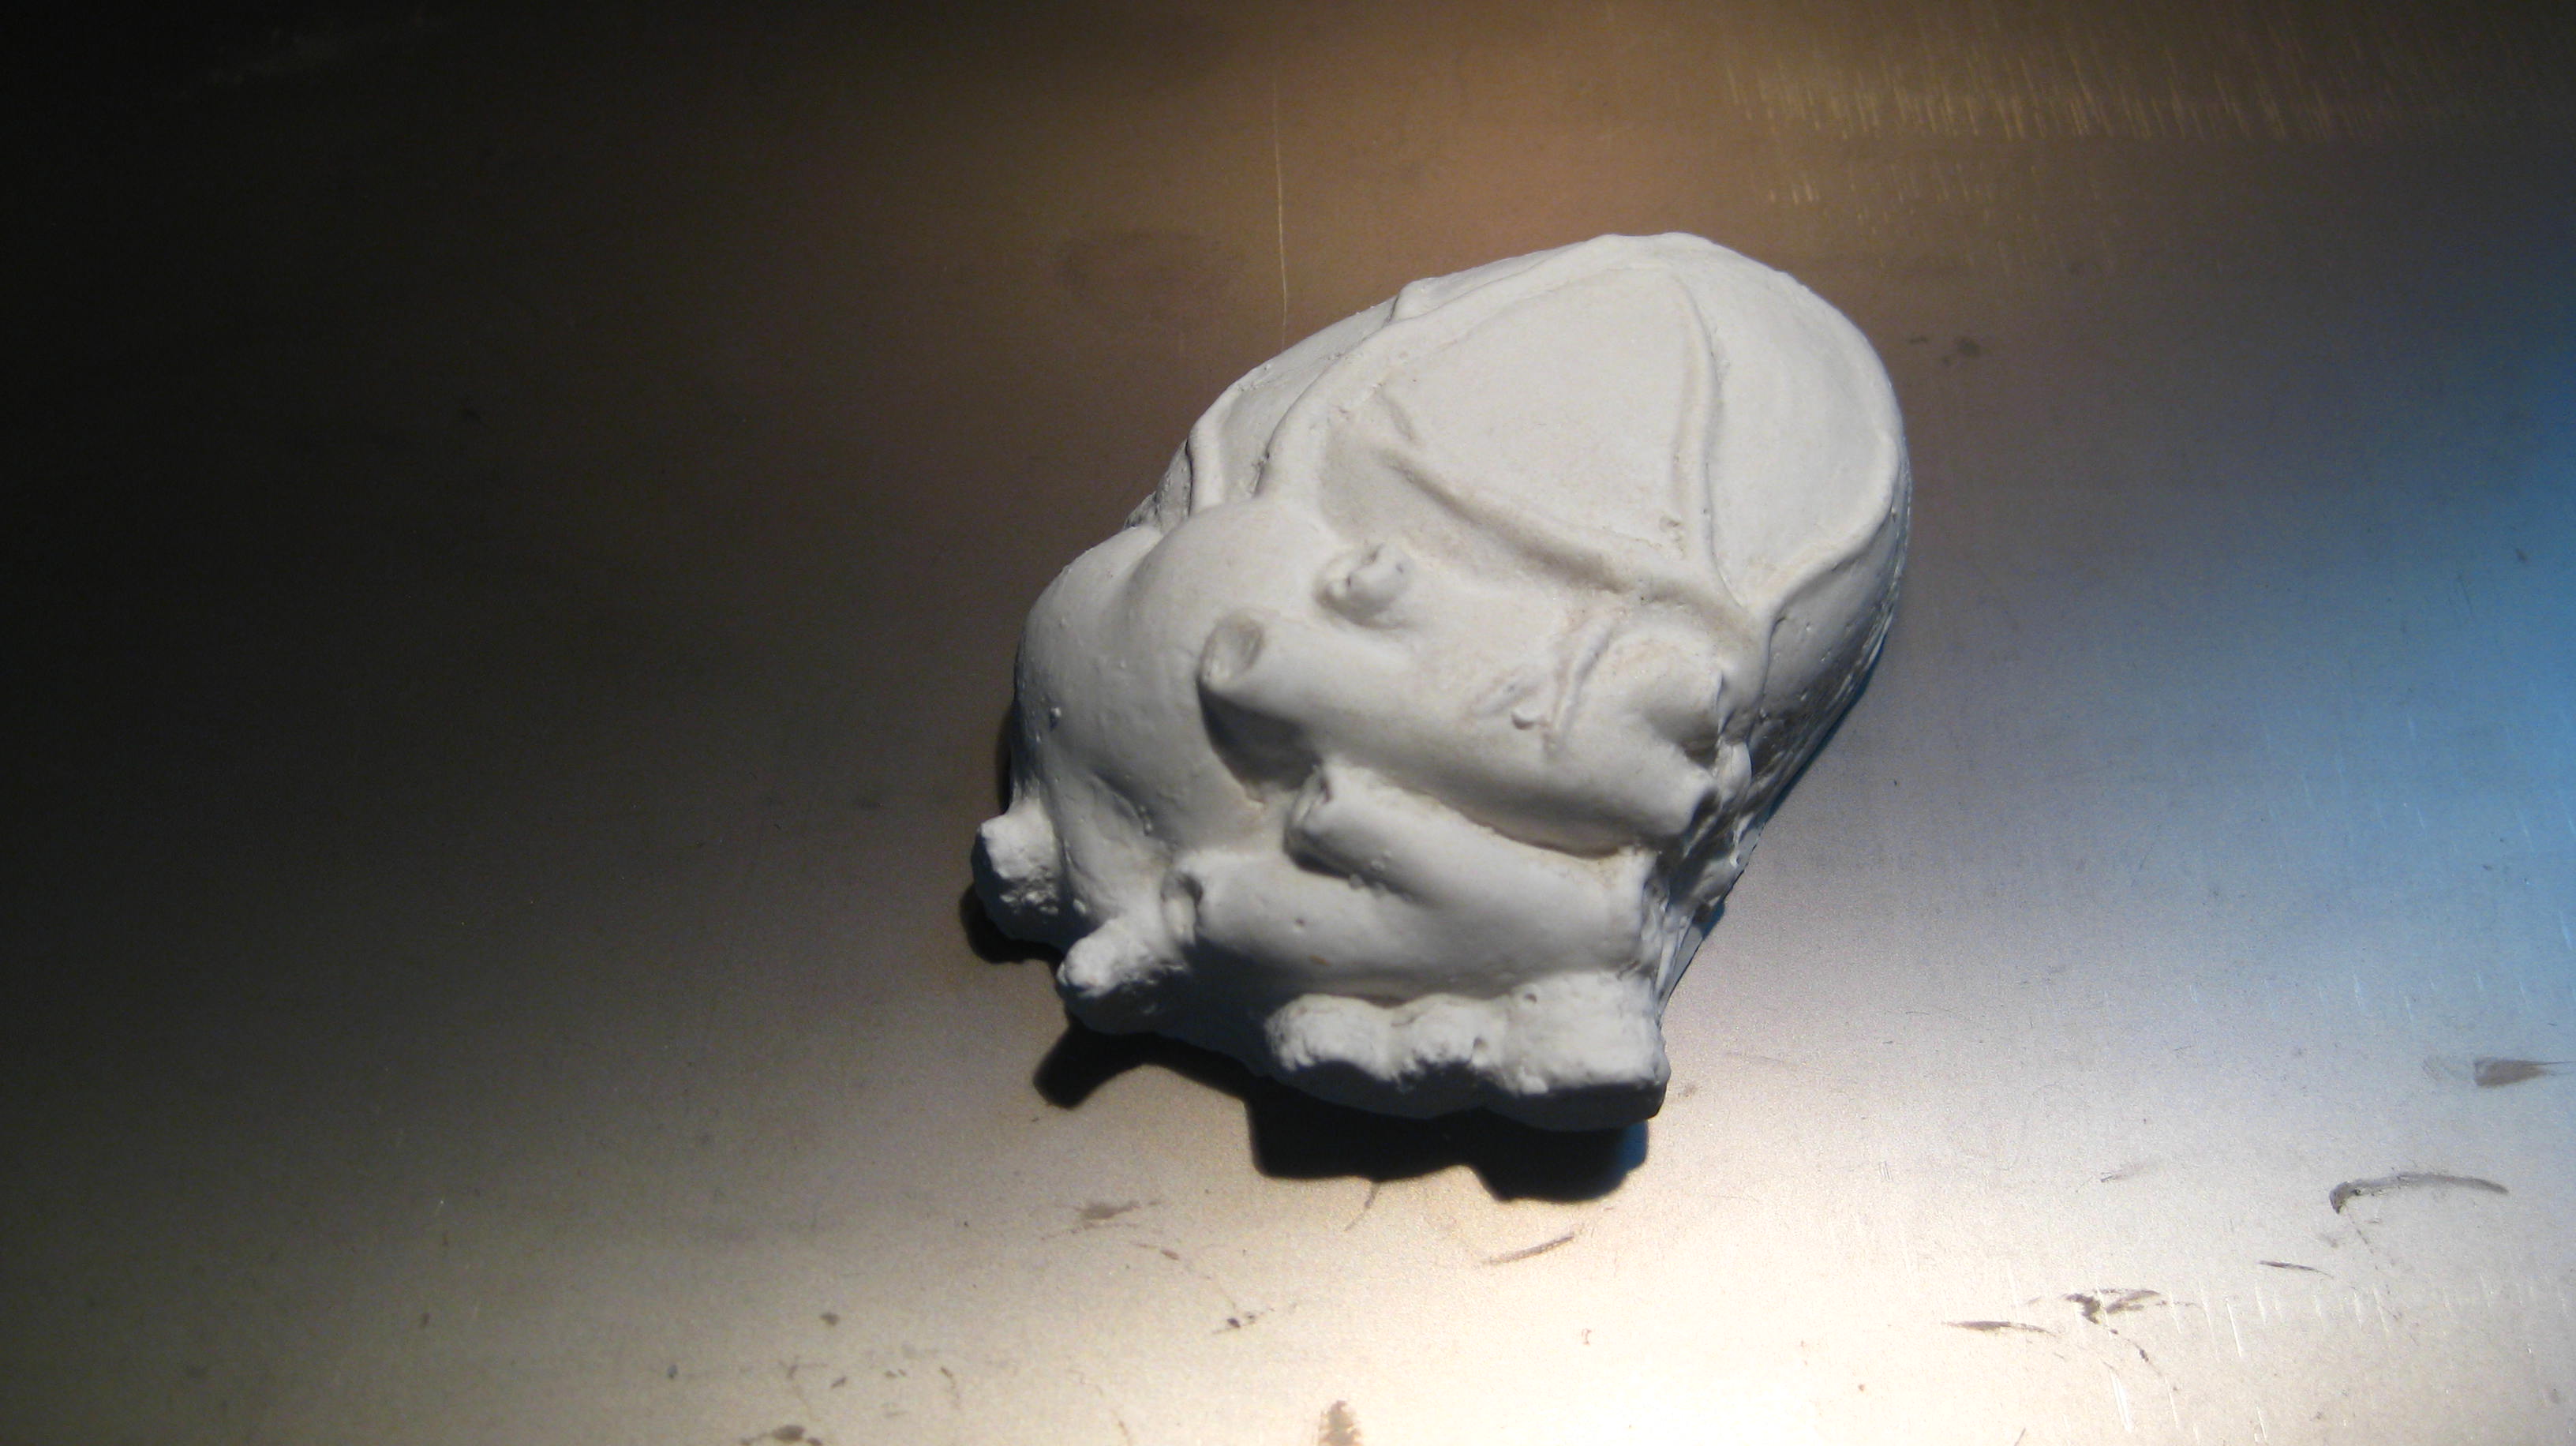
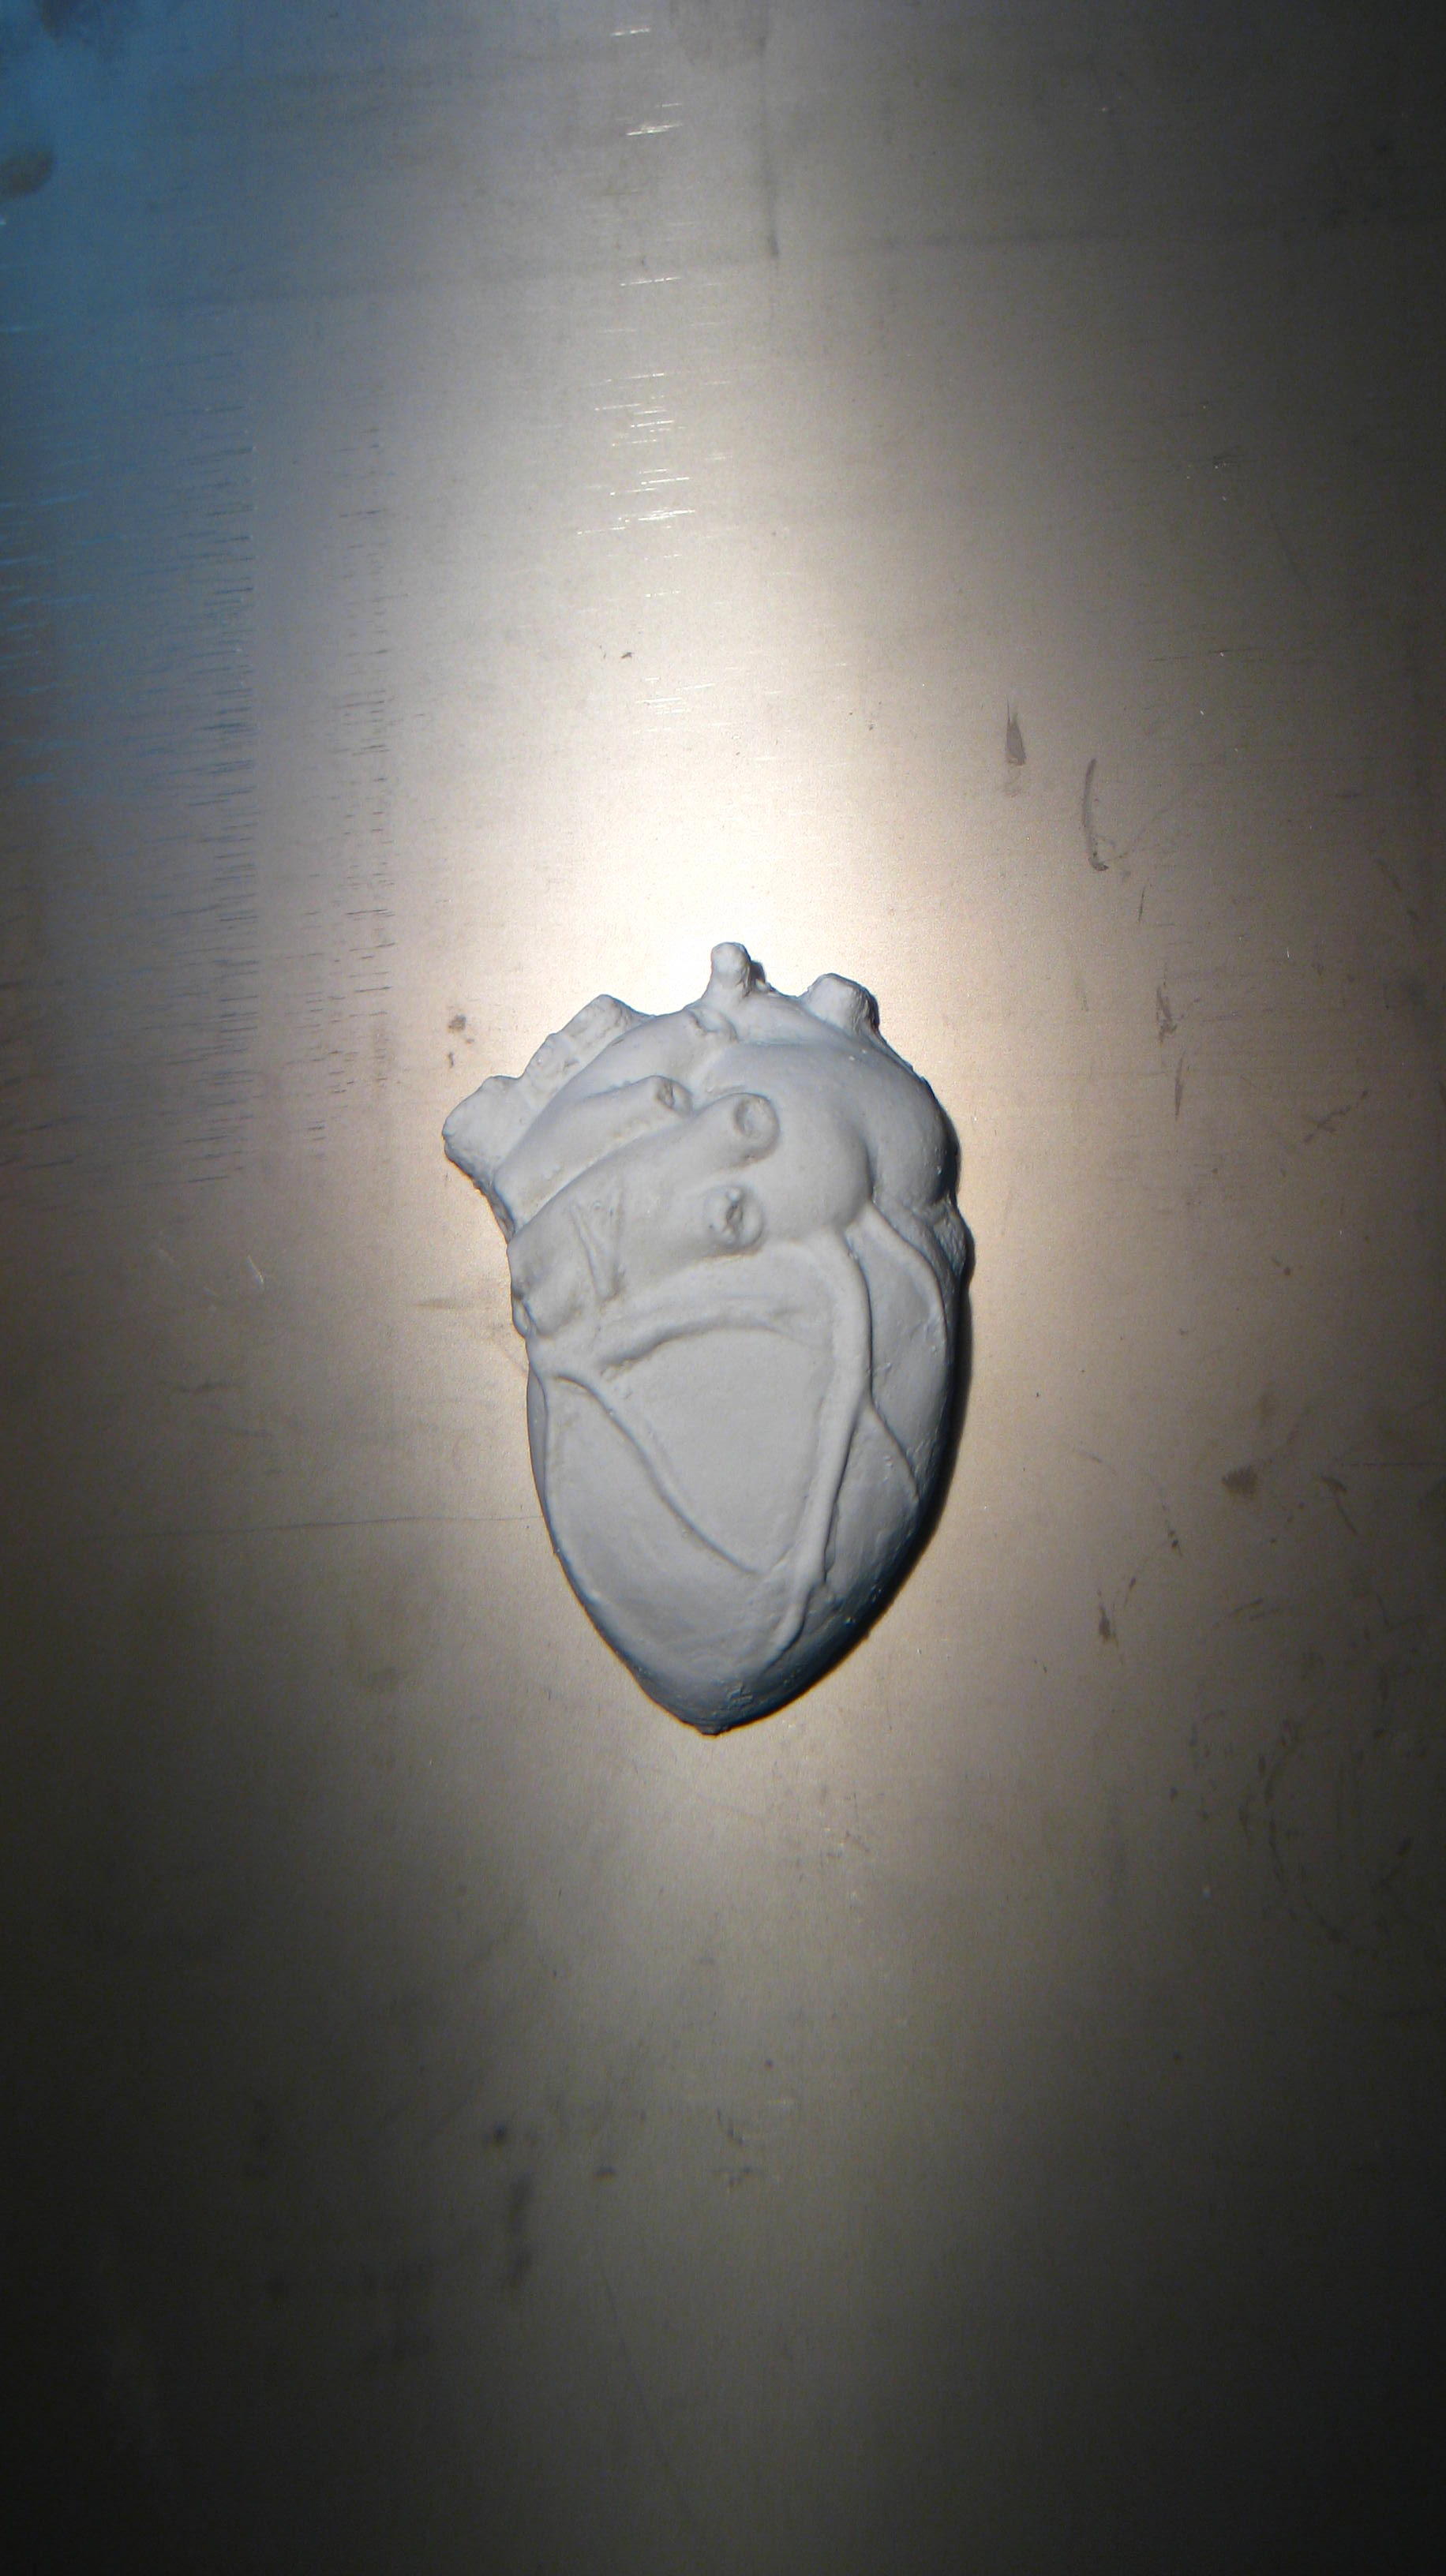
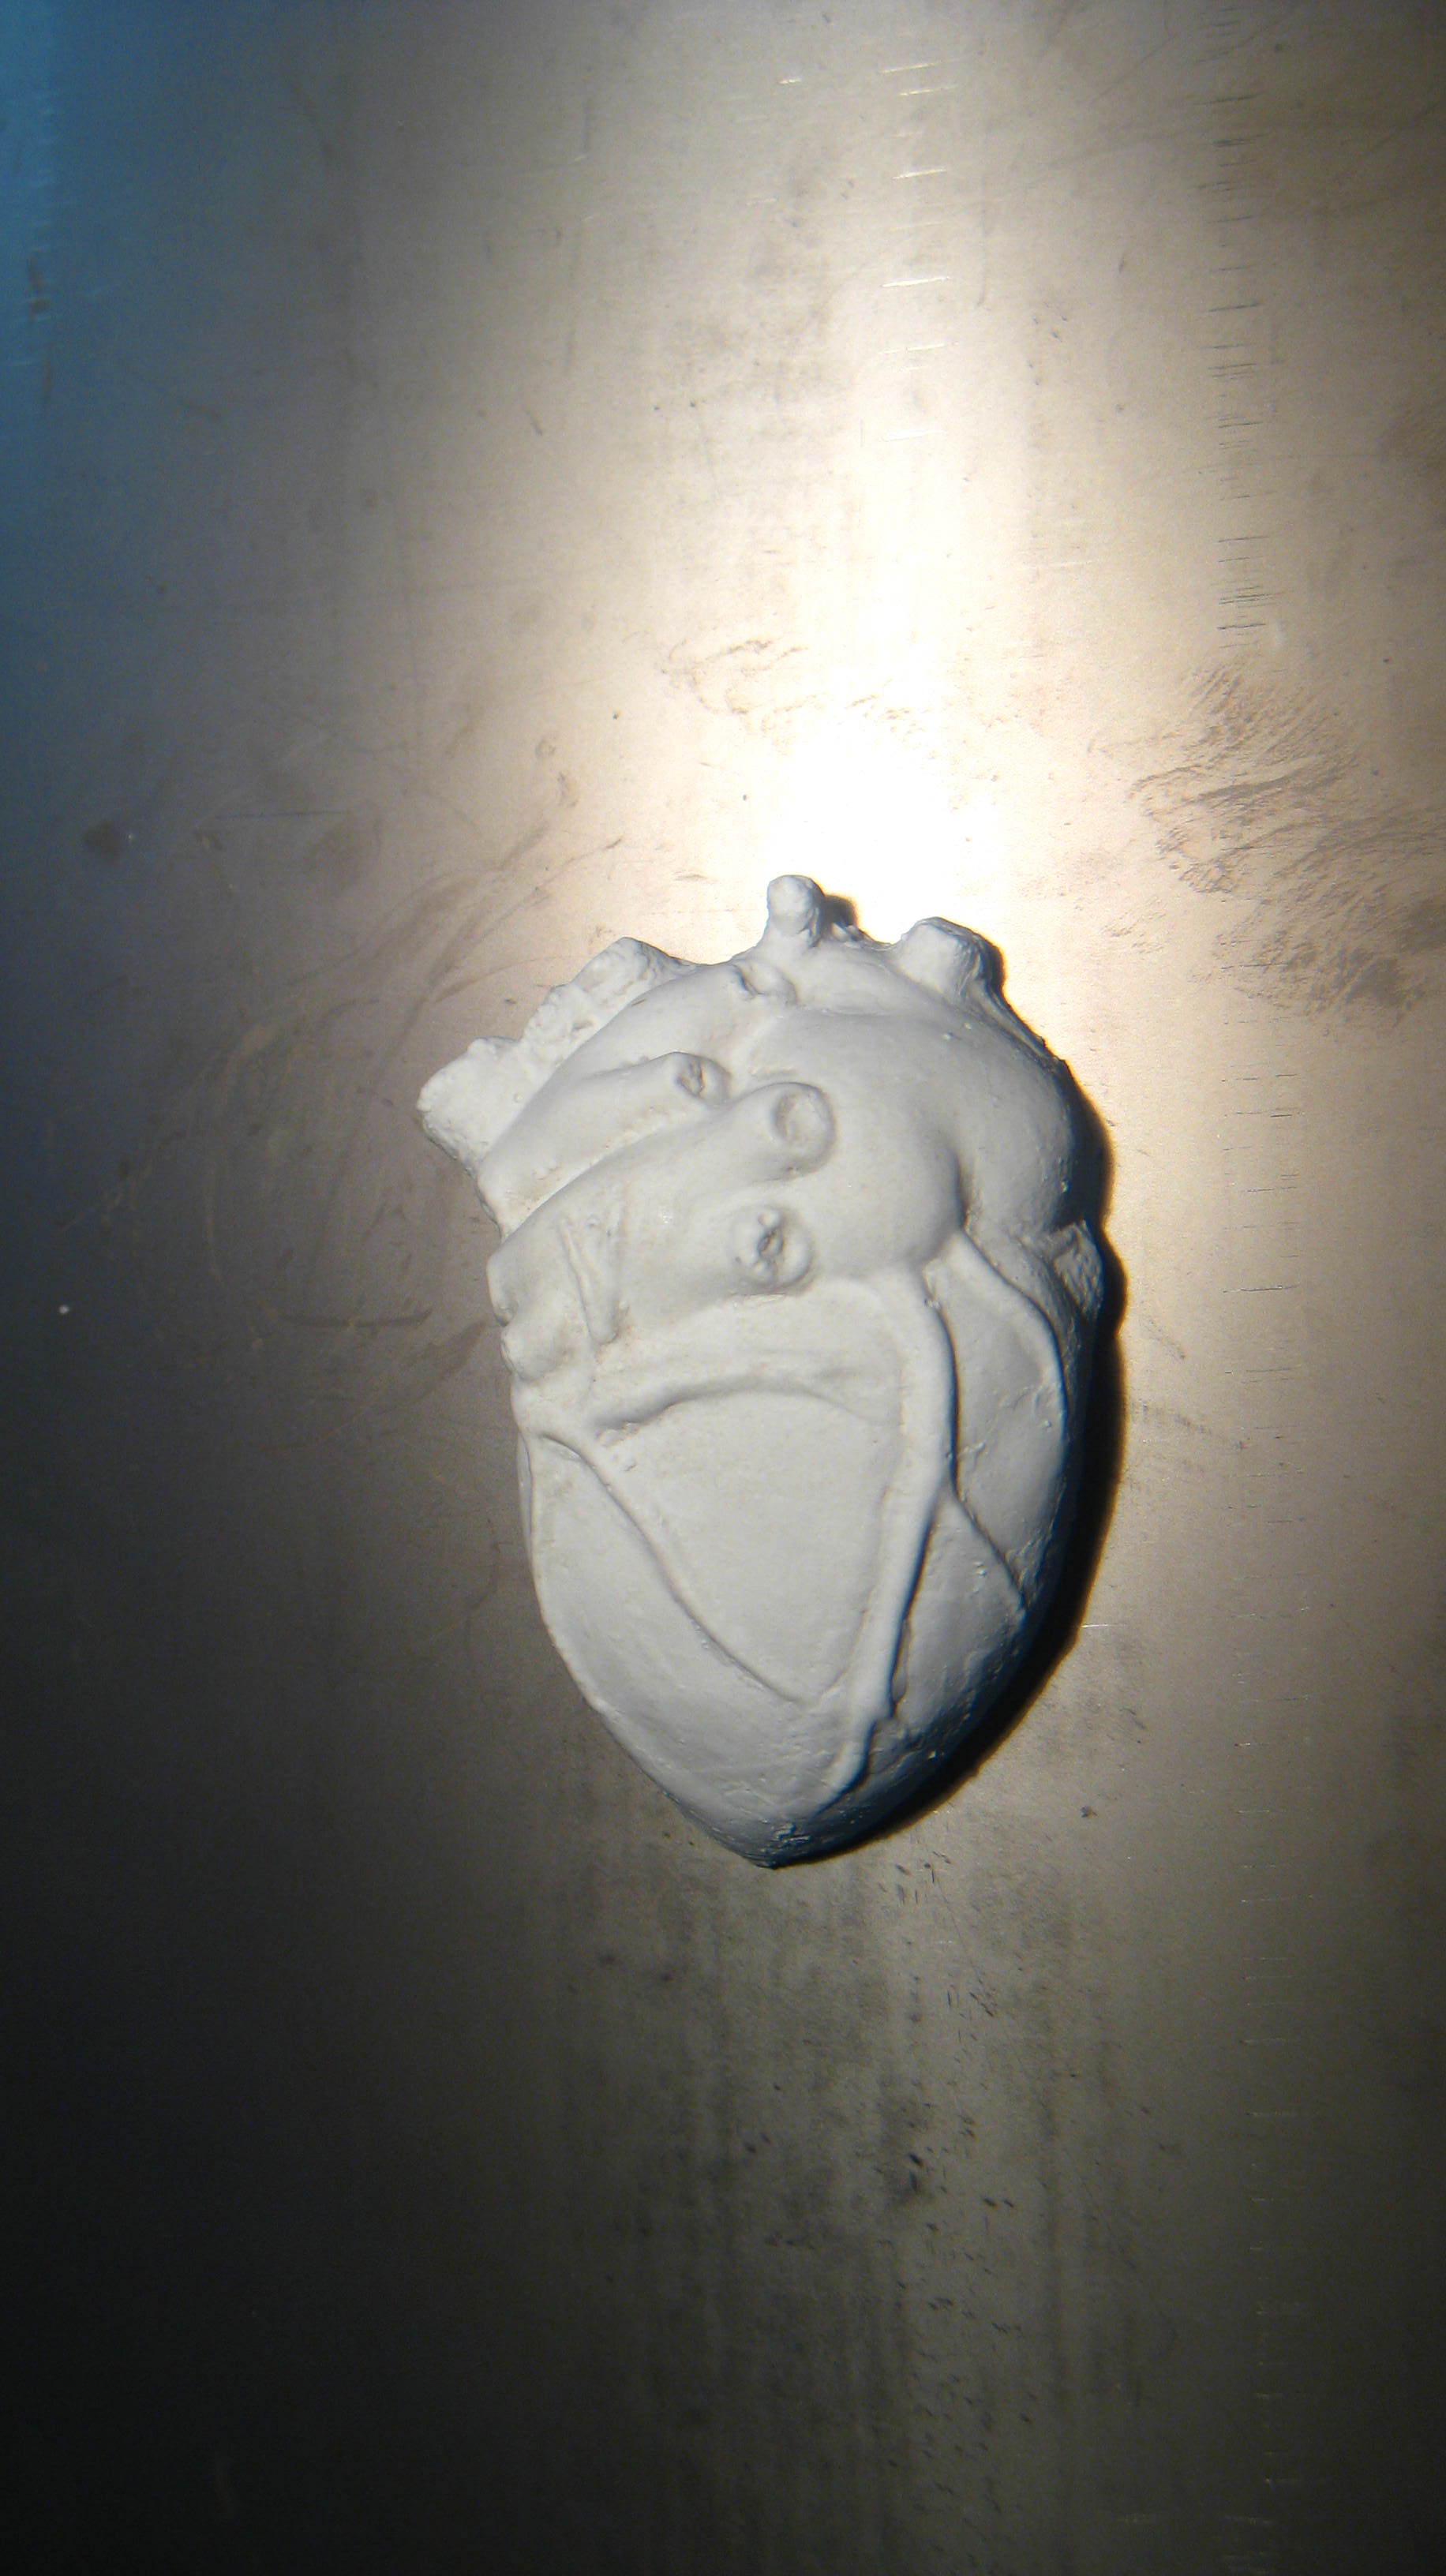
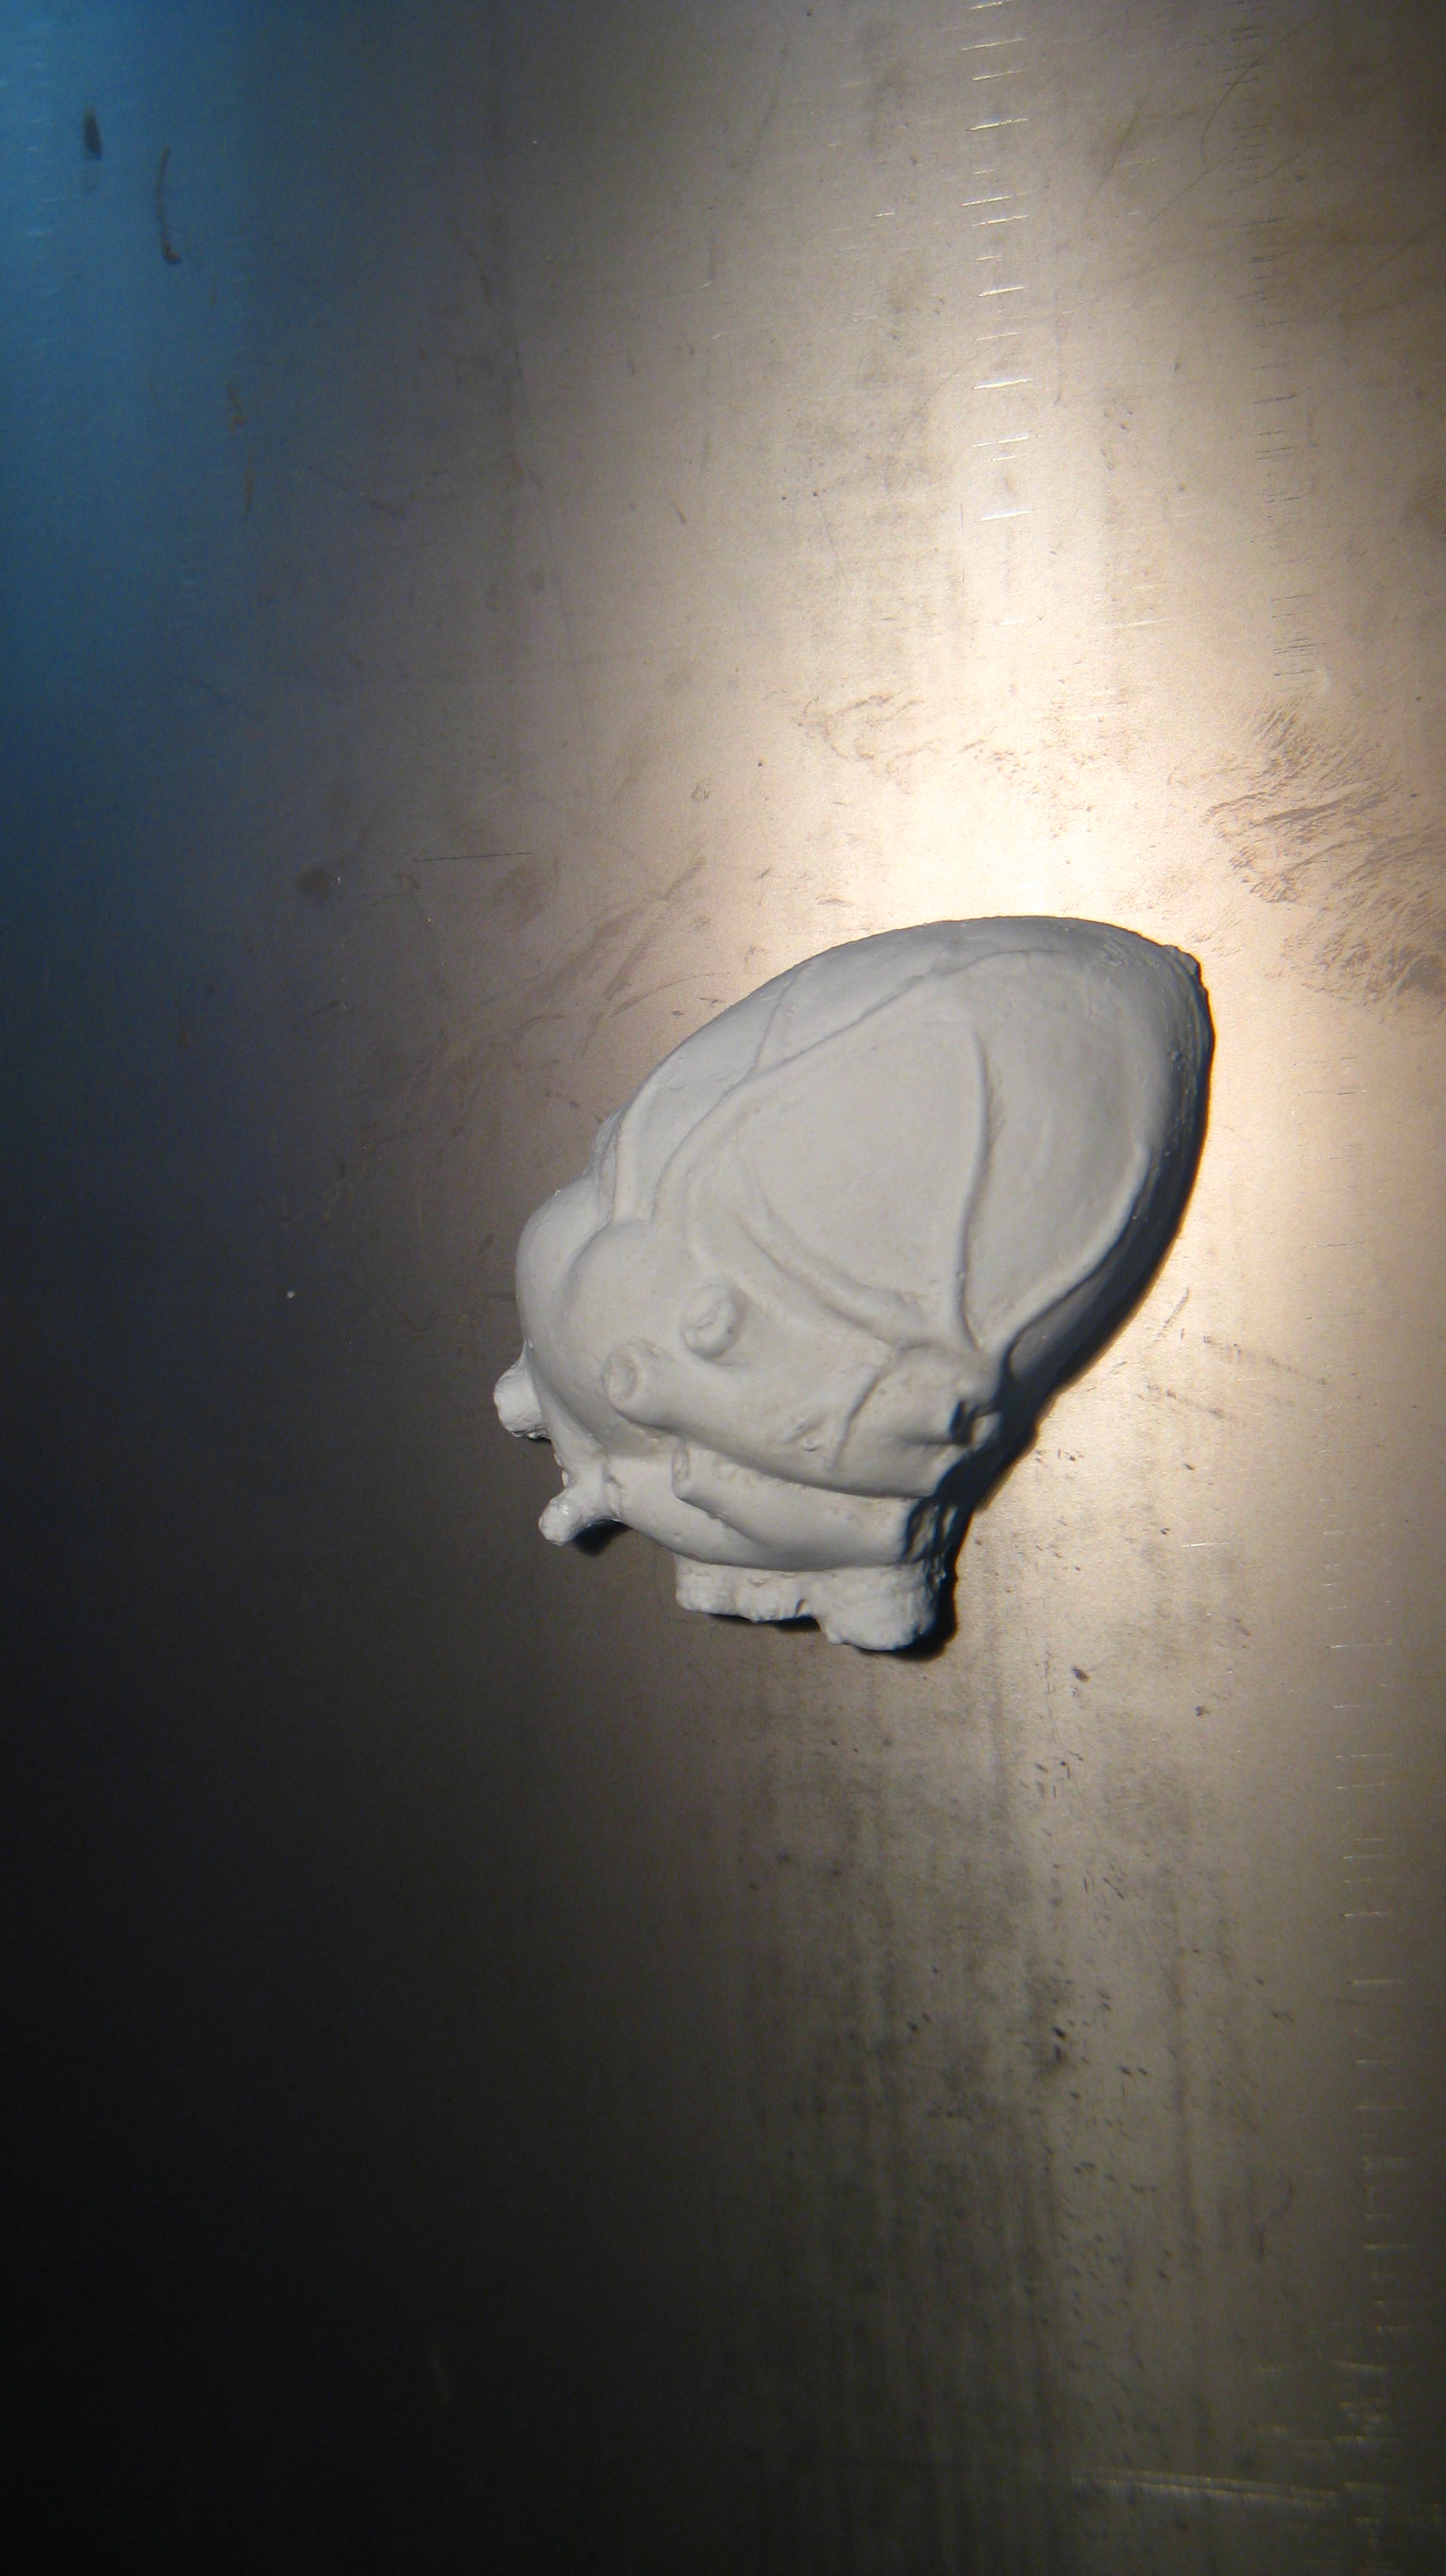
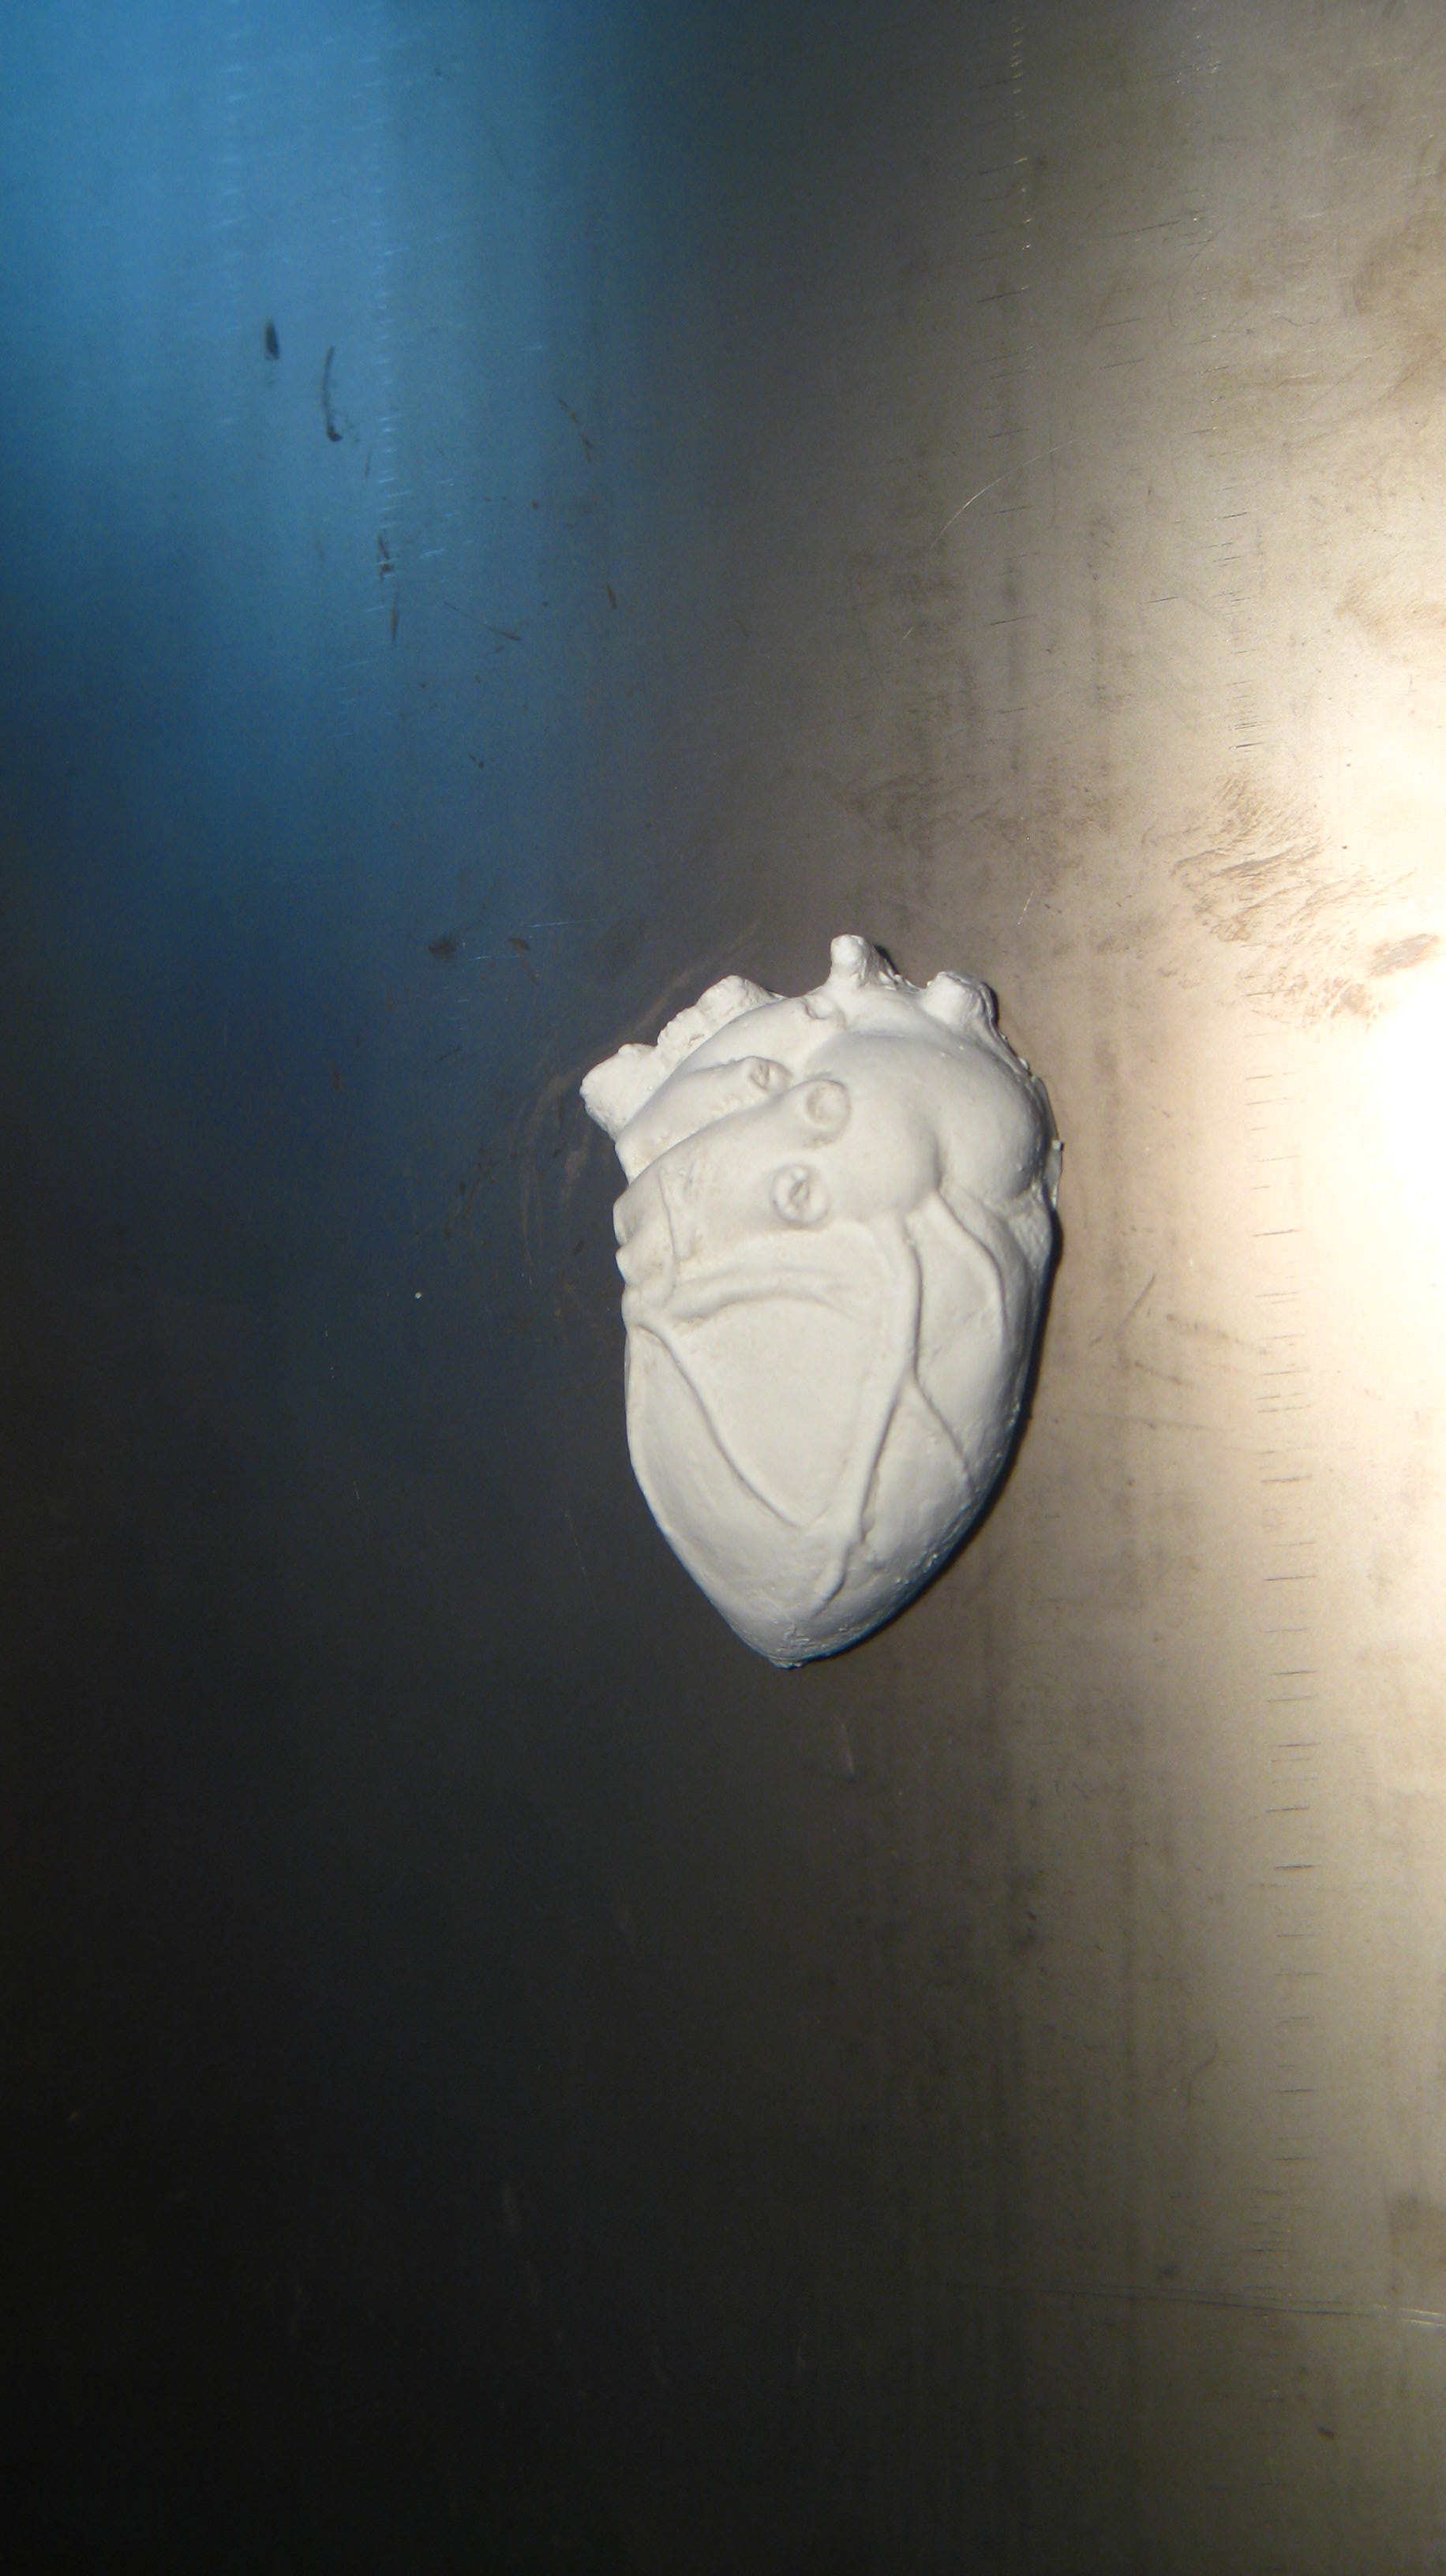
After the composite mold hardened, I cut it open down the side and removed the glass bottle.  I then took a coat hanger and bent it into a stand so I could pour the Hydrostone into the mold.  After the mold was poured, I cut open the wax mold (again) to remove the final Hydrostone cast.
soldier mold

Categories
Fab Academy AS220 - Providence, RI Fab Academy Providence -Year II - Teaching

Tools Relief – Cast Attempt 2 – Success!

succesful tools relief
I re-milled my tools relief mold, correcting the problems inherent in the design of the first cast.  I made the border around the tools relief wider and deeper in order to have a rim to hold the poured material before creating the final cast.  In order to conserve wax (it is $29.00 a bar), I melted down used wax and shavings from previous molds.  There was some sediment / impurities that worked their way into the wax, but they sunk to the bottom and did not affect the mold.

Machinable Wax

succesful tools relief

Poured Rubber Mold
succesful tools relief

Curing the Rubber Mold with a Lamp

succesful tools reliefsuccesful tools relief

Finished Urethane Mold – Much Better!

succesful tools relief

Measuring and Pouring the Smooth Cast Plastic and Hydrostone
succesful tools reliefsuccesful tools relief
succesful tools relief

Plastic Tools Relief Cast
succesful tools relief

Hydrastone Tools Relief Cast
succesful tools relief

Categories
Fab Academy Providence -Year II - Teaching

Heart of (hydro)Stone

heart of stone