Categories
Fab Academy AS220 - Providence, RI Fab Academy Providence -Year II - Teaching

Hello Serial Bus

bus

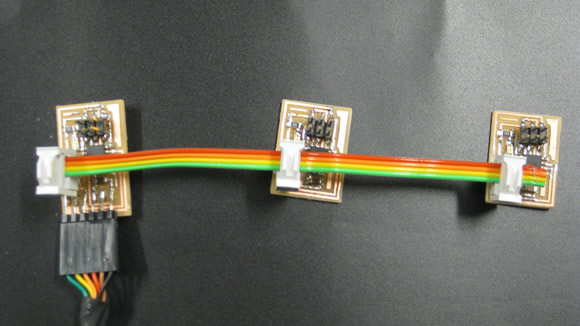
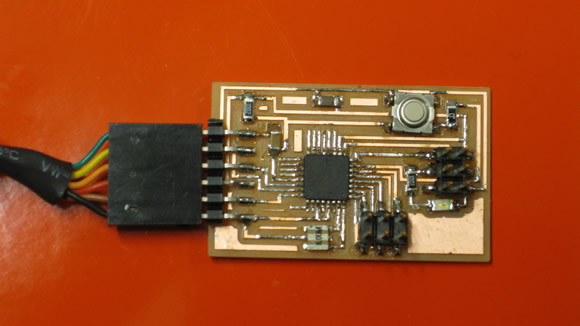
The purpose of this hello world example is to network several boards together in the form of a serial bus. The bridge board is connected to a computer via a FTDI cable. The two node boards are connected to the bridge board.

To replicate this example:

  1. Download the Fab Academy board diagrams / pngs and code.
  2. For each node in your network, you will need to modify the modify the “hello.bus.45.c” code.
  3. You need to change the line: #define node_id ‘0’ –> each node needs to have a different number (0, 1, 2, 3 – for each additional node you add.
  4. After flashing boards with 3 different node numbers:
  5. Open a Arduino IDE
  6. Open the serial monitor
  7. Enter number of note into serial monitor – press “enter”
  8. The node name (ex: node 1) should echo in on the serial monitor and the LED on the board that was flashed with the node id of 1 should flash.
Alternately- If you don’t have / want to use the Arduino IDE,

  1. After flashing boards with 3 different node numbers:
  2. Download term.py.
  3. Run term.py

In Ubuntu this is:

python term.py /dev/ttyusb0 9600

The node name (ex: node 1) should echo in on the serial monitor and the LED on the board that was flashed with the node id of 1 should flash.
Bus In Action

Categories
Fab Academy AS220 - Providence, RI Fab Academy Providence -Year II - Teaching

Hello (Make Your Own) Arduino

arduino
For reasons I haven’t uncovered yet, I was unable to use the Arduino IDE to burn the bootloader to a fabbed Arduino board. For my first attempt at this, see the Fabkit / Fabduino post. Also see Ed Baafi’s Fabkit / Fabduino page for how to program an fabbed Arduino without an external clock through the Arduino IDE. In both OS X and Ubuntu I was unable to connect to the board through the IDE. Shawn Wallace suggested that I use the following code. (See “To Program Your Arduino” section below) The code below worked for me in Ubuntu. NOTE: This code below works for a using an external 8MHZ resonator, see the links to the .png files.

Download the Files

Download Files to Mill
Get the files from the Fab Academy site
Download the Arduino Bootloader File for the Atmega168
Right click to save the files

To Program Your Arduino:

Set the fuses with:

Paste code is all in one line

avrdude -c usbtiny -p m168 -B 5 -u -U lock:w:0x0F:m -U  efuse:w:0x00:m -U
hfuse:w:0xdd:m -U lfuse:w:0xf6:m -P usb

Burn the bootloader with:

Paste code is all in one line

avrdude -P usb -c usbtiny -p m168  -u -U flash:w:ATmegaBOOT_168_pro_8MHz.hex
-U lock:w:0x0F:m -B .2

The options used:

  1. -u –> Disable safemode, default when running from a script.
  2. -U :r|w|v:[:format] –> Memory operation specification. Multiple -U options are allowed, each request is performed in the order specified.
Categories
Fab Academy AS220 - Providence, RI Fab Academy Providence -Year II - Teaching

Hello Stepper Motor

hello stepper
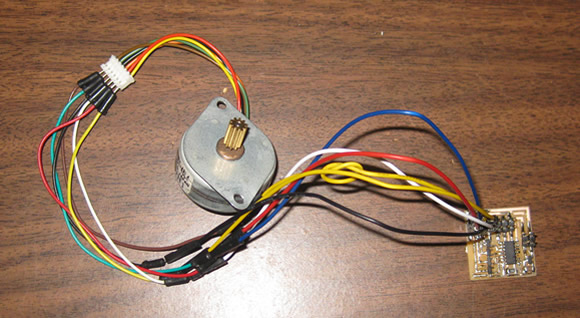
This board is a “hello world” for running a basic stepper motor board..   To make it yourself – download the Fab Academy board diagrams / .pngs and code.

To Program the Board / Motor to Do a Half Turn

sudo make -f hello.stepper.44.half.make program-usbtiny

To Program the Board / Motor to Do a Full Turn

sudo make -f hello.stepper.44.full.make program-usbtiny

To Program the Board / Motor to Do a Wave

sudo make -f hello.stepper.44.wave.make program-usbtiny

I had trouble getting this board to work at first, the motor would turn back and forth only a small amount, not the full or half turn that the program specified. Then I checked the jumper wires. One of the wires was bad (the header was not connected). After replacing the faulty wire, the motor ran.

Categories
Fab Academy AS220 - Providence, RI Fab Academy Providence -Year II - Teaching

Hello RGB

rgb
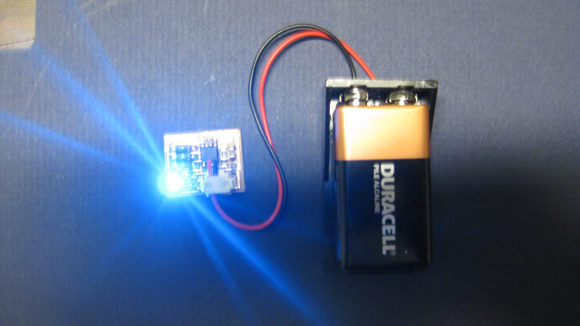
This board is a “hello world” for a basic  RGB LED. The program flashed to the microcontroller cycles through the available LED colors.   To make it yourself – download the Fab Academy board diagrams / pngs and code.